Download to read offline

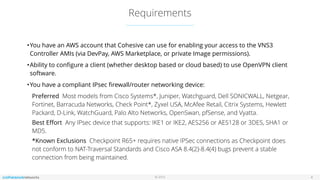
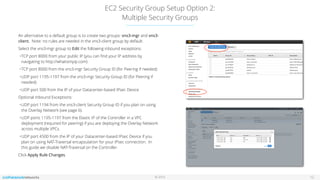
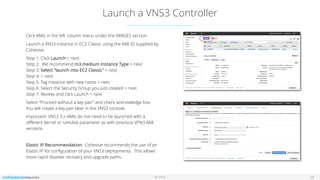

This document outlines the setup and configuration of AWS EC2 Classic with the VNS3 controller, detailing prerequisites such as having an AWS account and a compliant IPsec networking device. It provides instructions for deploying instances, configuring security groups, and necessary port settings for optimal connectivity. Additionally, it offers links to resources for further configuration and troubleshooting of the VNS3 product.