Download to read offline


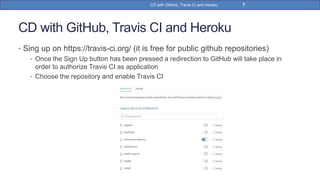
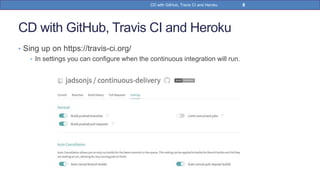
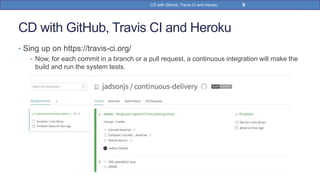
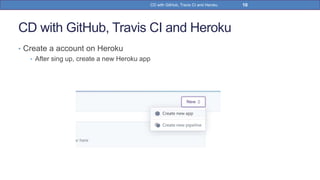

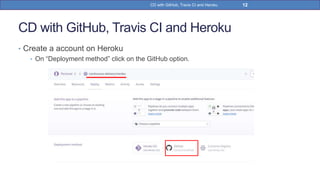
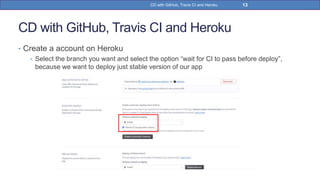

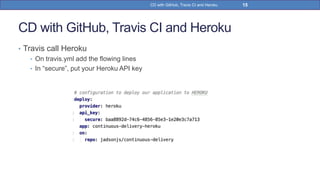
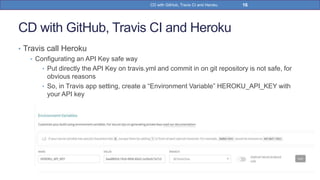
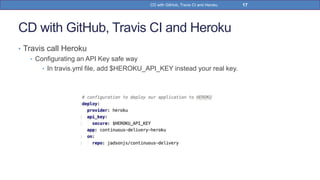

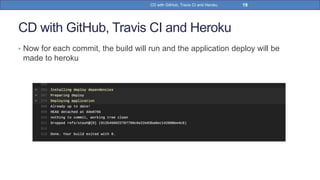
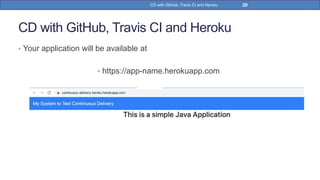

This document provides a step-by-step guide on implementing Continuous Delivery (CD) using GitHub, Travis CI, and Heroku for a Spring Boot application. It covers project setup, creating necessary configuration files, and ensuring CI/CD is properly configured for automatic deployments. Additionally, security measures for handling API keys and creating a Procfile for Heroku deployment are discussed.