Downloaded 331 times
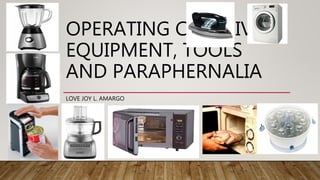

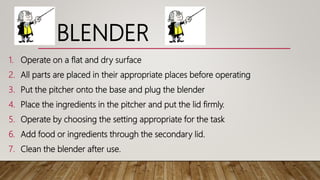
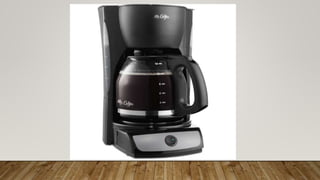

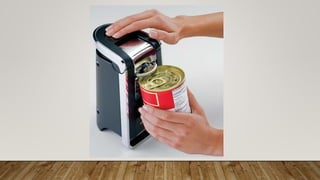
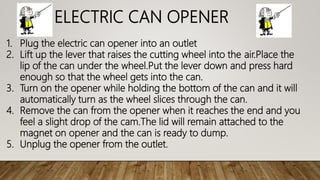
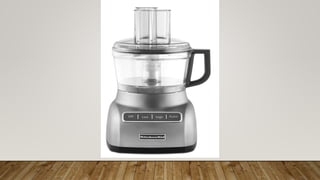
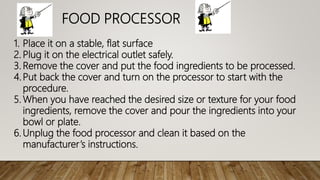
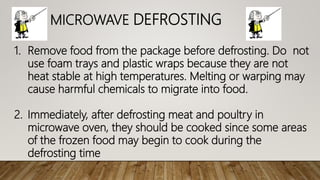
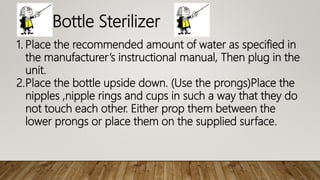

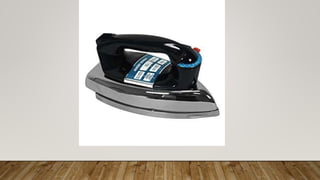
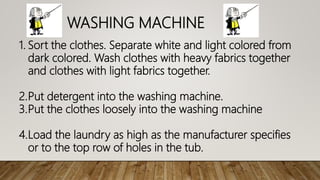
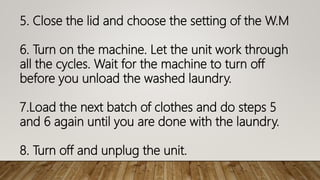


The document provides instructions for operating various appliances and equipment used in caregiving, including blenders, coffee makers, can openers, food processors, microwaves, bottle sterilizers, flat irons, and washing machines. It explains how to safely use each appliance, listing the steps for setup, operation, and cleanup. It then provides a short quiz to test comprehension of the proper use and safety procedures for each item.


![Oral communication powerpoint [recovered]](https://cdn.slidesharecdn.com/ss_thumbnails/oralcommunicationpowerpointrecovered-170805142901-thumbnail.jpg?width=640&height=640&fit=bounds)


