The document outlines the steps to create, upload, and manage collaborative widgets using HTML, XML, and JavaScript. It covers widget anatomy, including necessary files such as config.xml and index.html, as well as methods for managing state and participants. Additionally, it provides example code snippets and guidance on creating functions for task management within the widget environment.
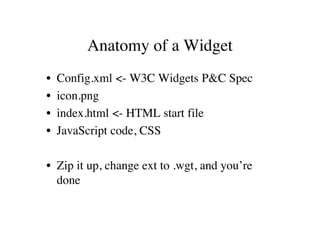
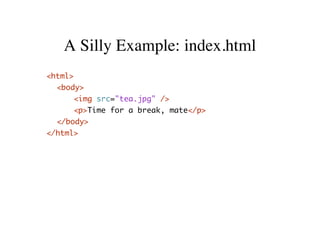
![State example
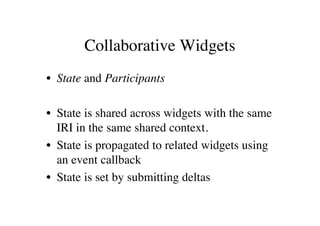
wave.setStateCallback(stateUpdated);
stateUpdated = function(){
var keys = wave.getState().getKeys();
for (var i = 0; i < keys.length; i++) {
alert(wave.getState().get(keys[i]));
}
};
wave.getState().submitValue(“key”, “value”);](https://image.slidesharecdn.com/buildwidgets-100209042829-phpapp01/85/Build-Widgets-11-320.jpg)
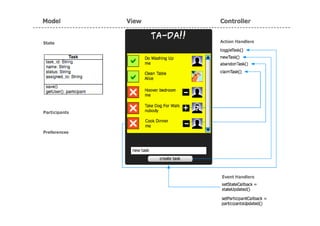

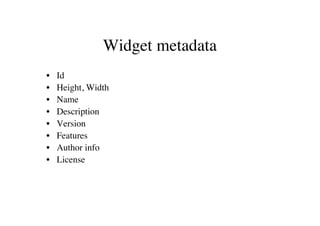
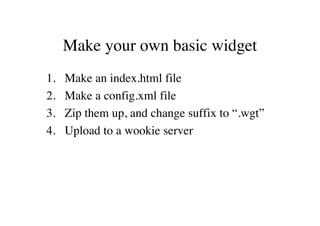
![Static model methods
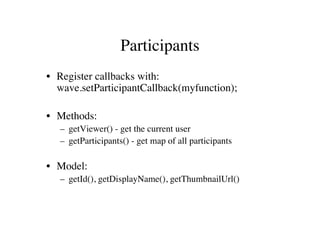
Task.create = function(json){
var obj = JSON.parse(json);
var task = new Task(obj.task_id,
obj.name,obj.status,obj.assigned_to);
return task;
• Typically need
}
methods to turn state
Task.find = function(task_id){
var keys = wave.getState().getKeys();
for (var i = 0; i < keys.length; i++) {
strings back into
var key = keys[i];
if (key == task_id){
model instances
return Task.create(task_id, wave.getState().get(key));
}
} • Also finder methods to
}
return null;
get a particular model
Task.findAll = function(){ object
var tasks = {};
var keys = wave.getState().getKeys();
for (var i = 0; i < keys.length; i++) { • This isn’t the only way
var key = keys[i];
var task = Task.create(key, wave.getState().get(key));
tasks[key] = task;
to do this, but is an
}
return tasks;
OK pattern
}](https://image.slidesharecdn.com/buildwidgets-100209042829-phpapp01/85/Build-Widgets-19-320.jpg)
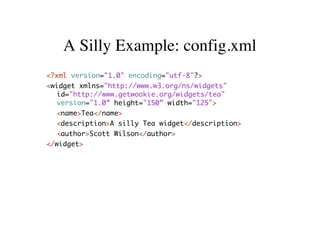
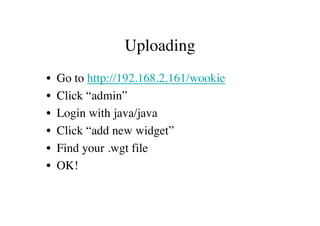
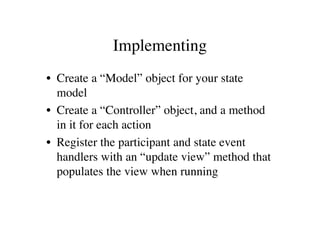
![Event Handlers
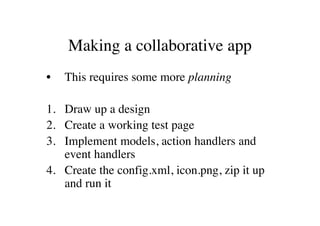
// Update the view when state has been updated These fire whenever the state or participants
stateUpdated: function(){ are updated (e.g. by another instance).
var tasks = Task.findAll();
if (tasks && tasks != null){
var tasklist = ""; Event handlers need to be registered like so:
for (key in tasks) {
var task = tasks[key]; wave.setStateCallback(Controller.stateUpdated);
wave.setParticipantCallback(Controller.participantsUpdated);
tasklist += // the task stuff to show
dwr.util.setValue("tasklist", tasklist, {
escapeHtml:false }); Also useful to have these methods called
var objDiv = document.getElementById("tasklist"); from onLoad() in an init() function to
objDiv.scrollTop = objDiv.scrollHeight; create initial view
}
},
participantsUpdated: function(){ You can import JQuery if you like for
Controller.updateUser(); setting the view content, or do it using
} DOM](https://image.slidesharecdn.com/buildwidgets-100209042829-phpapp01/85/Build-Widgets-21-320.jpg)