The document provides instructions for making an origami flower craft out of colored paper squares. It involves the following steps:
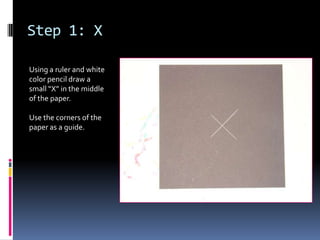
1. Drawing an X on a black construction paper background using a ruler and pencil.
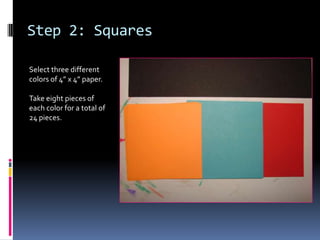
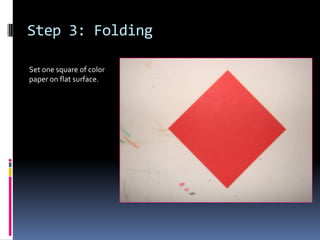
2. Folding 24 squares of colored paper into triangular shapes.
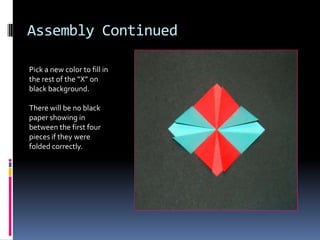
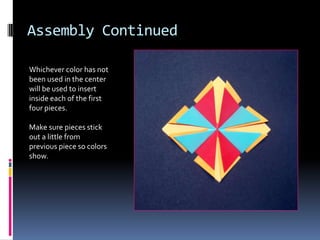
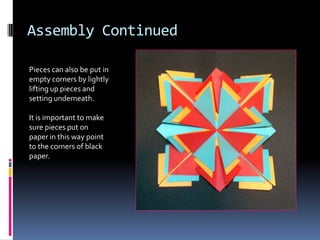
3. Assembling the folded paper triangles onto the construction paper by gluing them inside the X and filling in the spaces, using different colors to create a pattern. Additional triangles are glued underneath existing pieces.
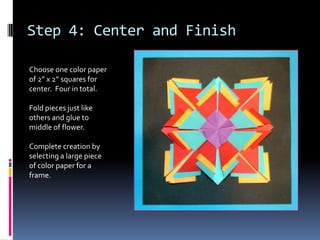
4. Creating a center for the flower by folding and gluing 4 smaller colored paper squares in the middle. A colored paper frame is then added to complete the craft.