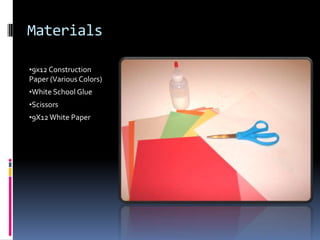
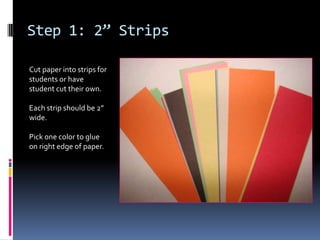
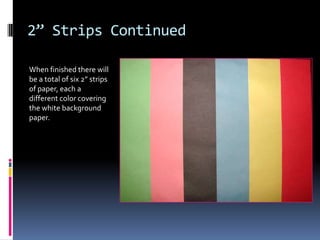
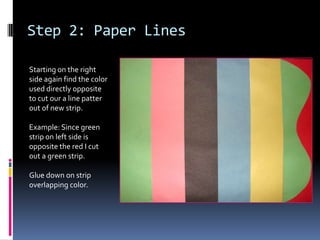
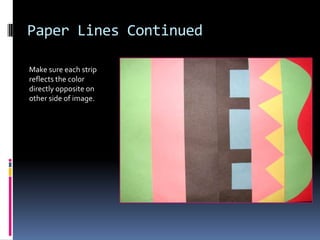
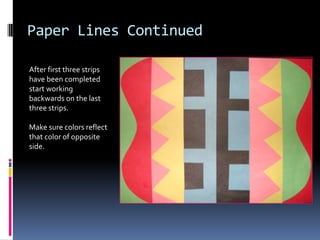
Elementary

NATIVE AMERICAN BLANKET
Materials
•9x12 Construction
Paper (Various Colors)
•White School Glue
•Scissors
•9X12 White Paper
Step 1: 2” Strips
Cut paper into strips for
students or have
student cut their own.
Each strip should be 2”
wide.
Pick one color to glue
on right edge of paper.
2” Strips Continued
Pick one color strip of
paper and glue to right
edge of paper.
2” Strips Continued
Continue to glue 2”
strips of paper next to
previous piece glued
down choosing a new
color each time.
2” Strips Continued
When finished there will
be a total of six 2” strips
of paper, each a
different color covering
the white background
paper.
Step 2: Paper Lines
Starting on the right
side again find the color
used directly opposite
to cut our a line patter
out of new strip.
Example: Since green
strip on left side is
opposite the red I cut
out a green strip.

Glue down on strip
overlapping color.
Paper Lines Continued
Make sure each strip
reflects the color
directly opposite on
other side of image.
Paper Lines Continued
After first three strips
have been completed
start working
backwards on the last
three strips.
Make sure colors reflect
that color of opposite
side.
Step 3: Shapes and Finish
When shapes are
applies use the color
that is under line design
to further develop
blanket pattern and
balance.
Complete by mounting
on a piece of
construction paper.
Make sure it is a color
not used in design.

Art 31 - Native American Blanket (Elementary)

  • 1.
  • 2.
    Materials •9x12 Construction Paper (VariousColors) •White School Glue •Scissors •9X12 White Paper
  • 3.
    Step 1: 2”Strips Cut paper into strips for students or have student cut their own. Each strip should be 2” wide. Pick one color to glue on right edge of paper.
  • 4.
    2” Strips Continued Pickone color strip of paper and glue to right edge of paper.
  • 5.
    2” Strips Continued Continueto glue 2” strips of paper next to previous piece glued down choosing a new color each time.
  • 6.
    2” Strips Continued Whenfinished there will be a total of six 2” strips of paper, each a different color covering the white background paper.
  • 7.
    Step 2: PaperLines Starting on the right side again find the color used directly opposite to cut our a line patter out of new strip. Example: Since green strip on left side is opposite the red I cut out a green strip. Glue down on strip overlapping color.
  • 8.
    Paper Lines Continued Makesure each strip reflects the color directly opposite on other side of image.
  • 9.
    Paper Lines Continued Afterfirst three strips have been completed start working backwards on the last three strips. Make sure colors reflect that color of opposite side.
  • 10.
    Step 3: Shapesand Finish When shapes are applies use the color that is under line design to further develop blanket pattern and balance. Complete by mounting on a piece of construction paper. Make sure it is a color not used in design.