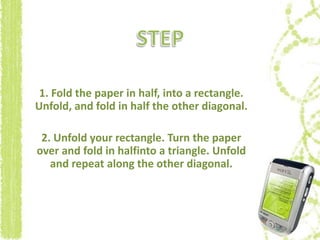
To make an origami crane:
1. Start with a square sheet of paper and make folds to create diagonal creases.
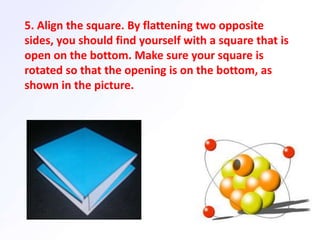
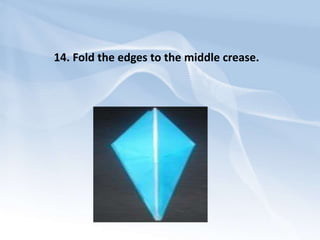
2. Bring the corners together to form a square shape with an opening on the bottom.
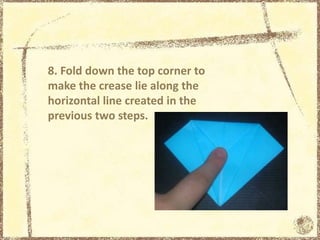
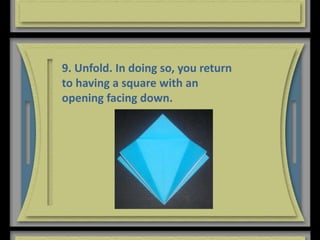
3. Fold the flaps up and over following the diagonal creases to form the crane's shape.
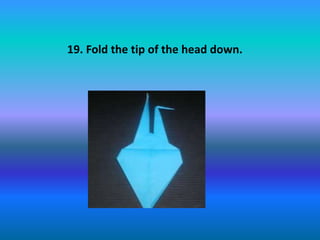
4. Make additional folds to refine the shape, including folding the wings and pulling out the head and tail.


![Origami [Near 300 Project 990 Pages]](https://cdn.slidesharecdn.com/ss_thumbnails/origaminear300project-990pages-090827043424-phpapp01-thumbnail.jpg?width=640&height=640&fit=bounds)


