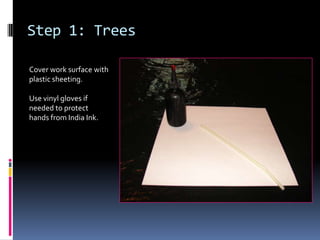
This document provides instructions for creating India ink trees on paper in 5 steps:
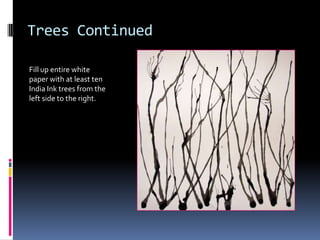
1. Use india ink and a straw to blow ink drops on paper to create trees, filling the page with at least 10 trees.
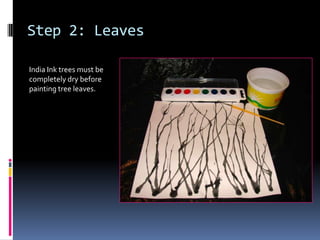
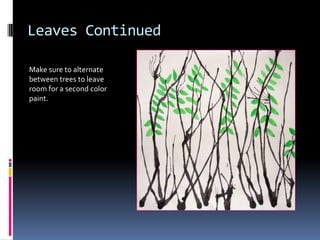
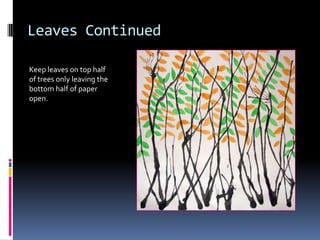
2. Once dry, paint tree leaves on the top half of the trees using watercolor paints in 2 colors, alternating between trees.
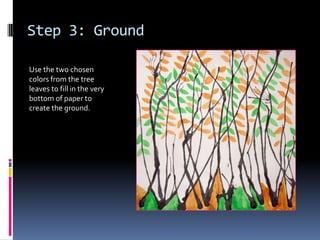
3. Fill the bottom of the page with the 2 leaf colors to create the ground.
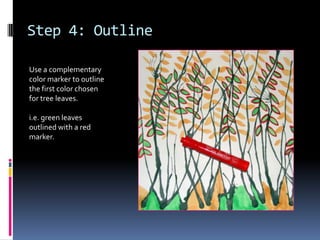
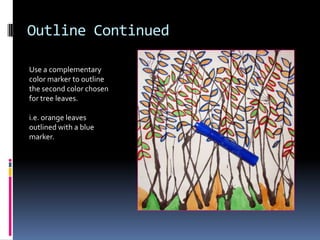
4. Outline the leaf colors with complementary colored markers.
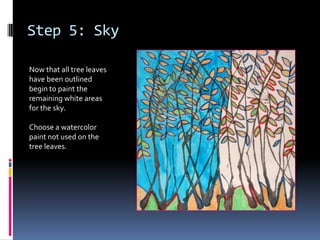
5. Paint the remaining white areas of the sky with a watercolor not used for leaves. Let dry and display.