Download to read offline


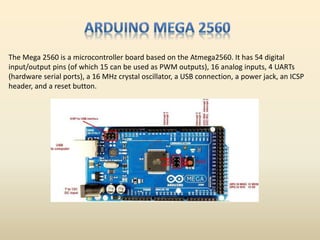
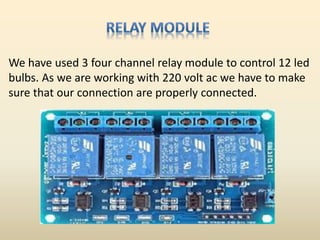

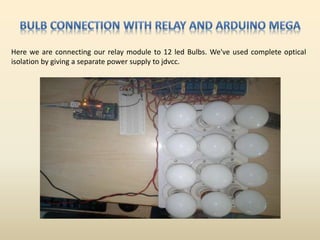
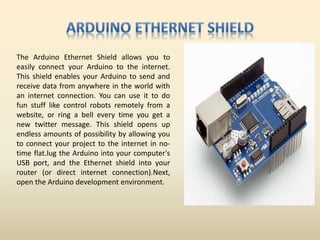
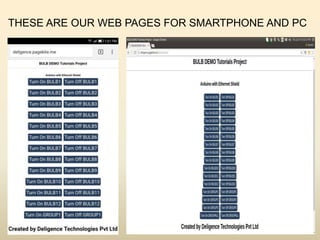


The document outlines a project by Deligence Technologies that demonstrates how to remotely control 12 LED bulbs using an Arduino Mega 2560 and Ethernet shield via a web app. It describes the hardware setup including a relay module and the necessary software configuration for connecting the Arduino to the internet. The project enables users to trigger bulbs from anywhere with internet access, showcasing the capabilities of Arduino in IoT applications.