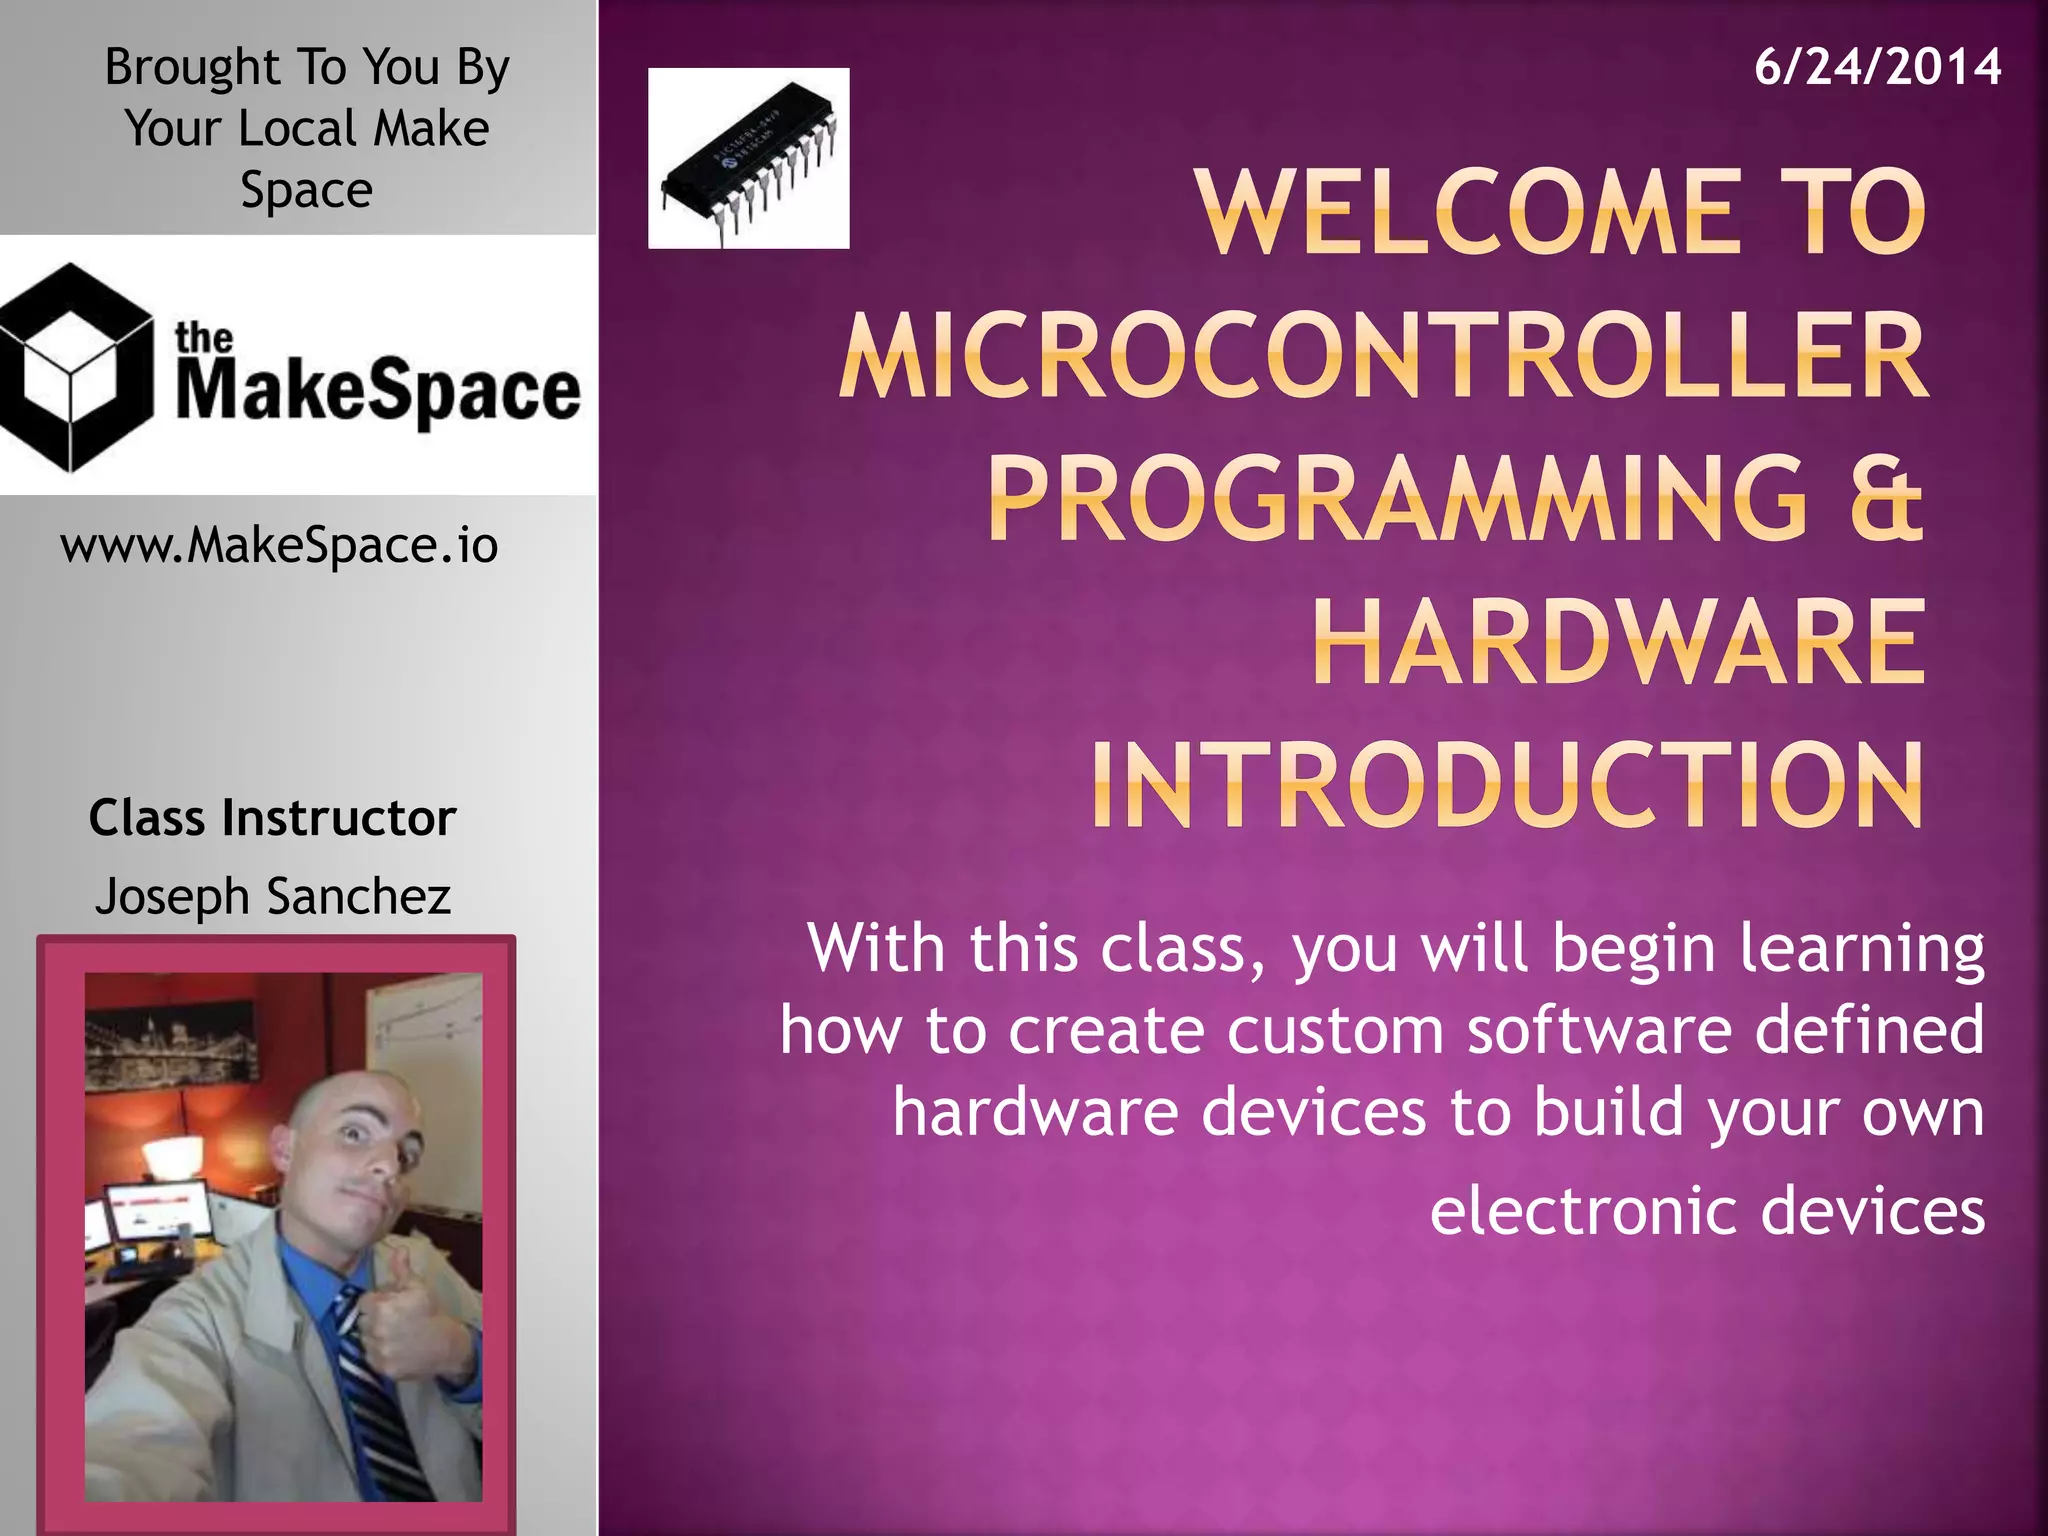
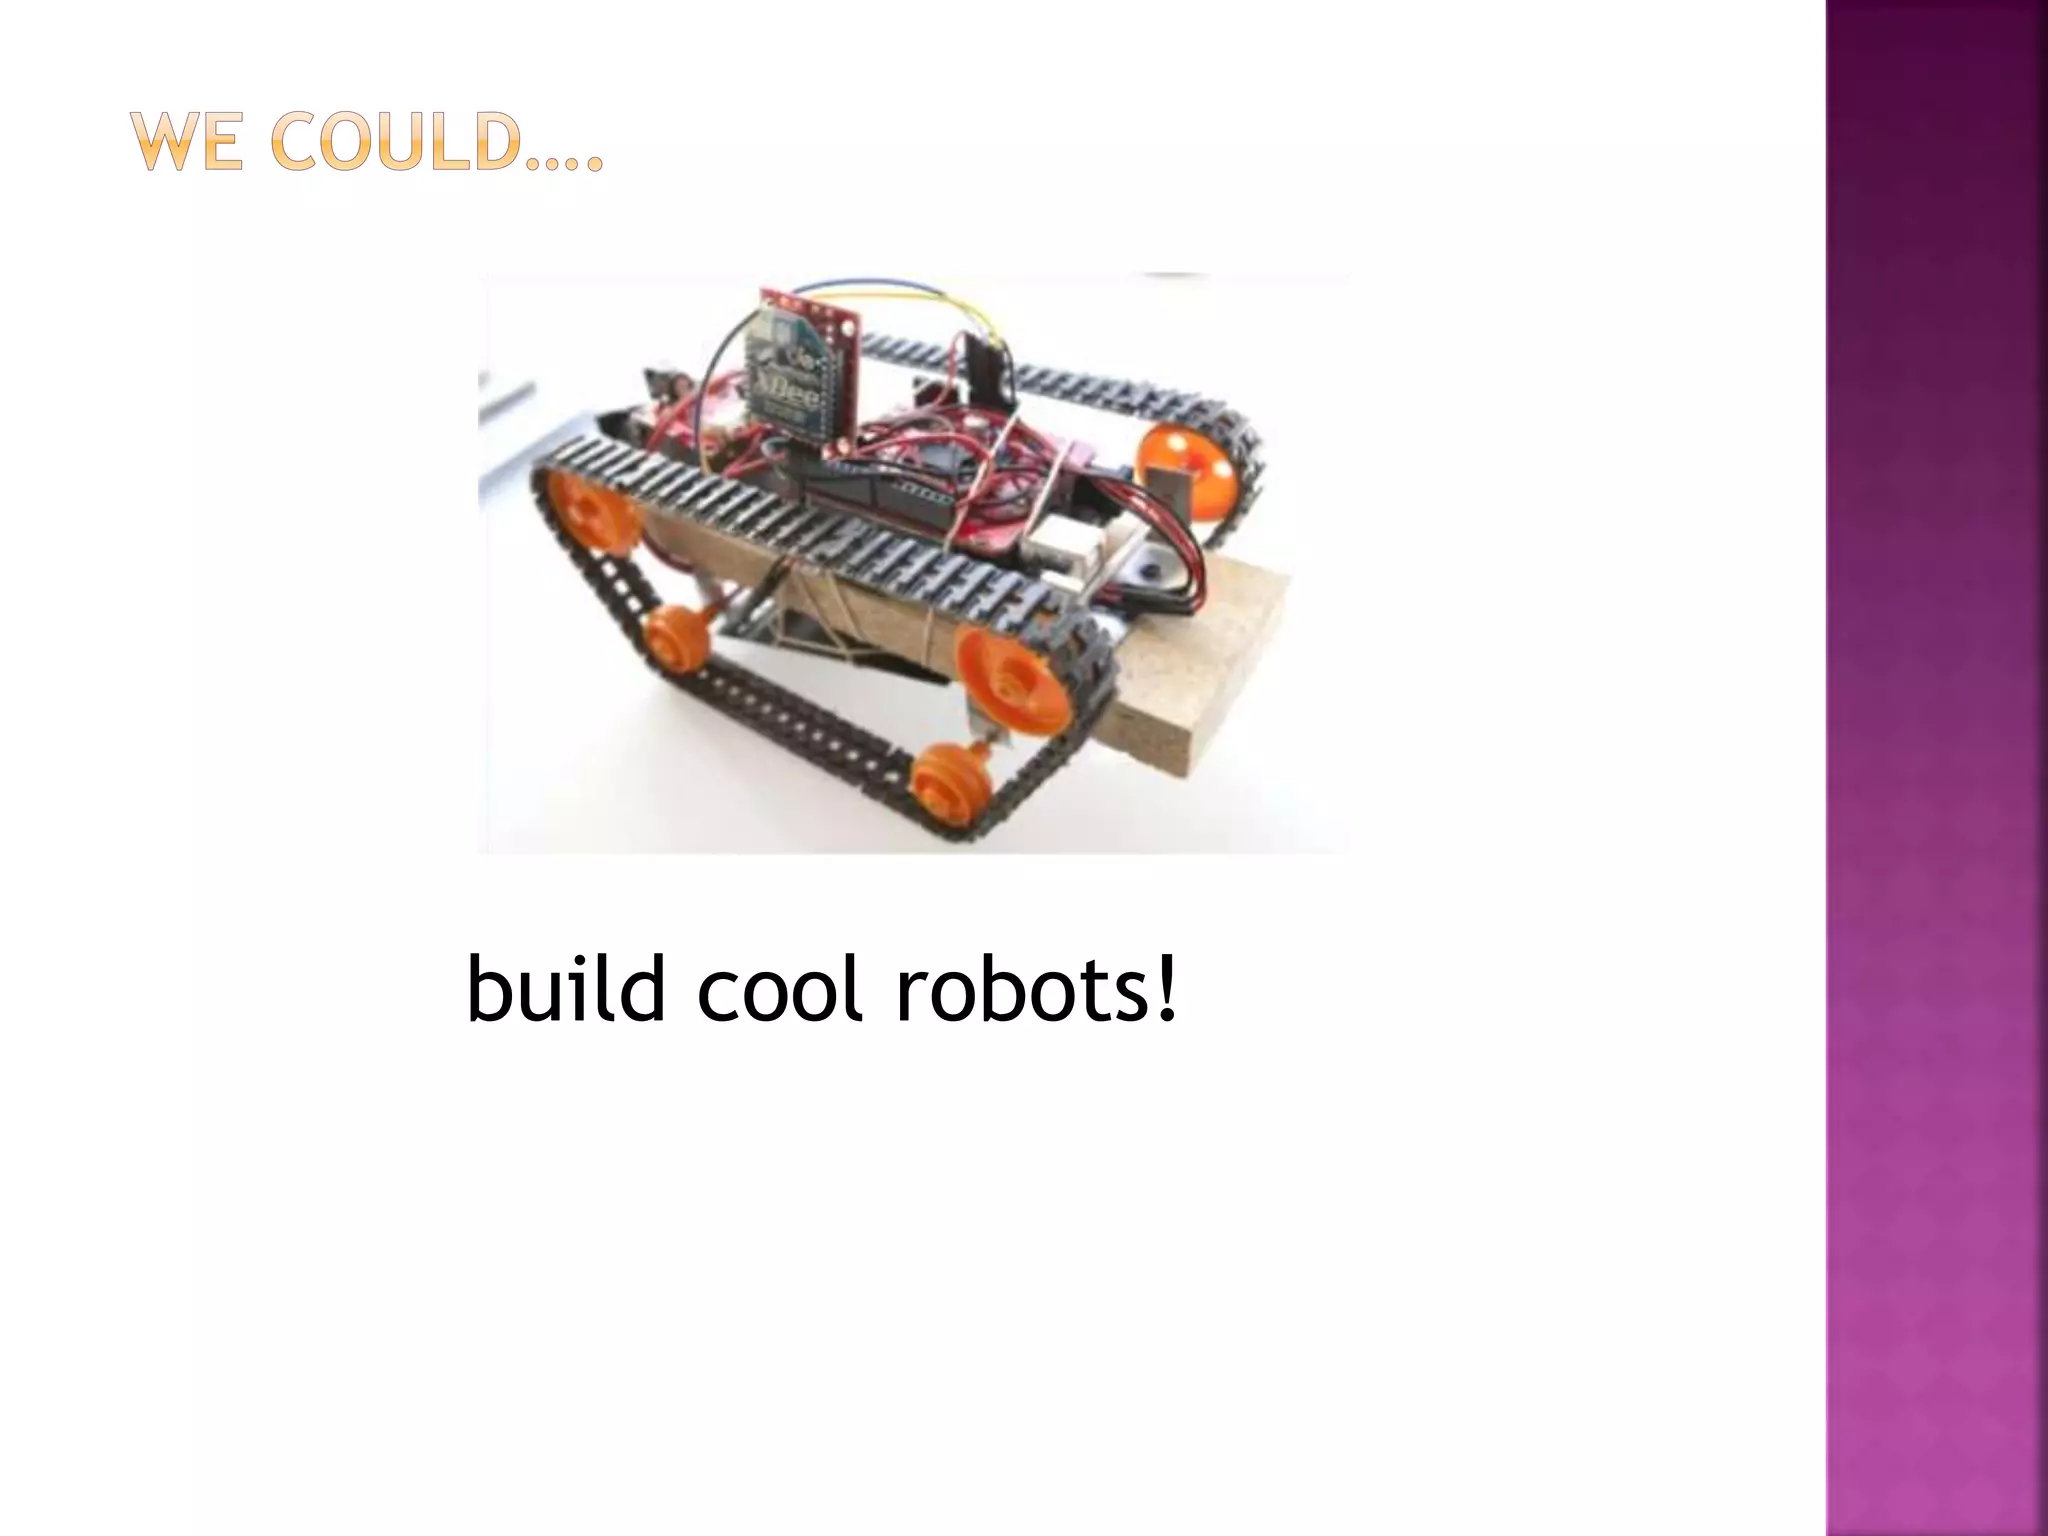
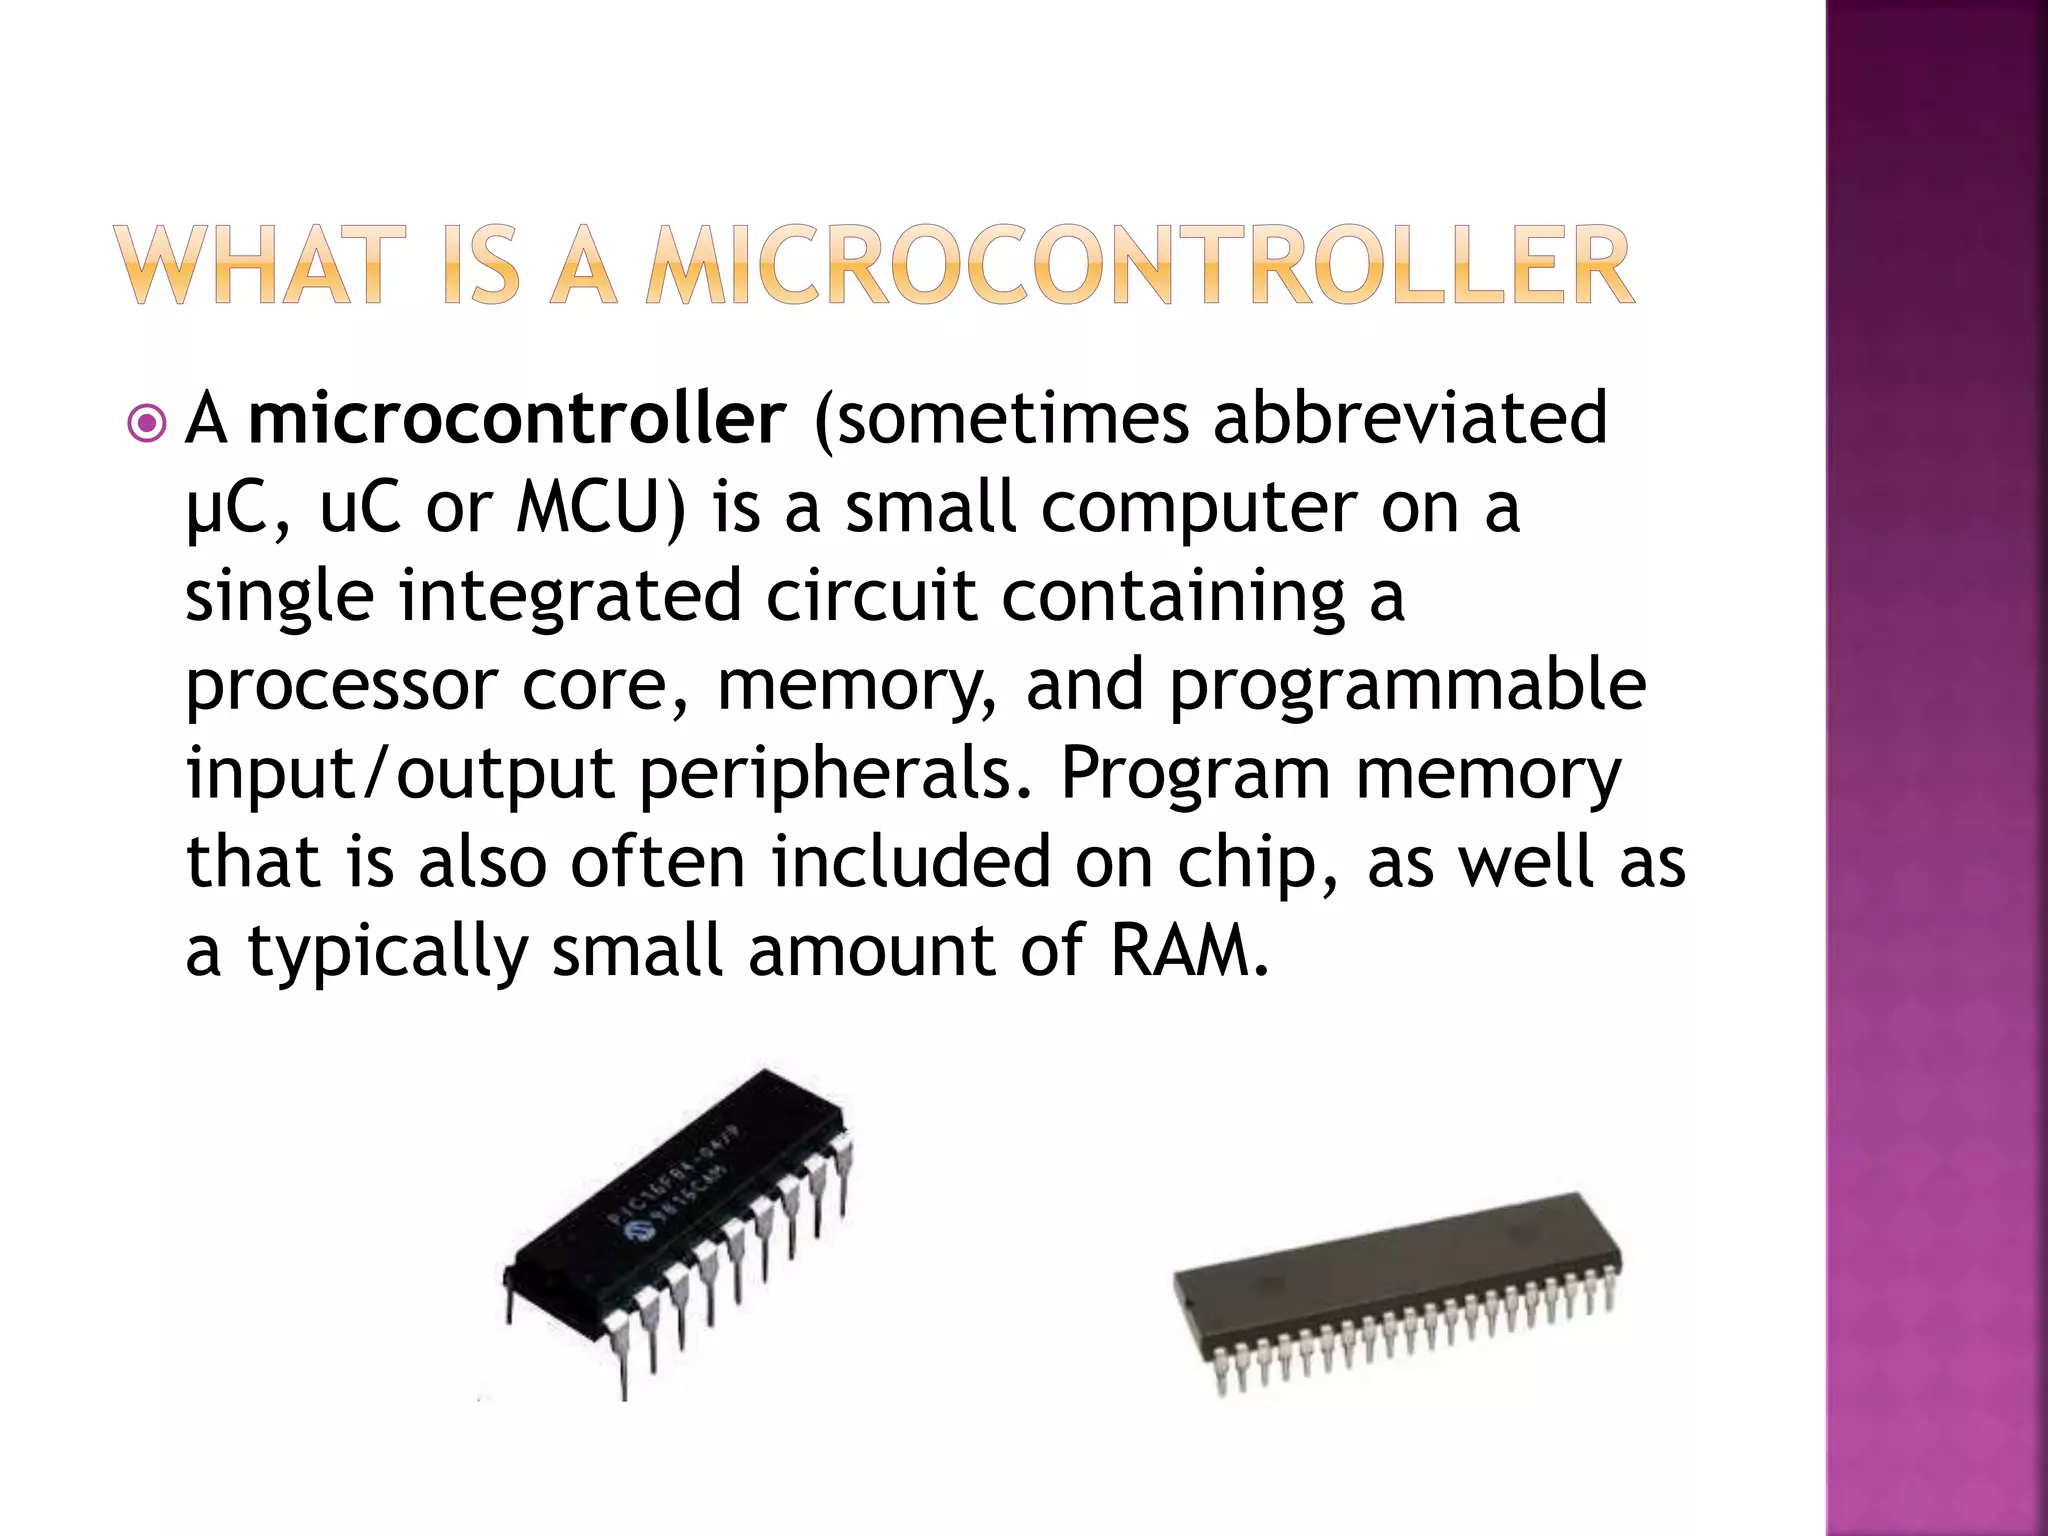
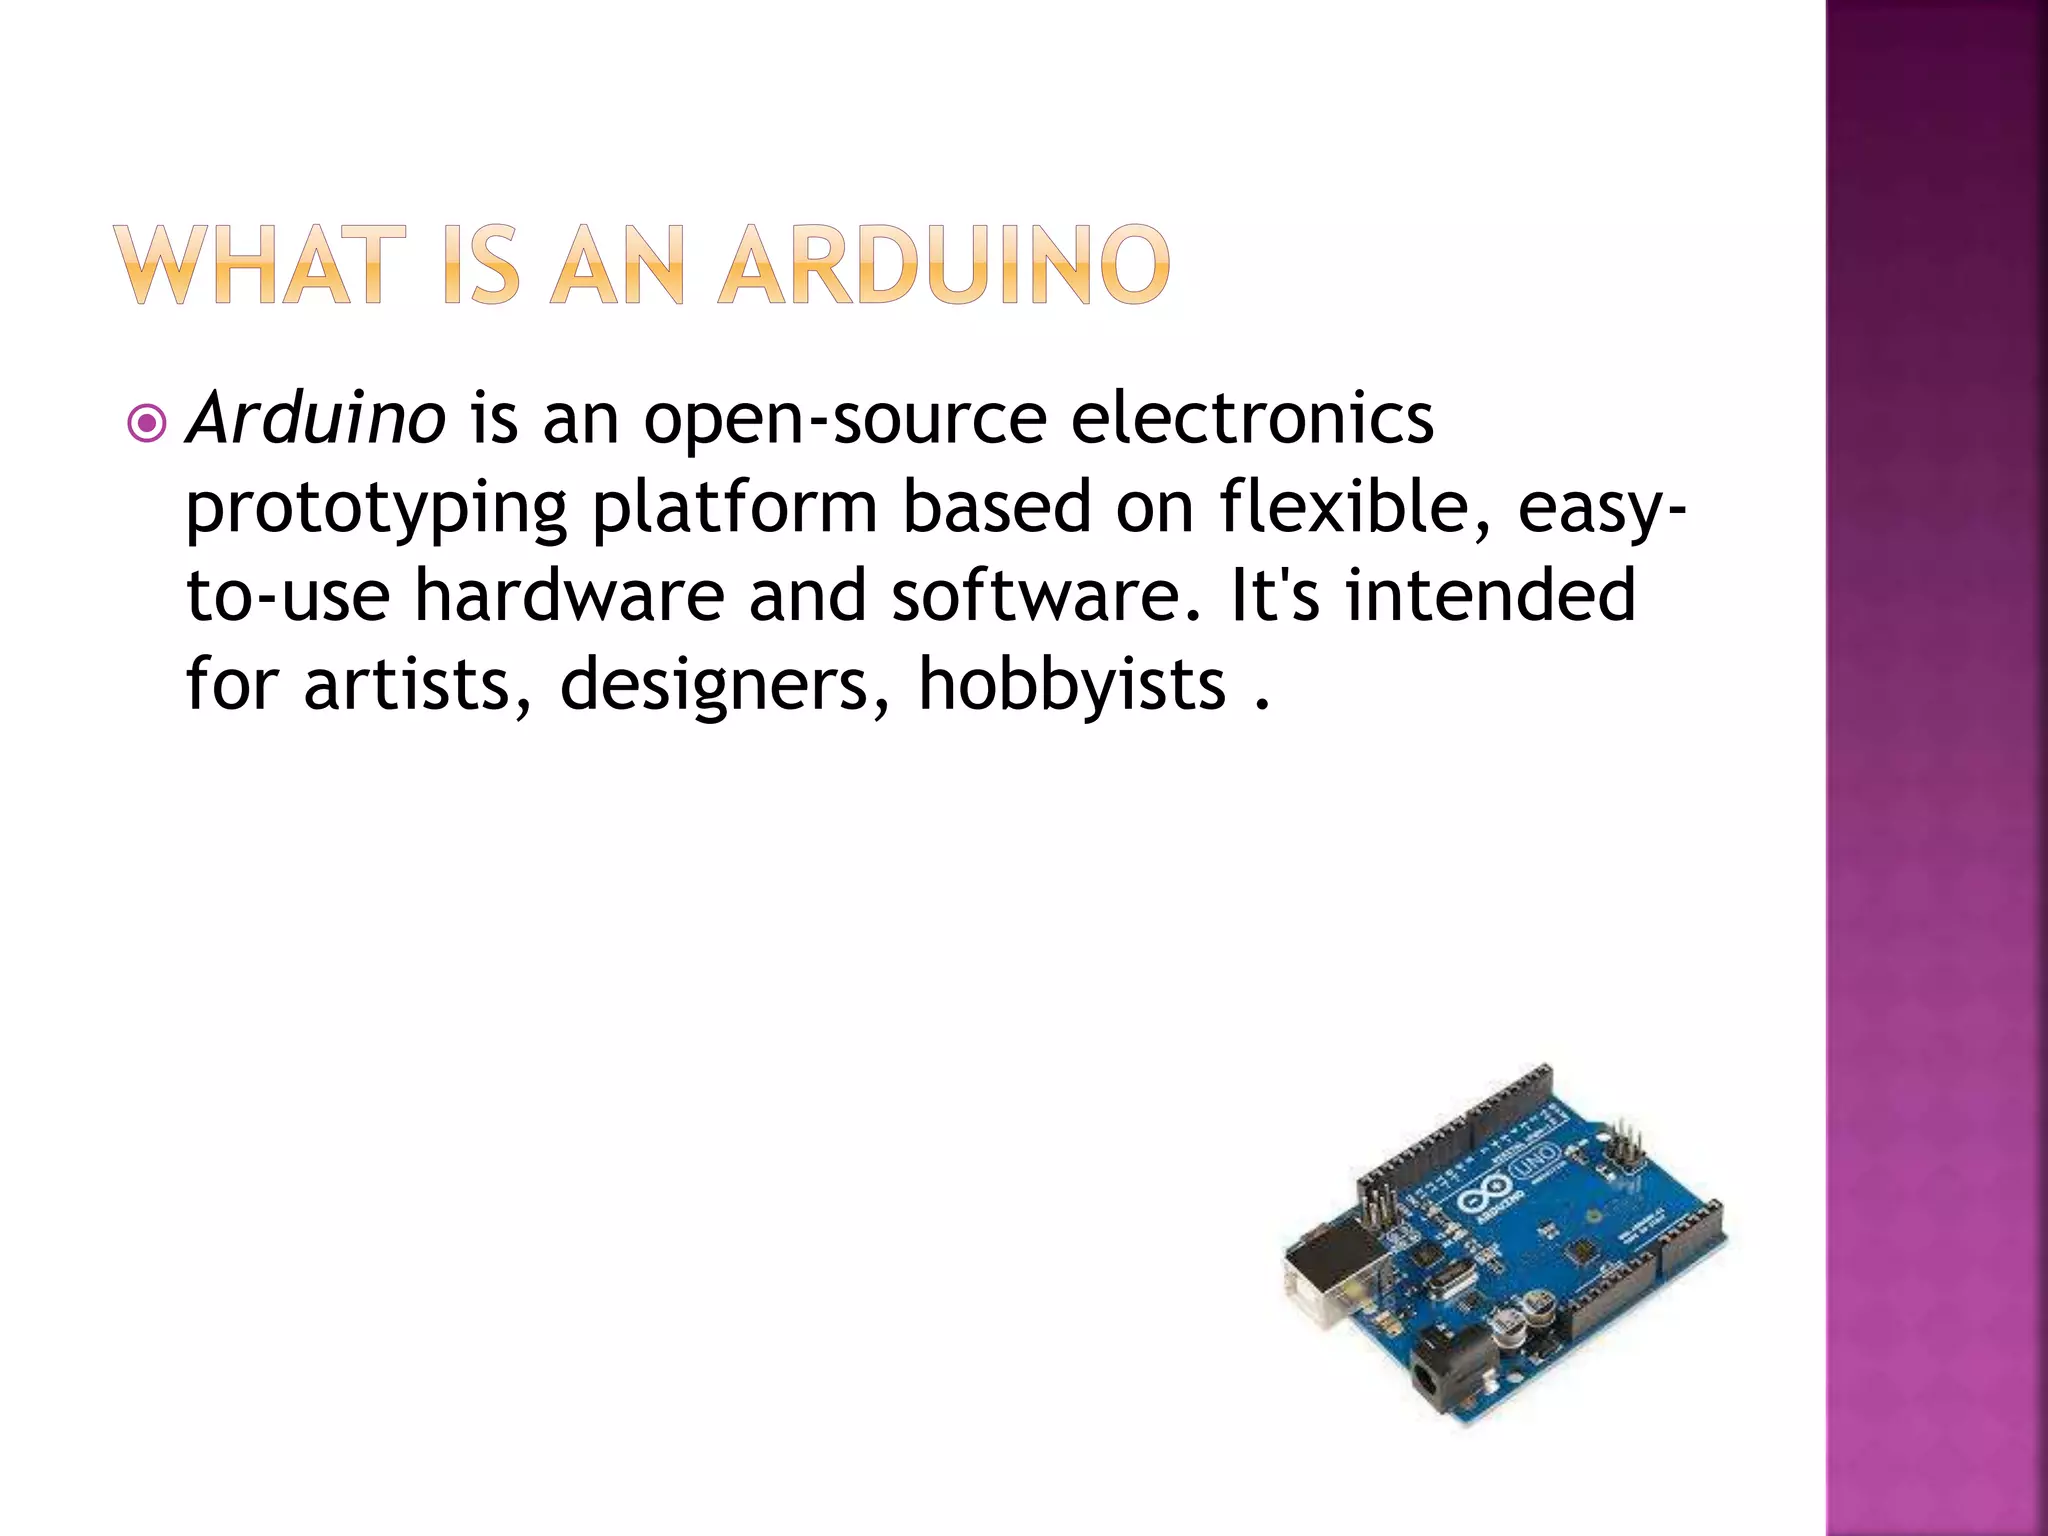
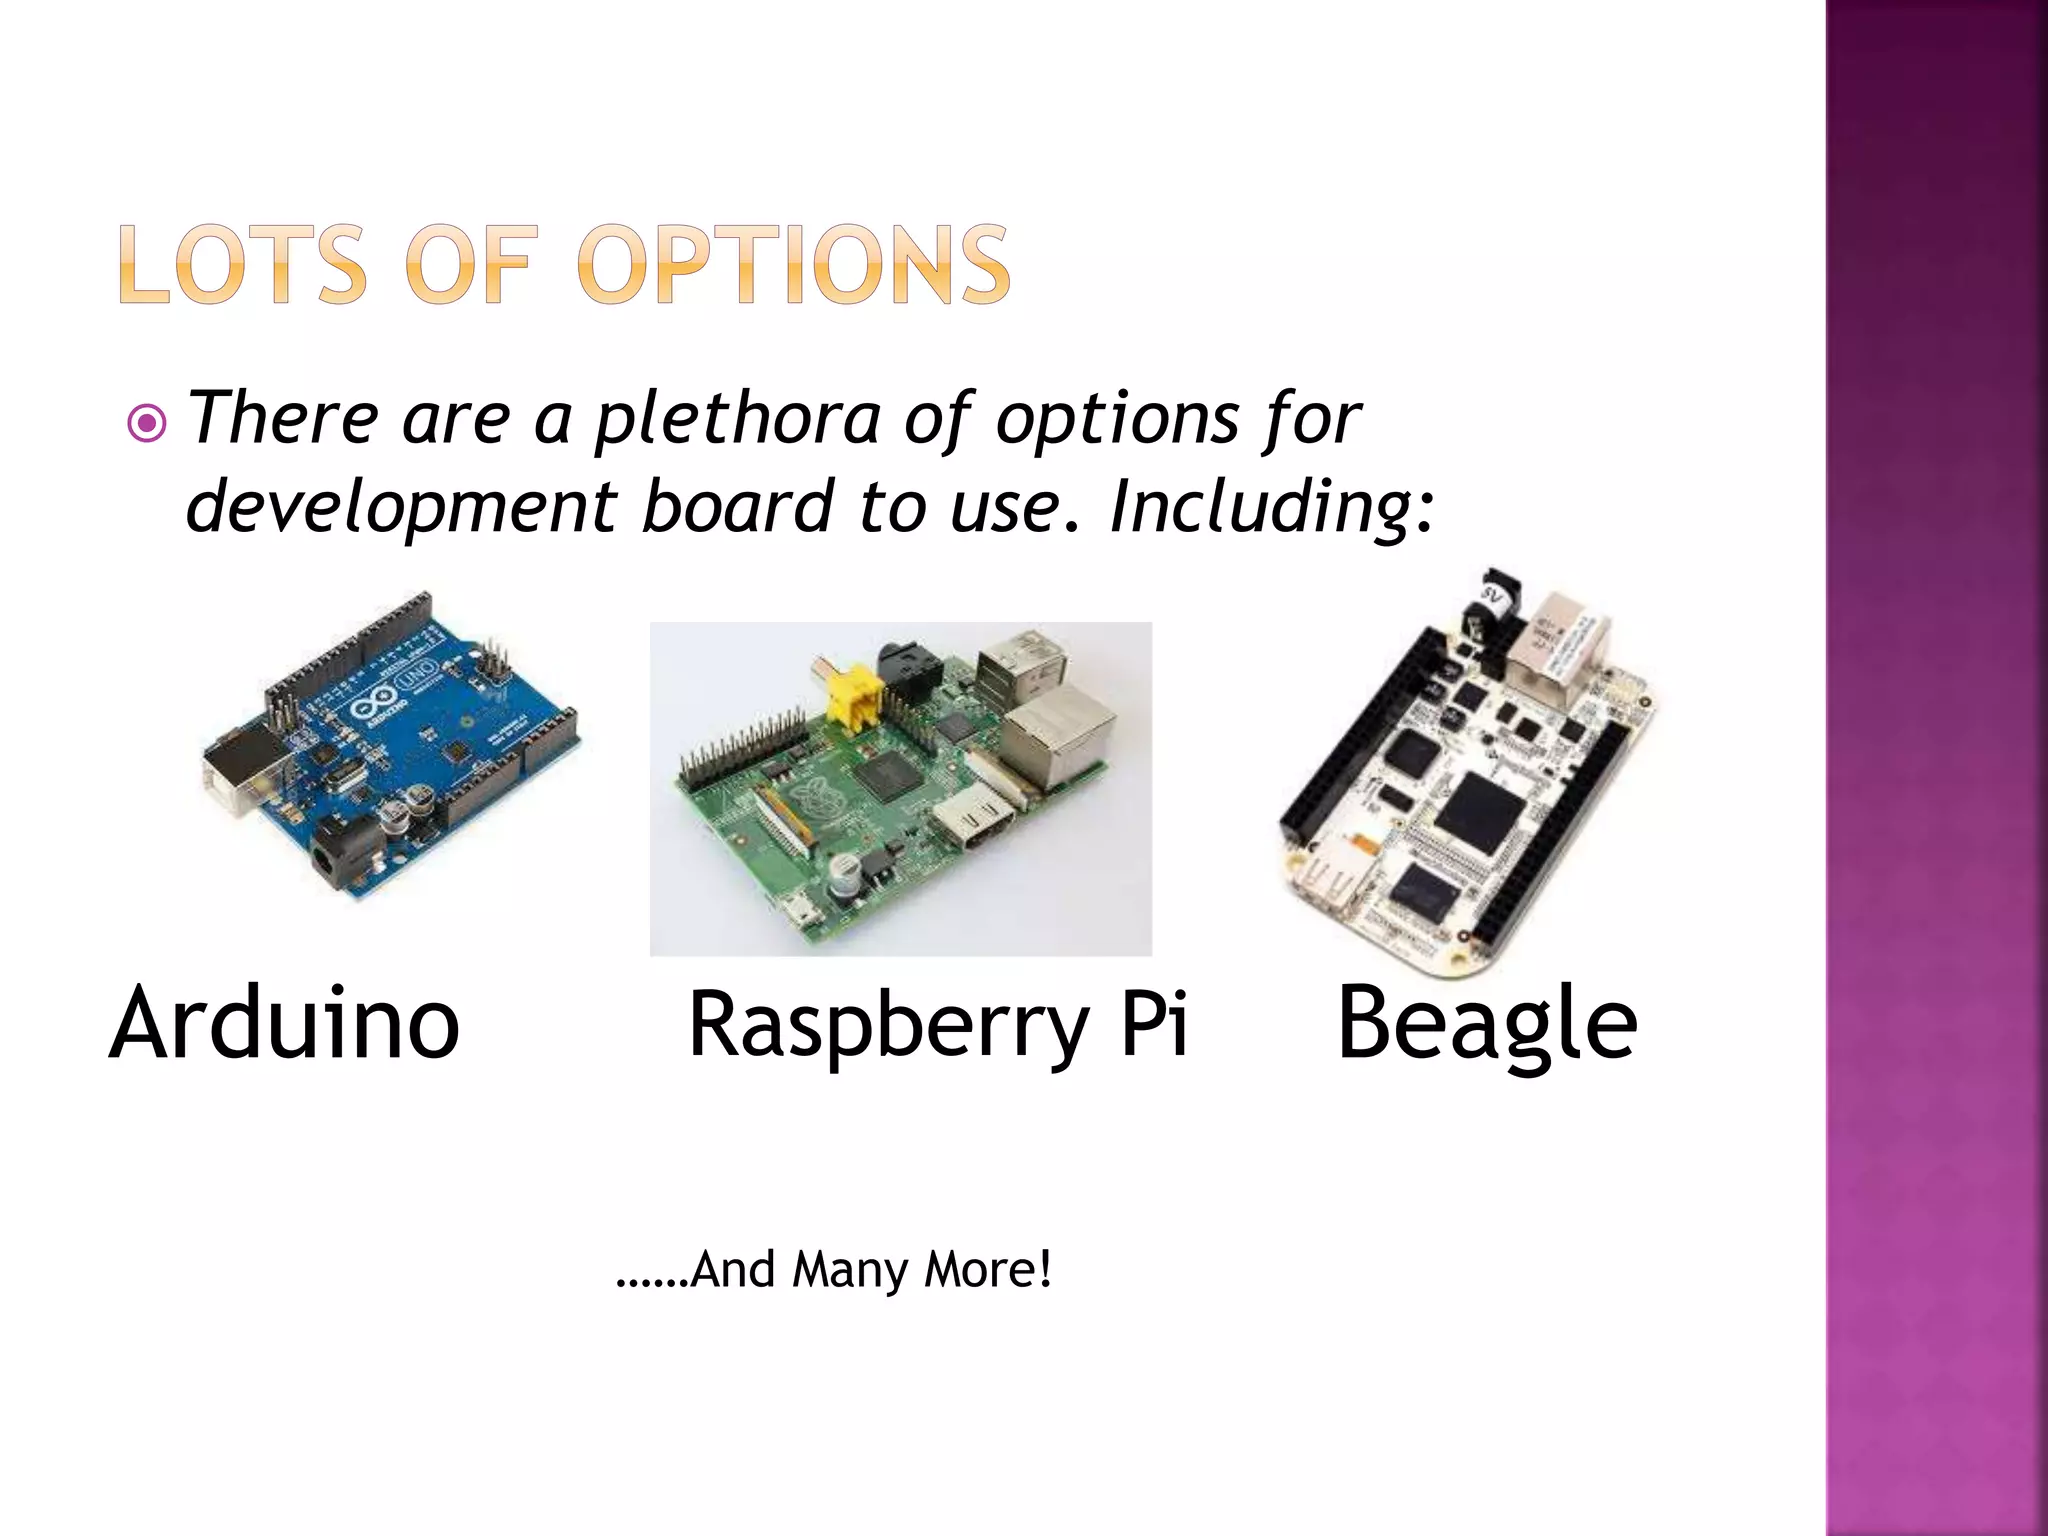
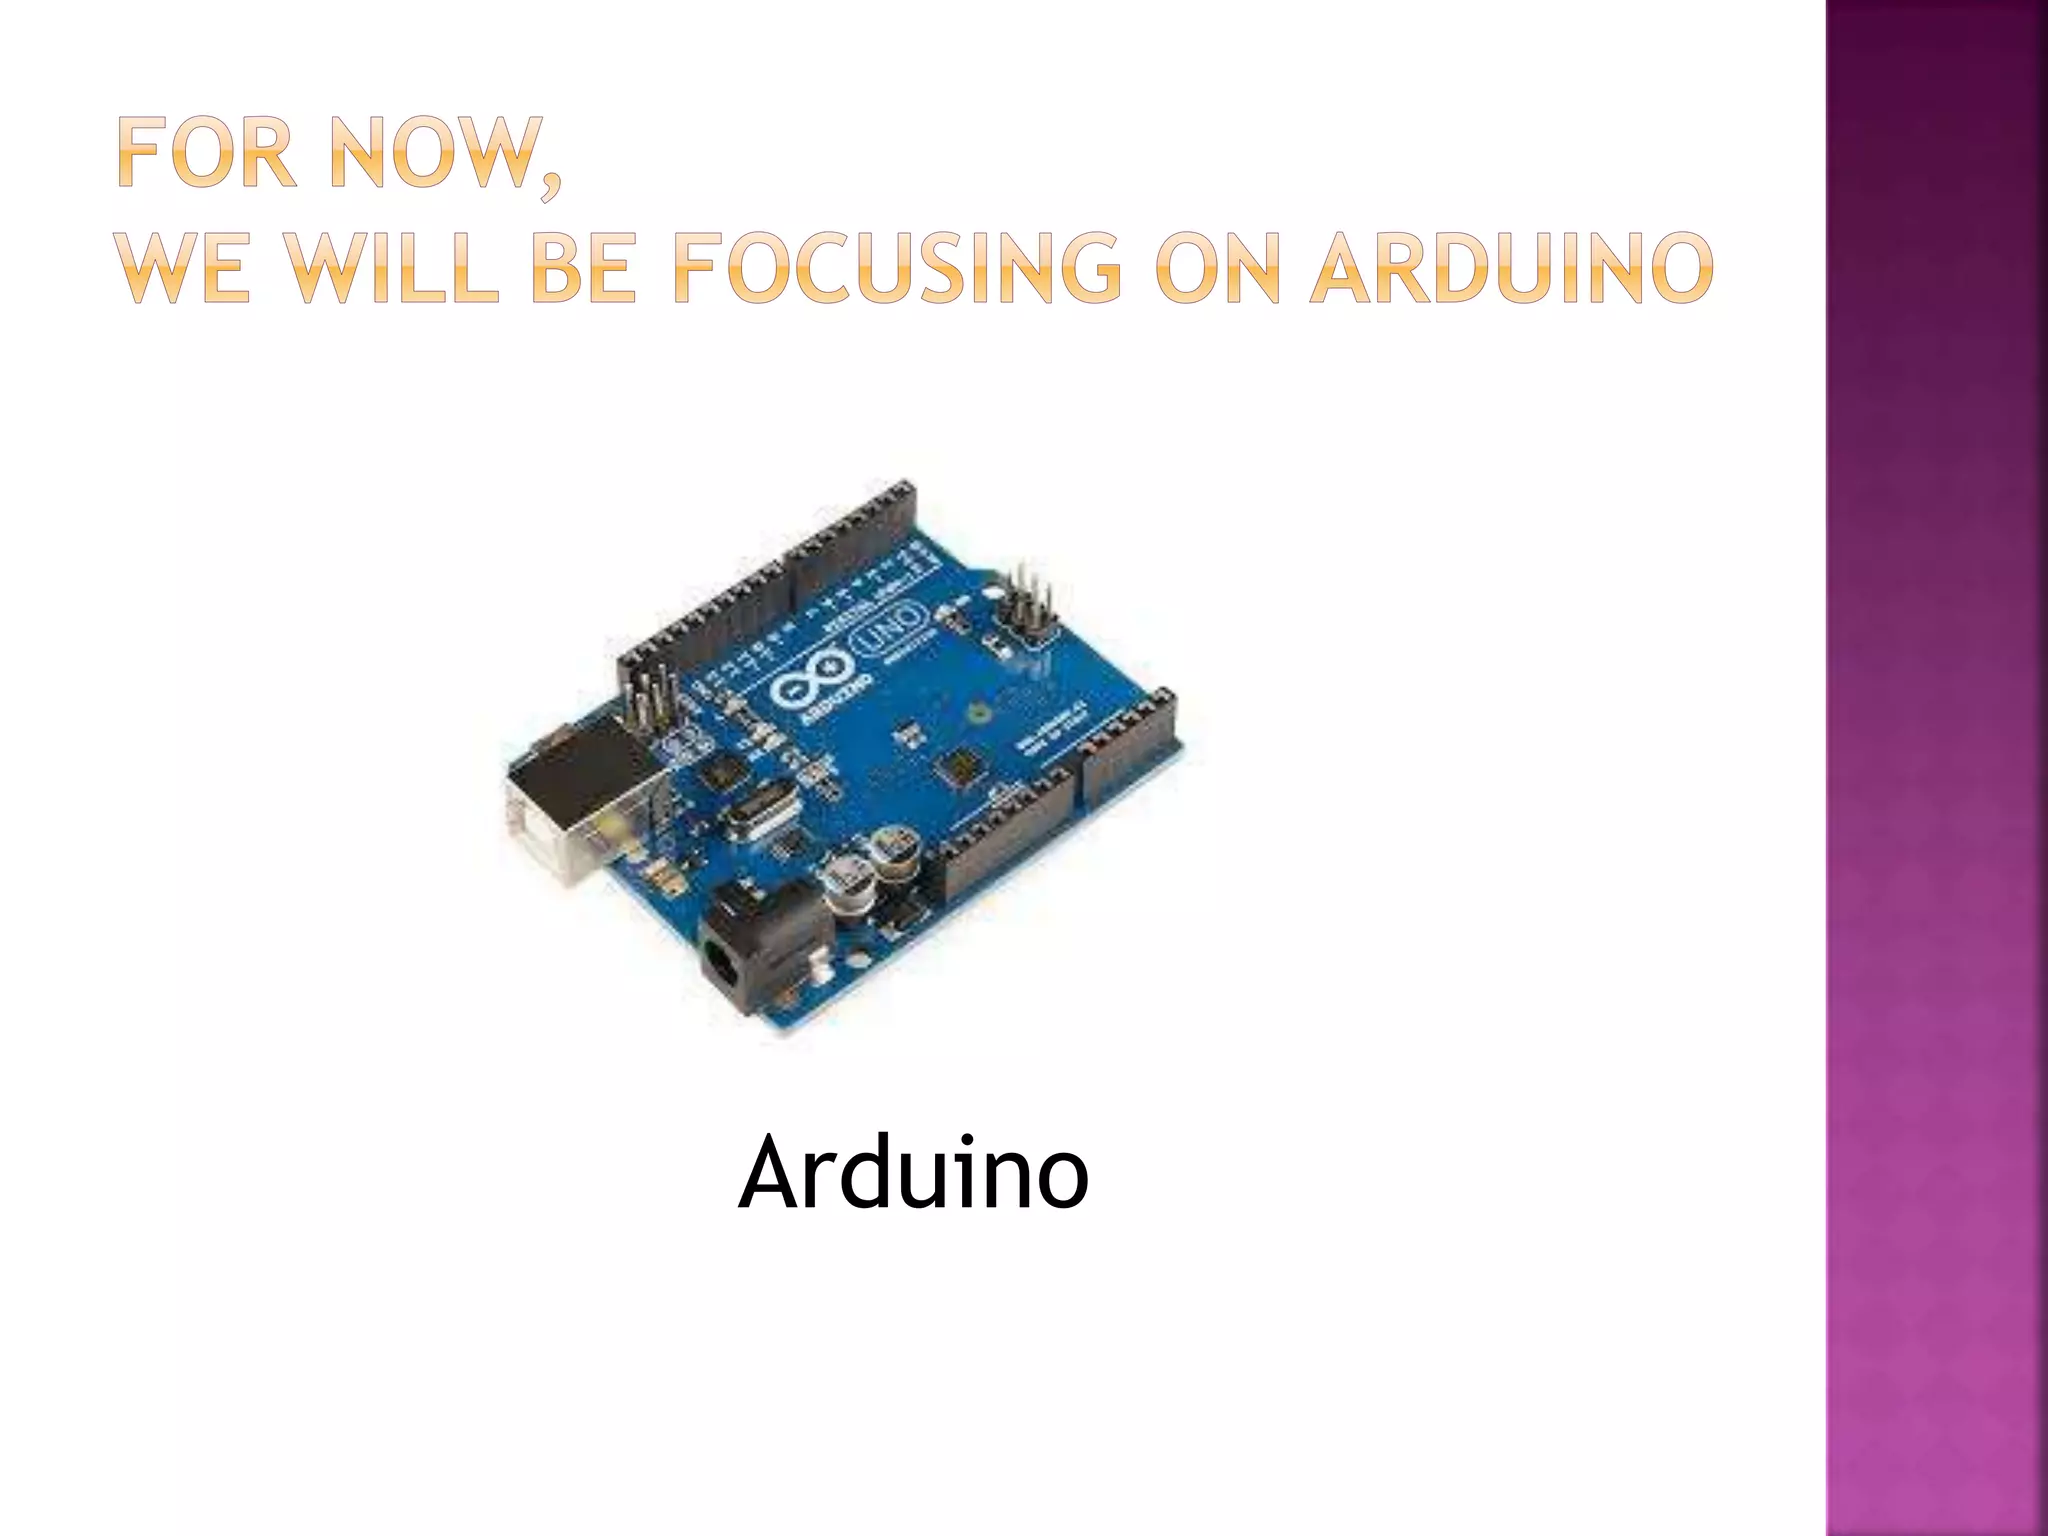
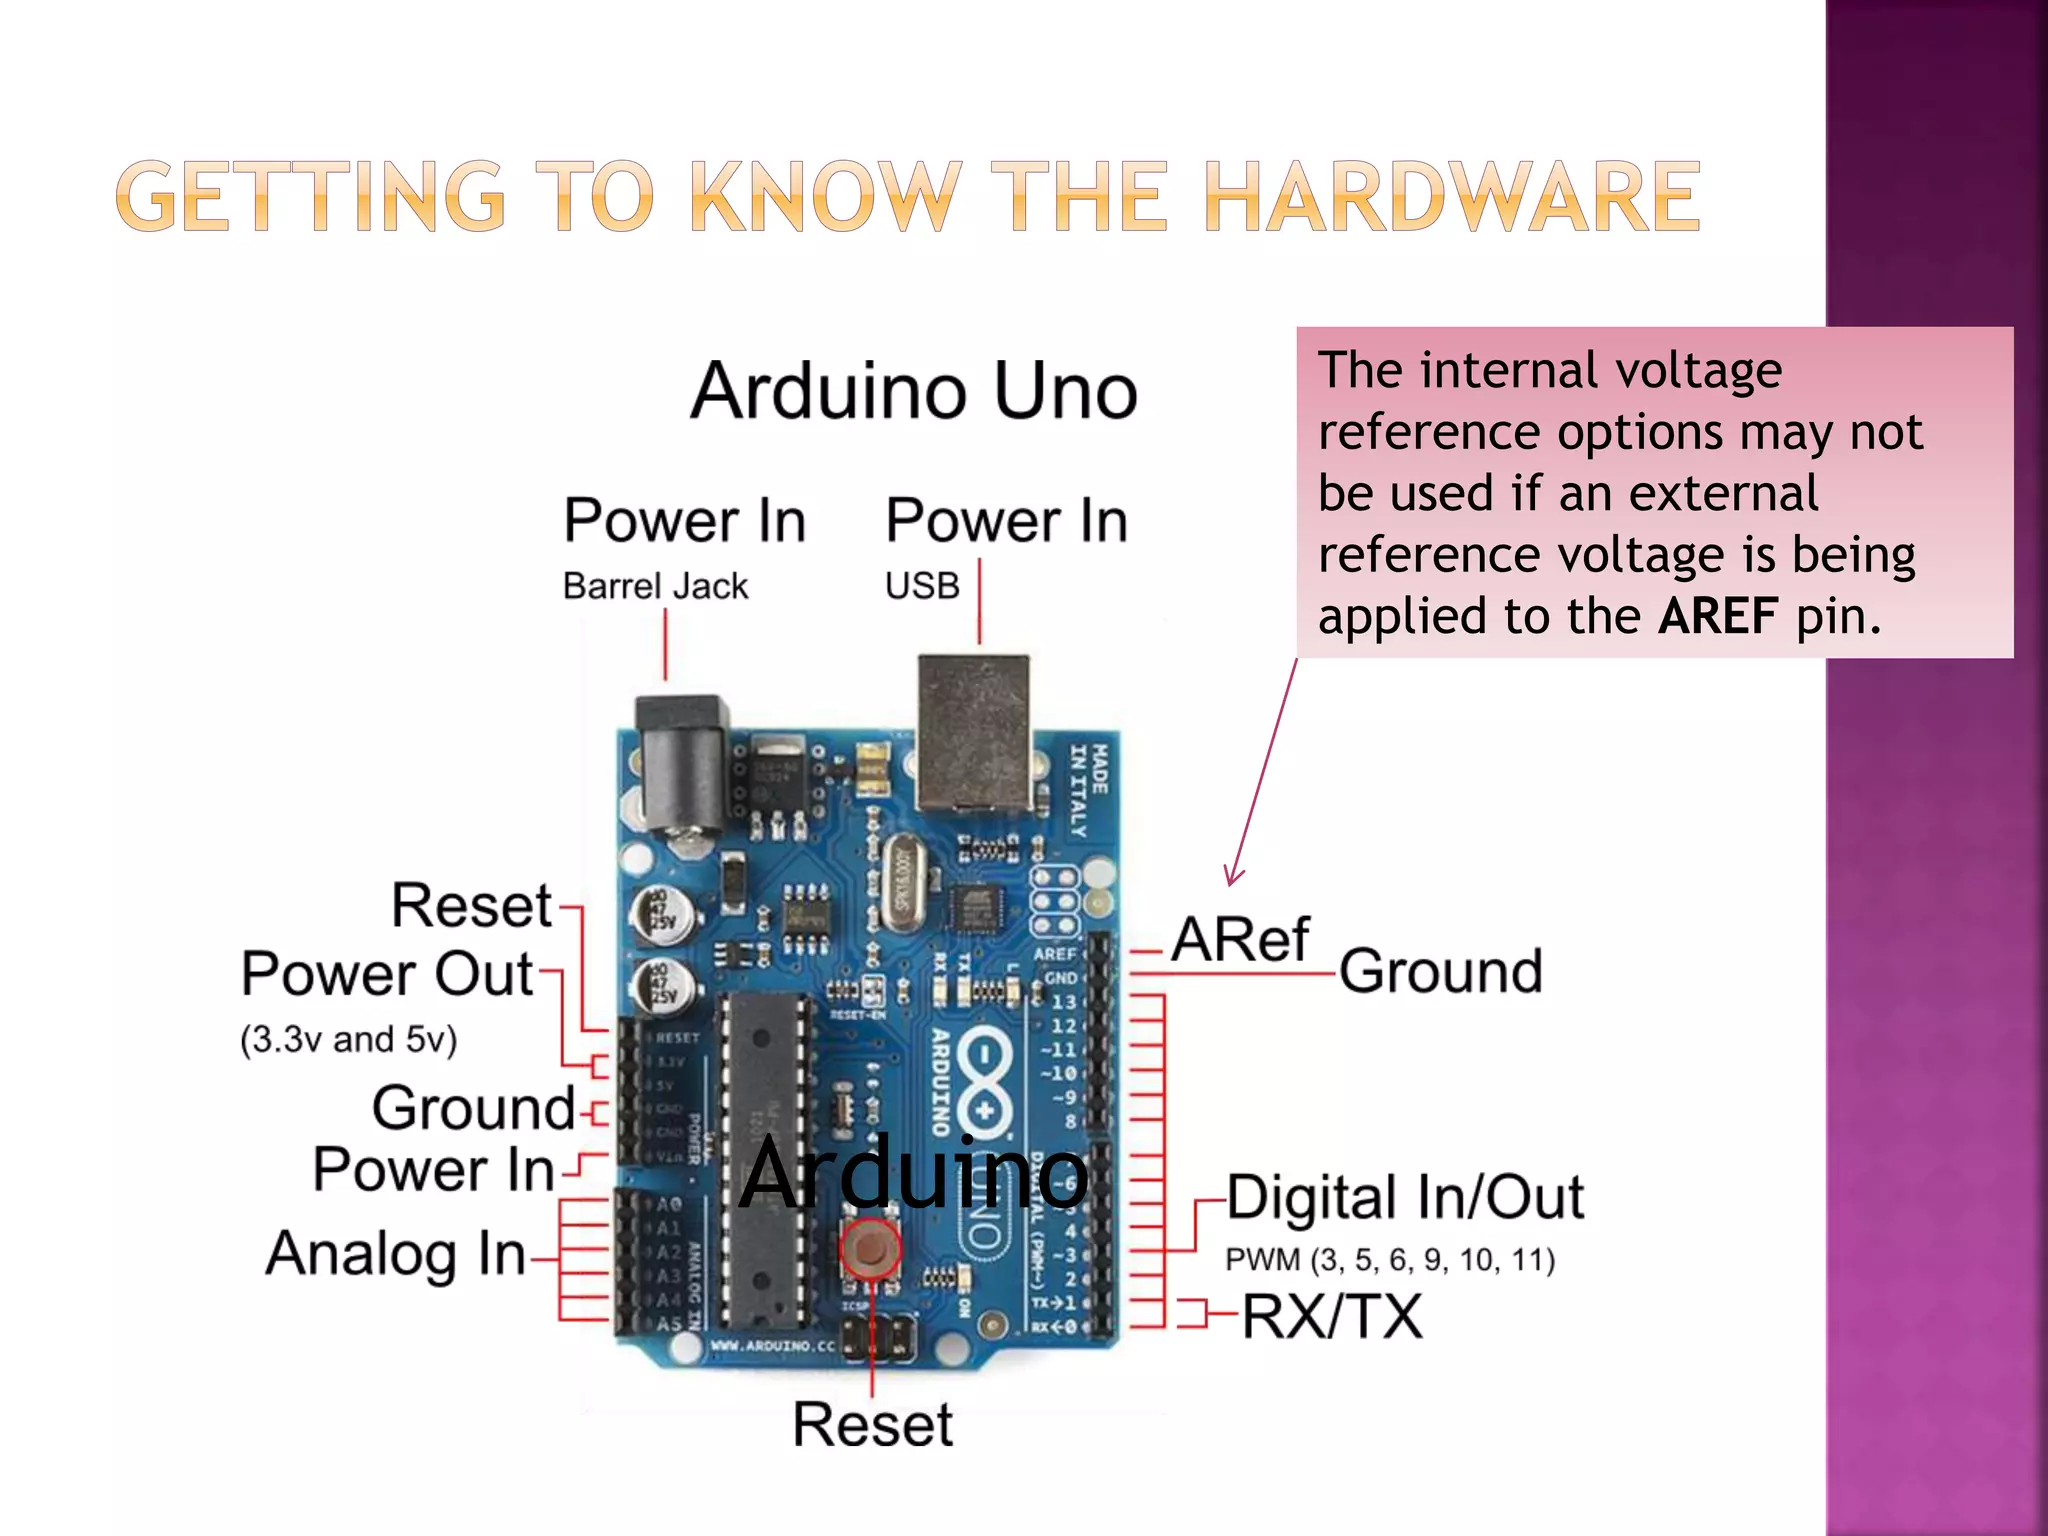
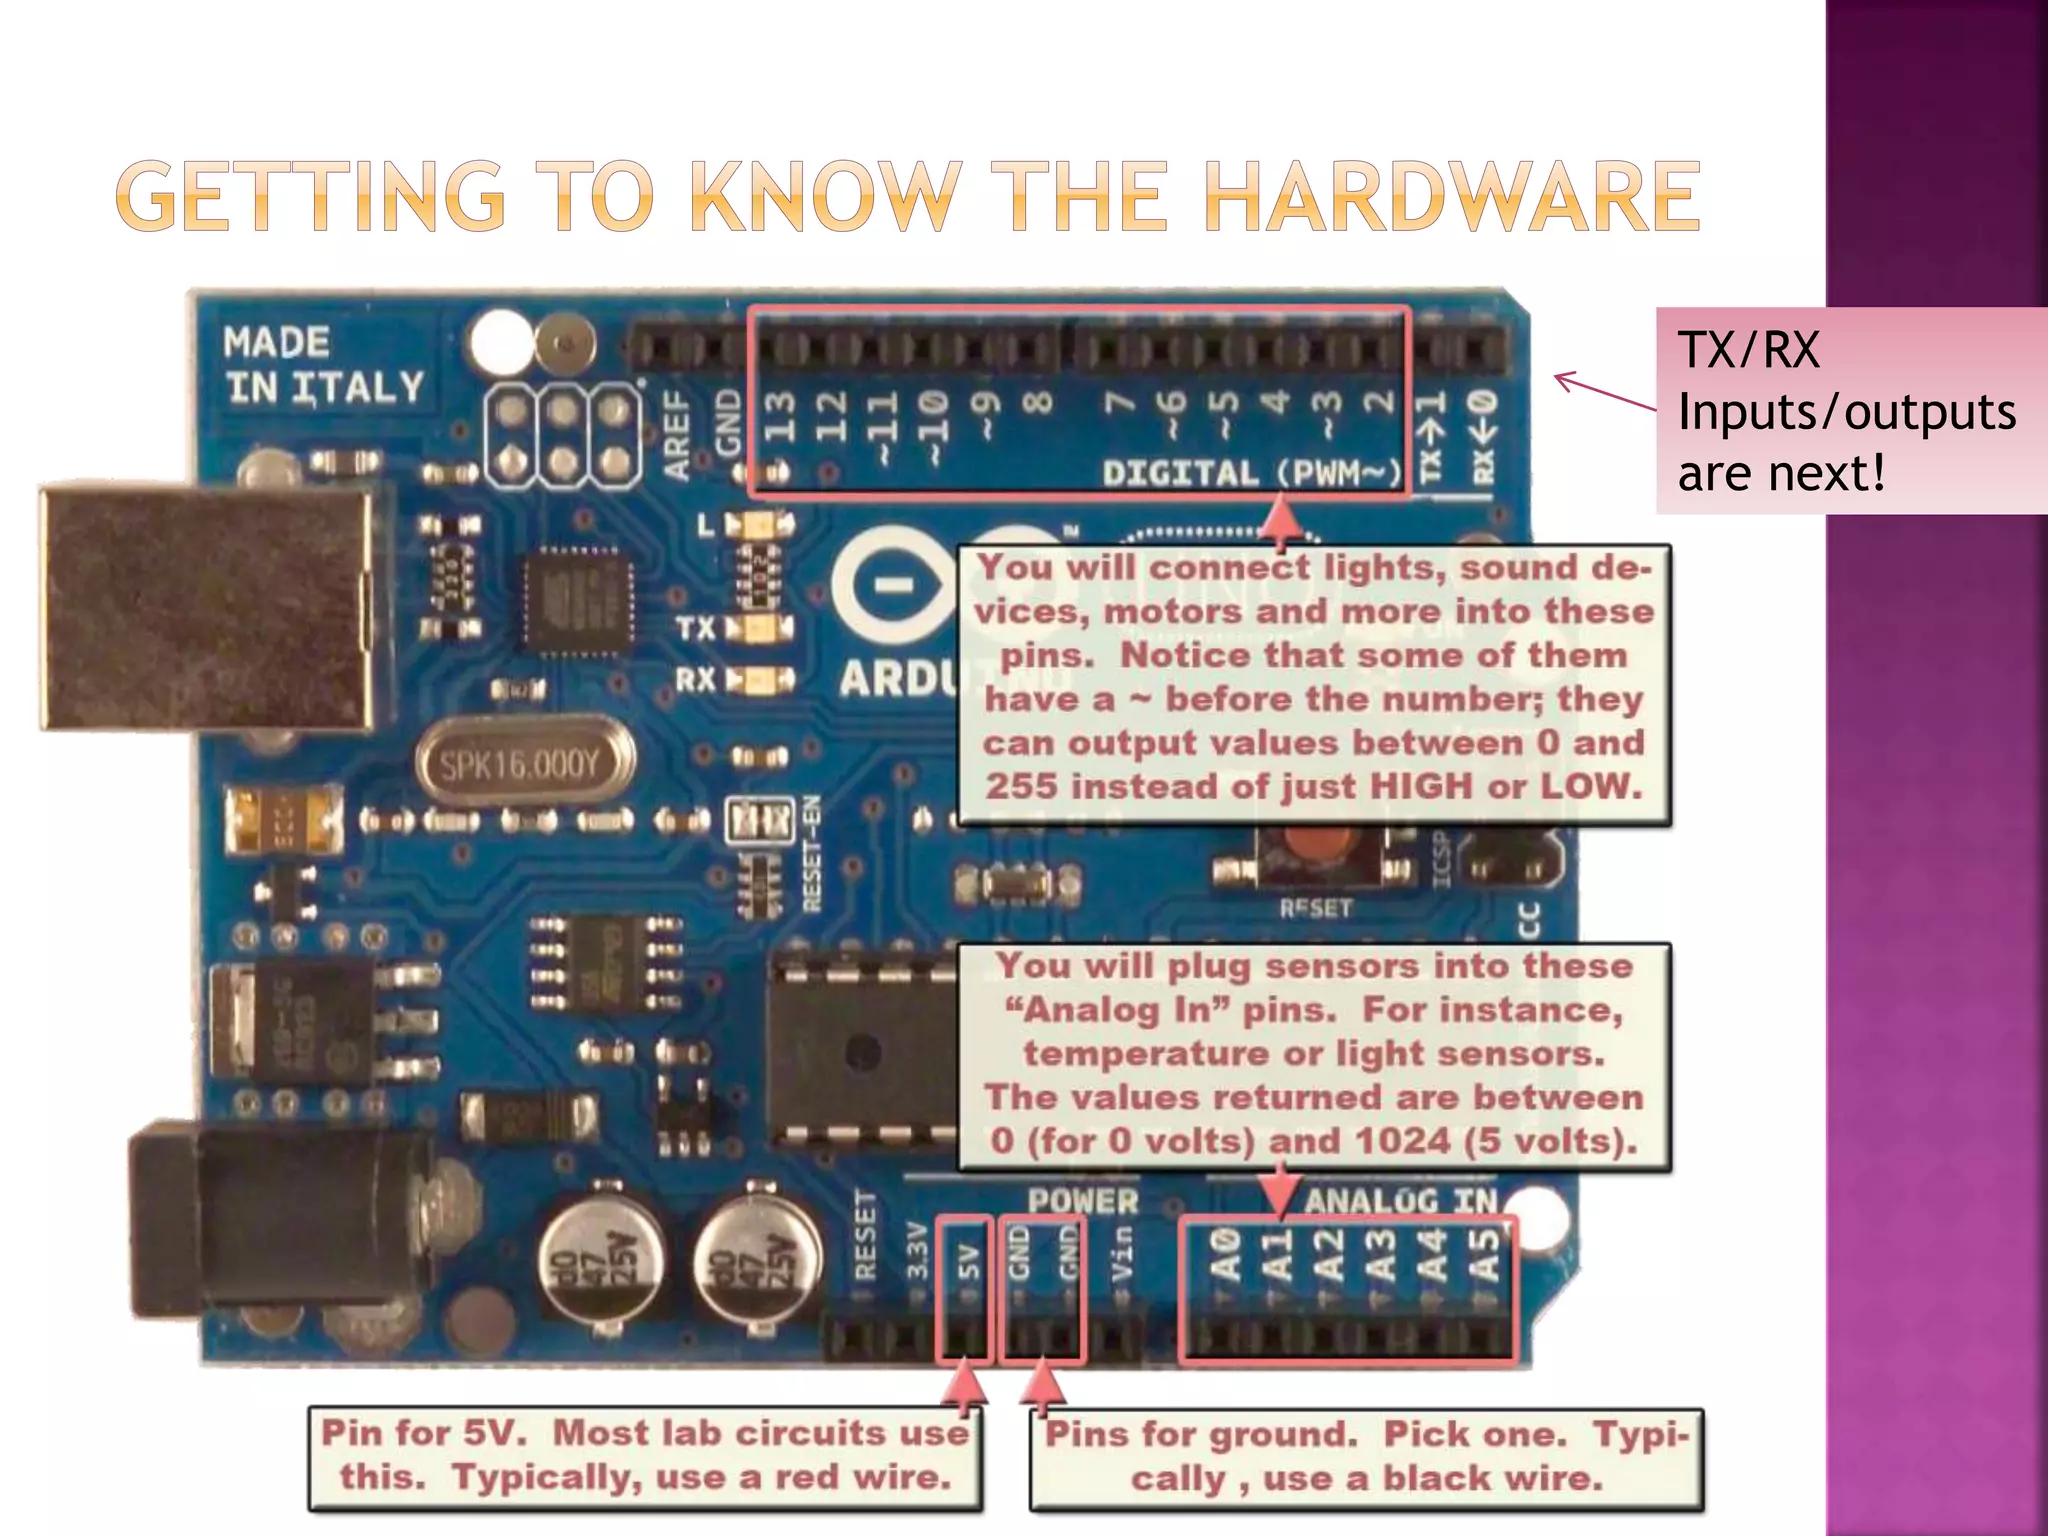
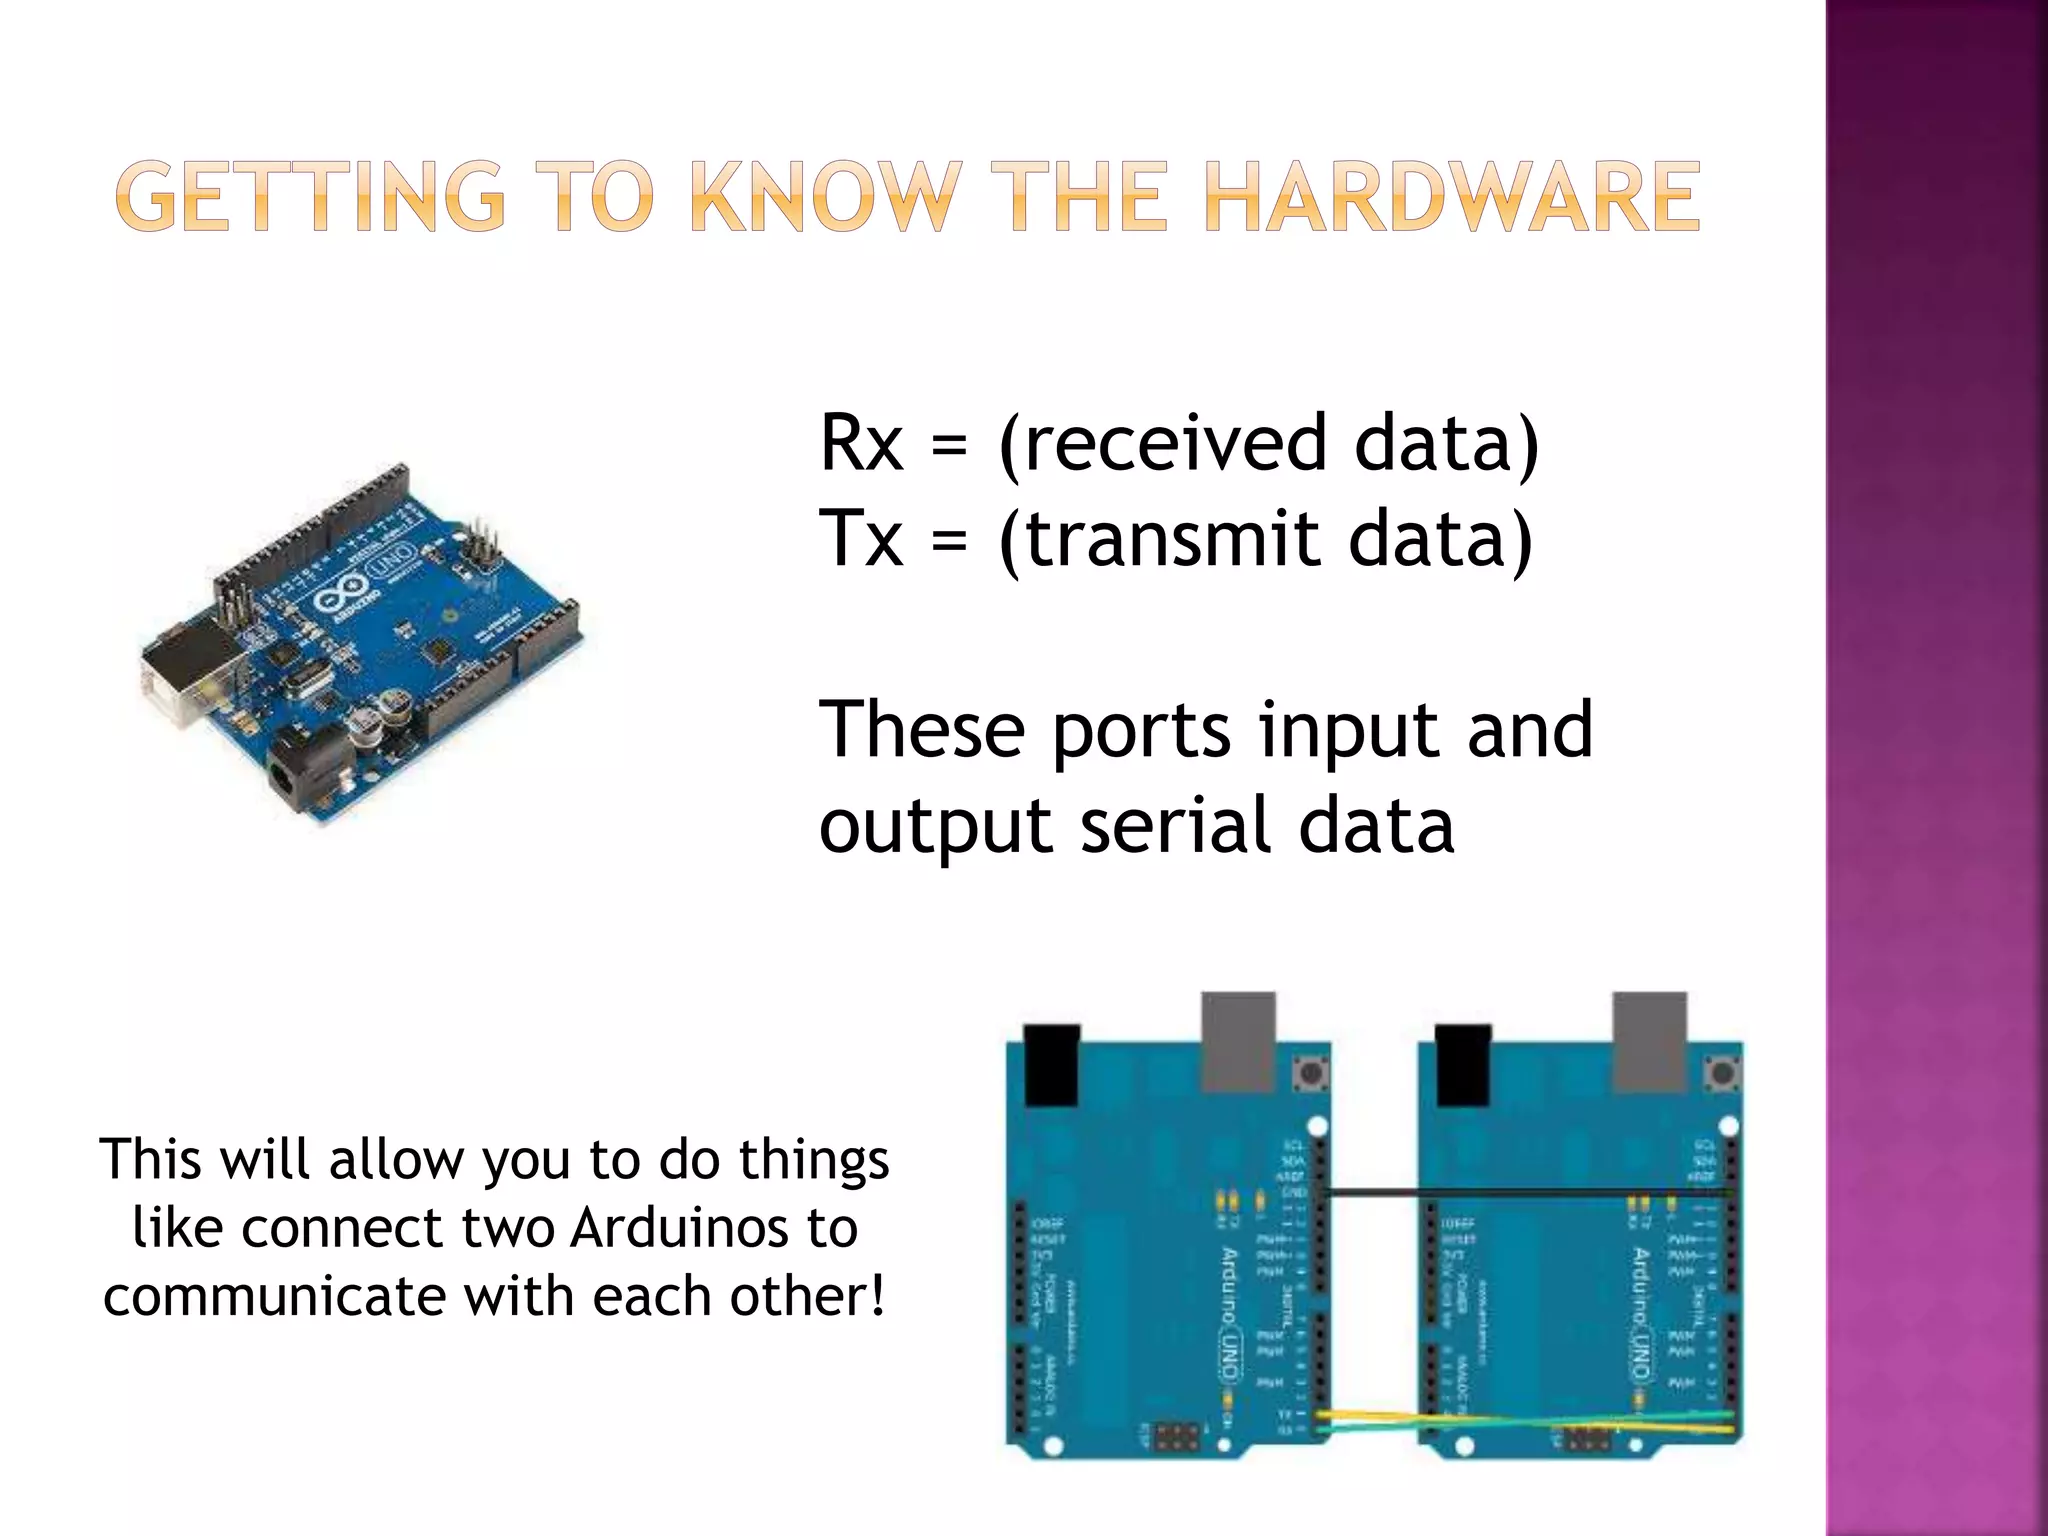
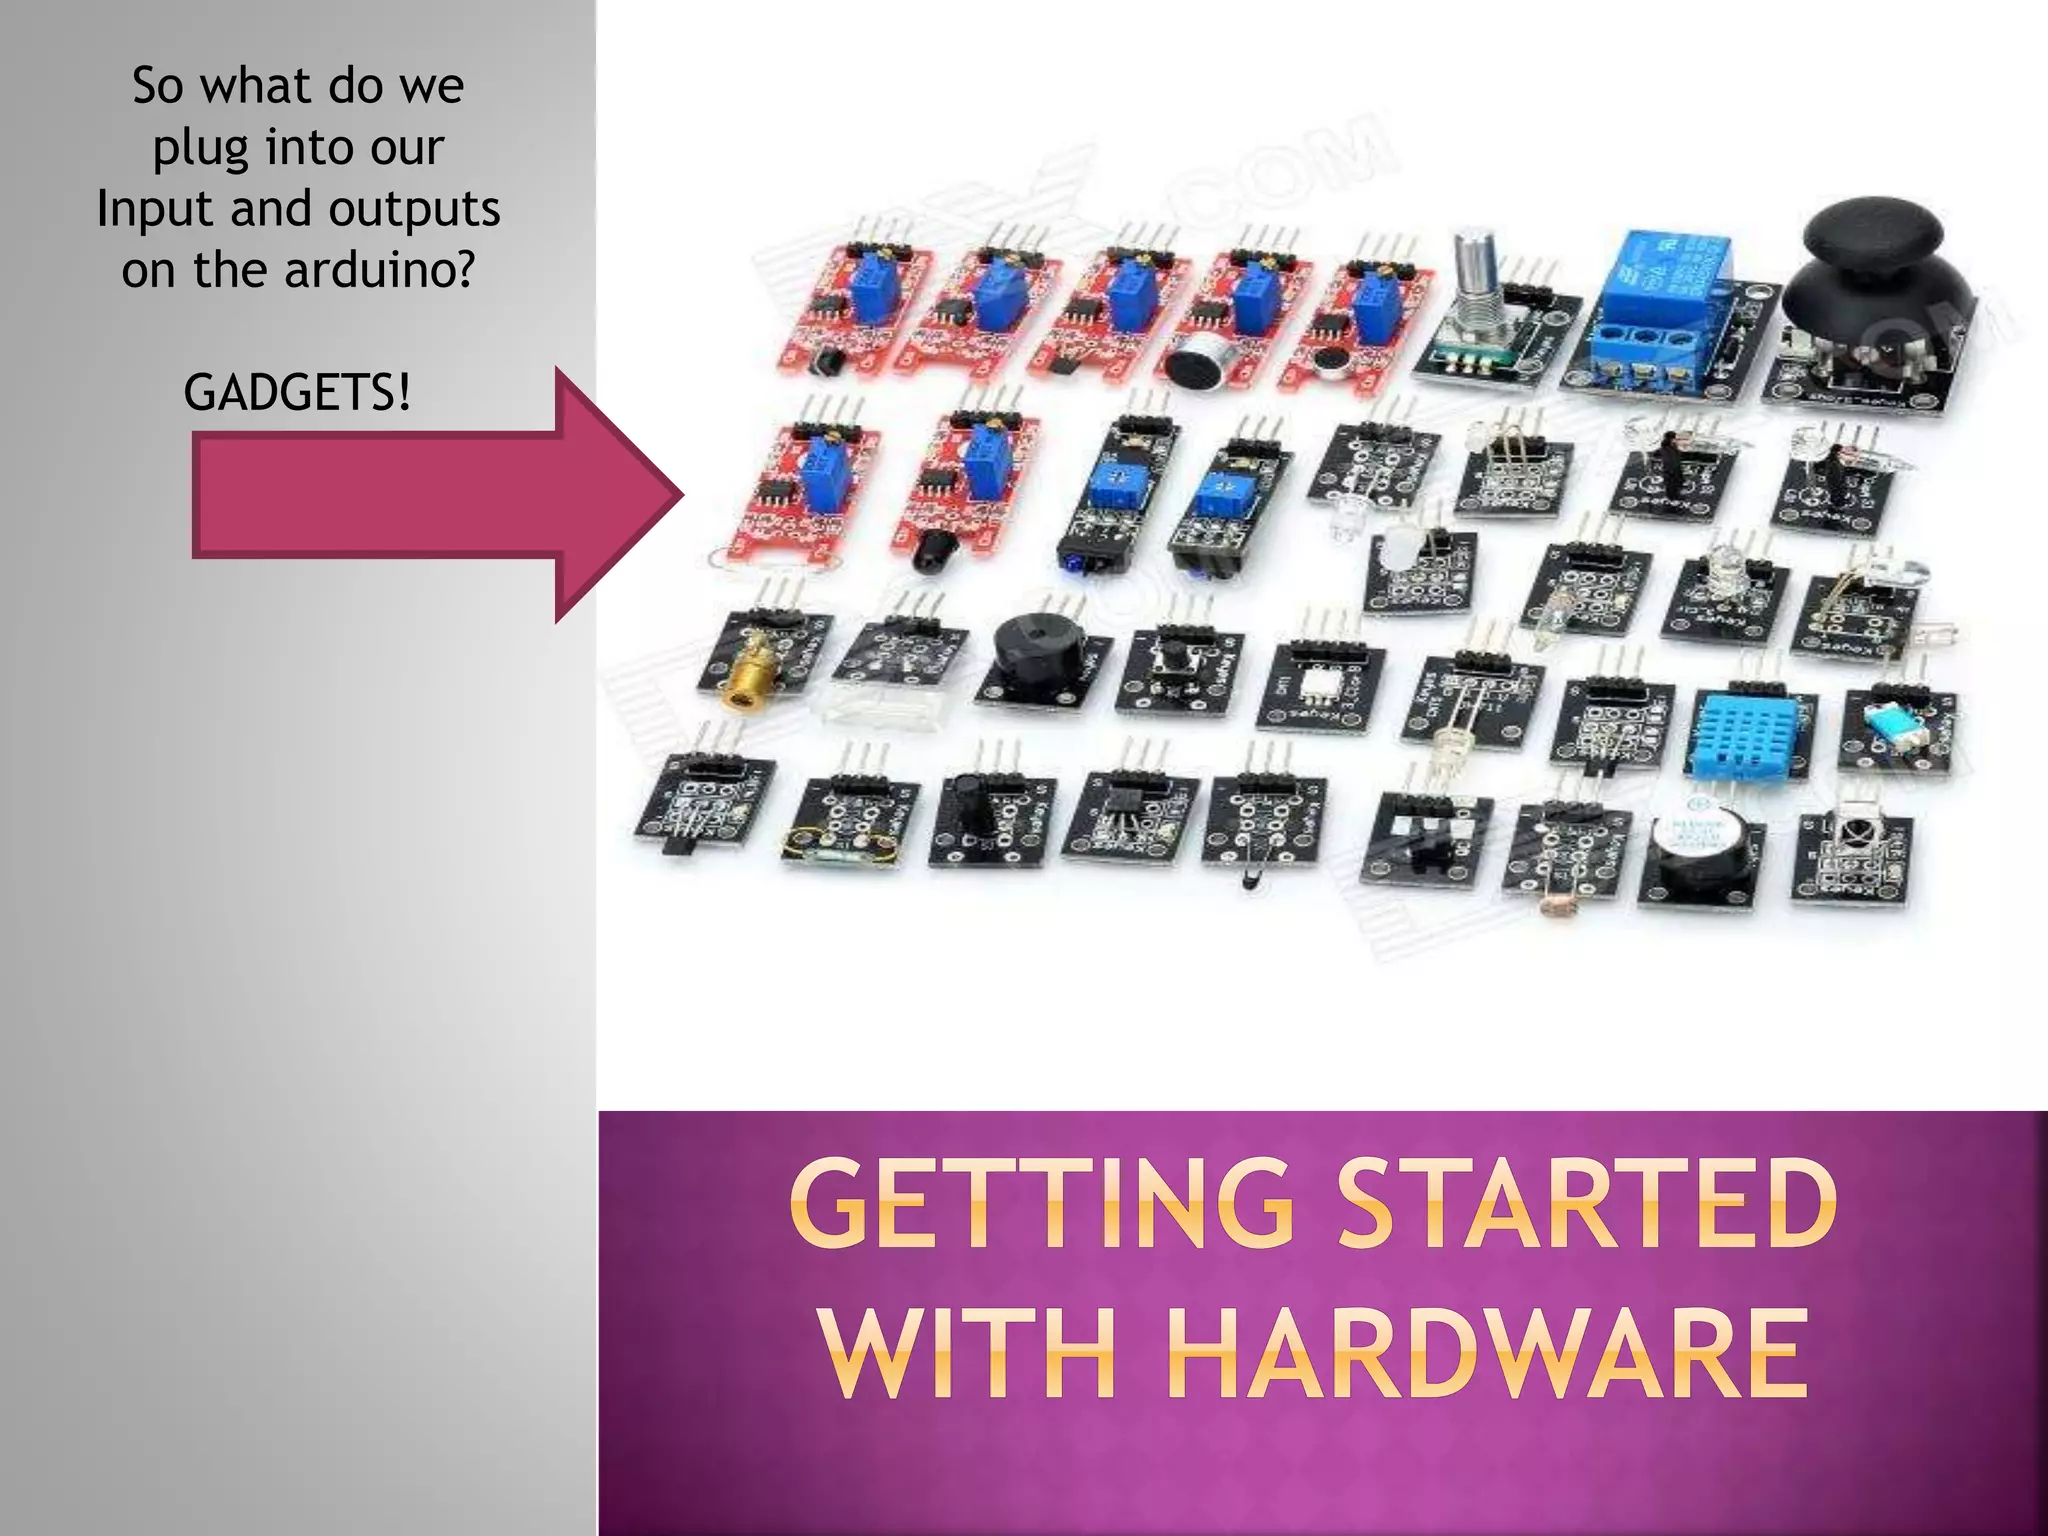
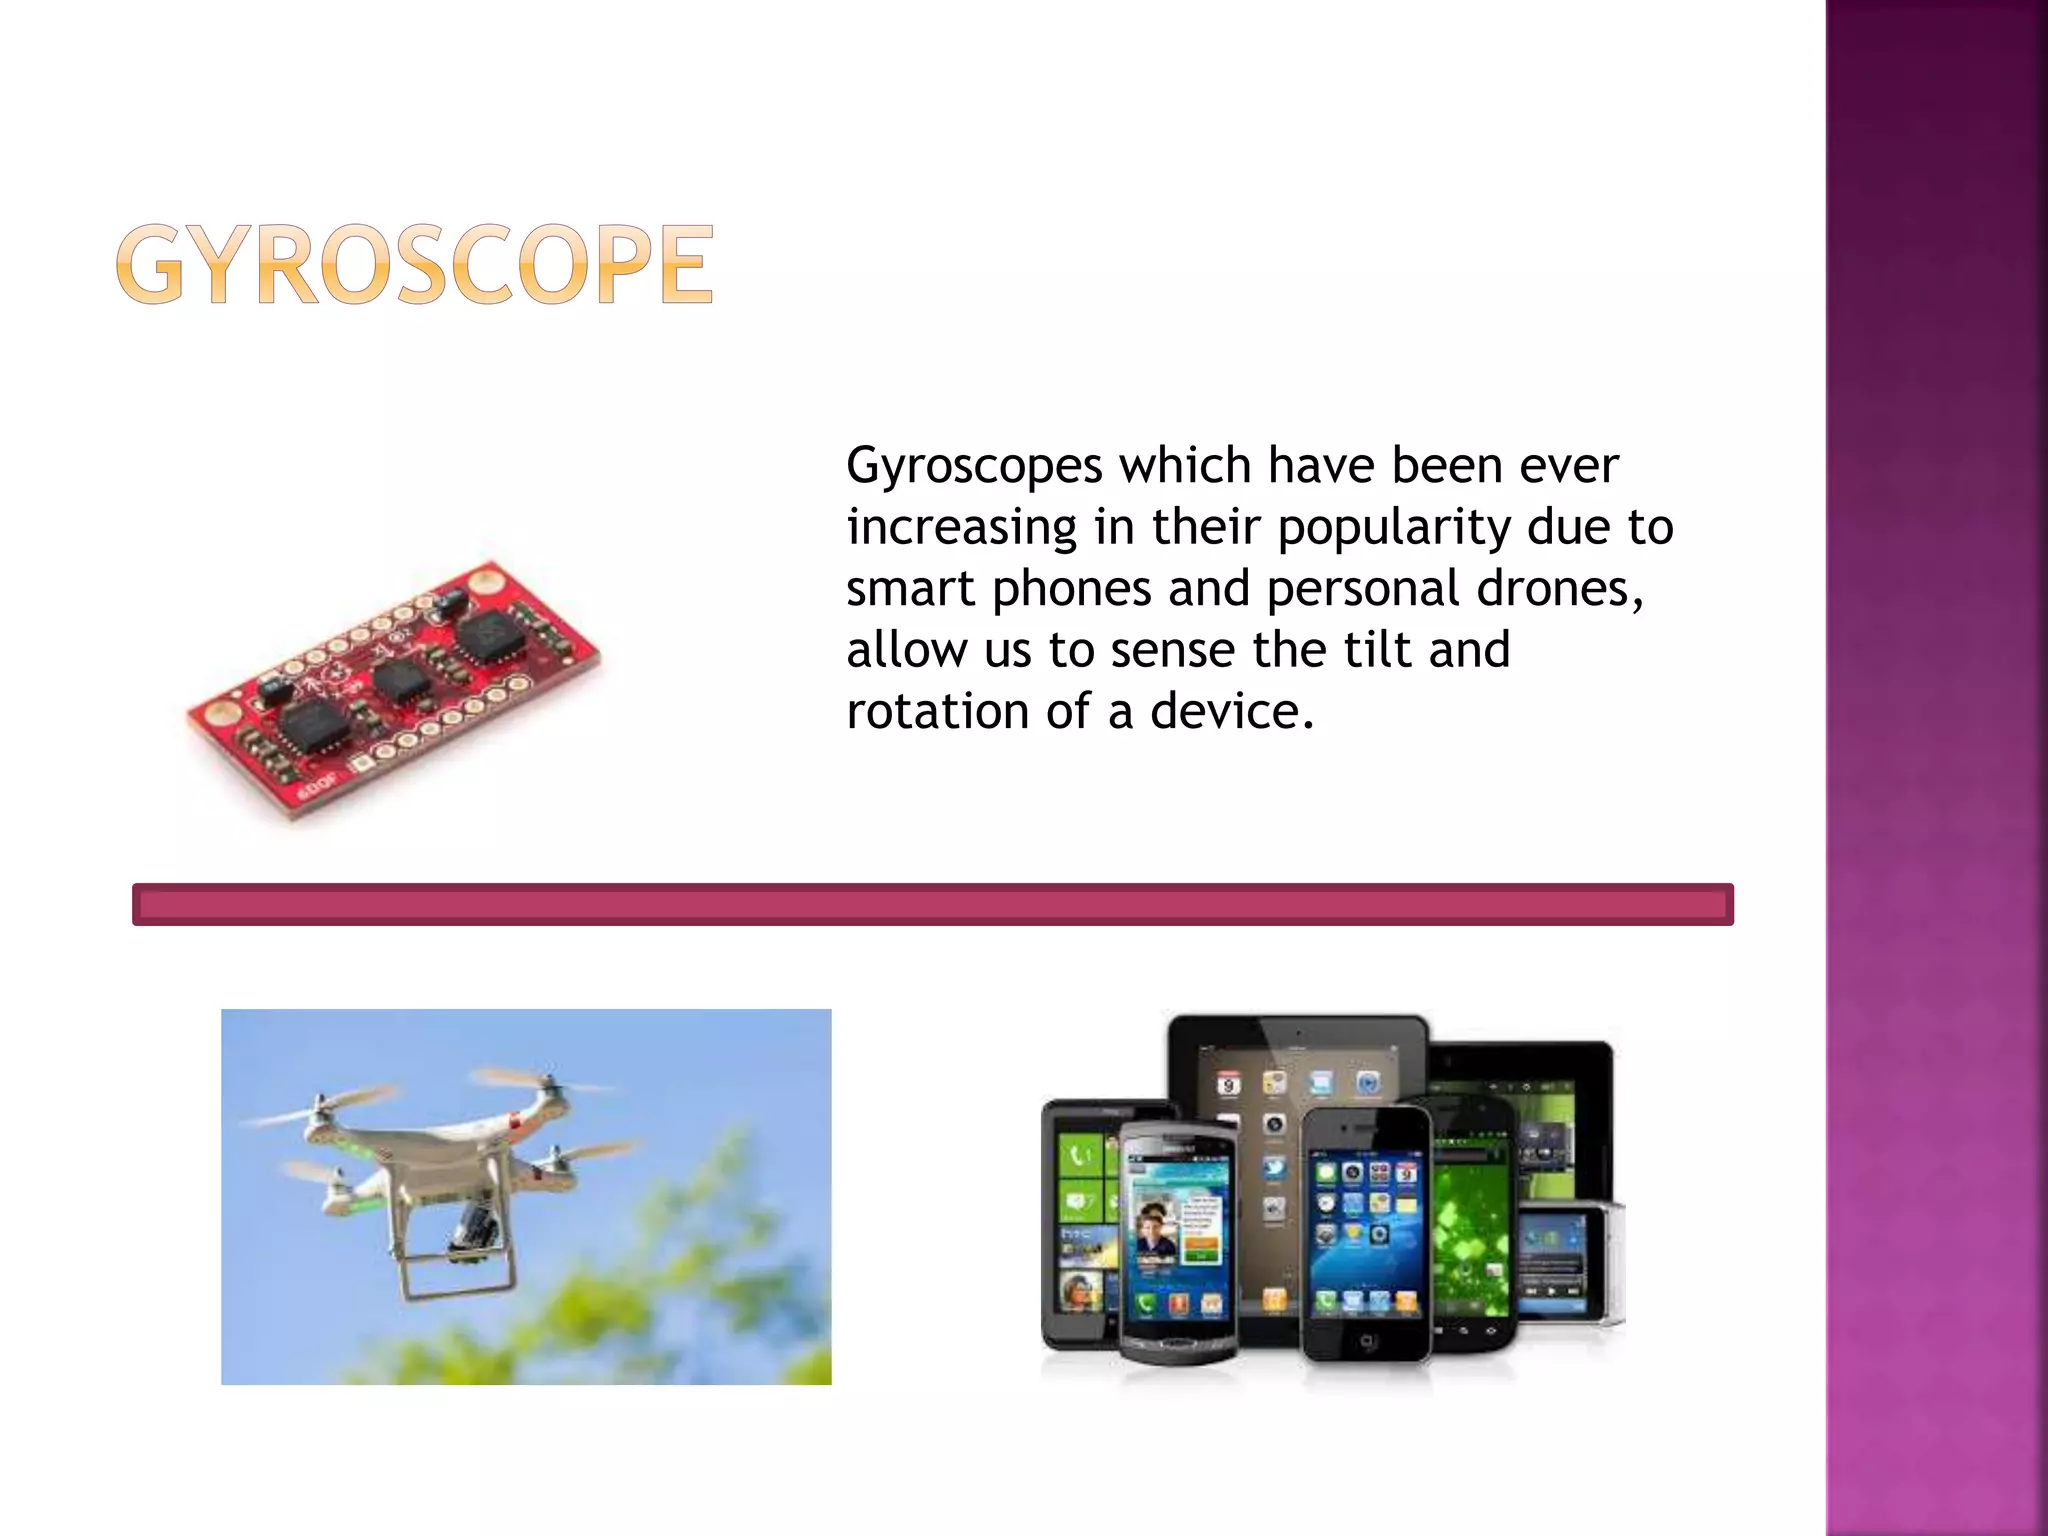
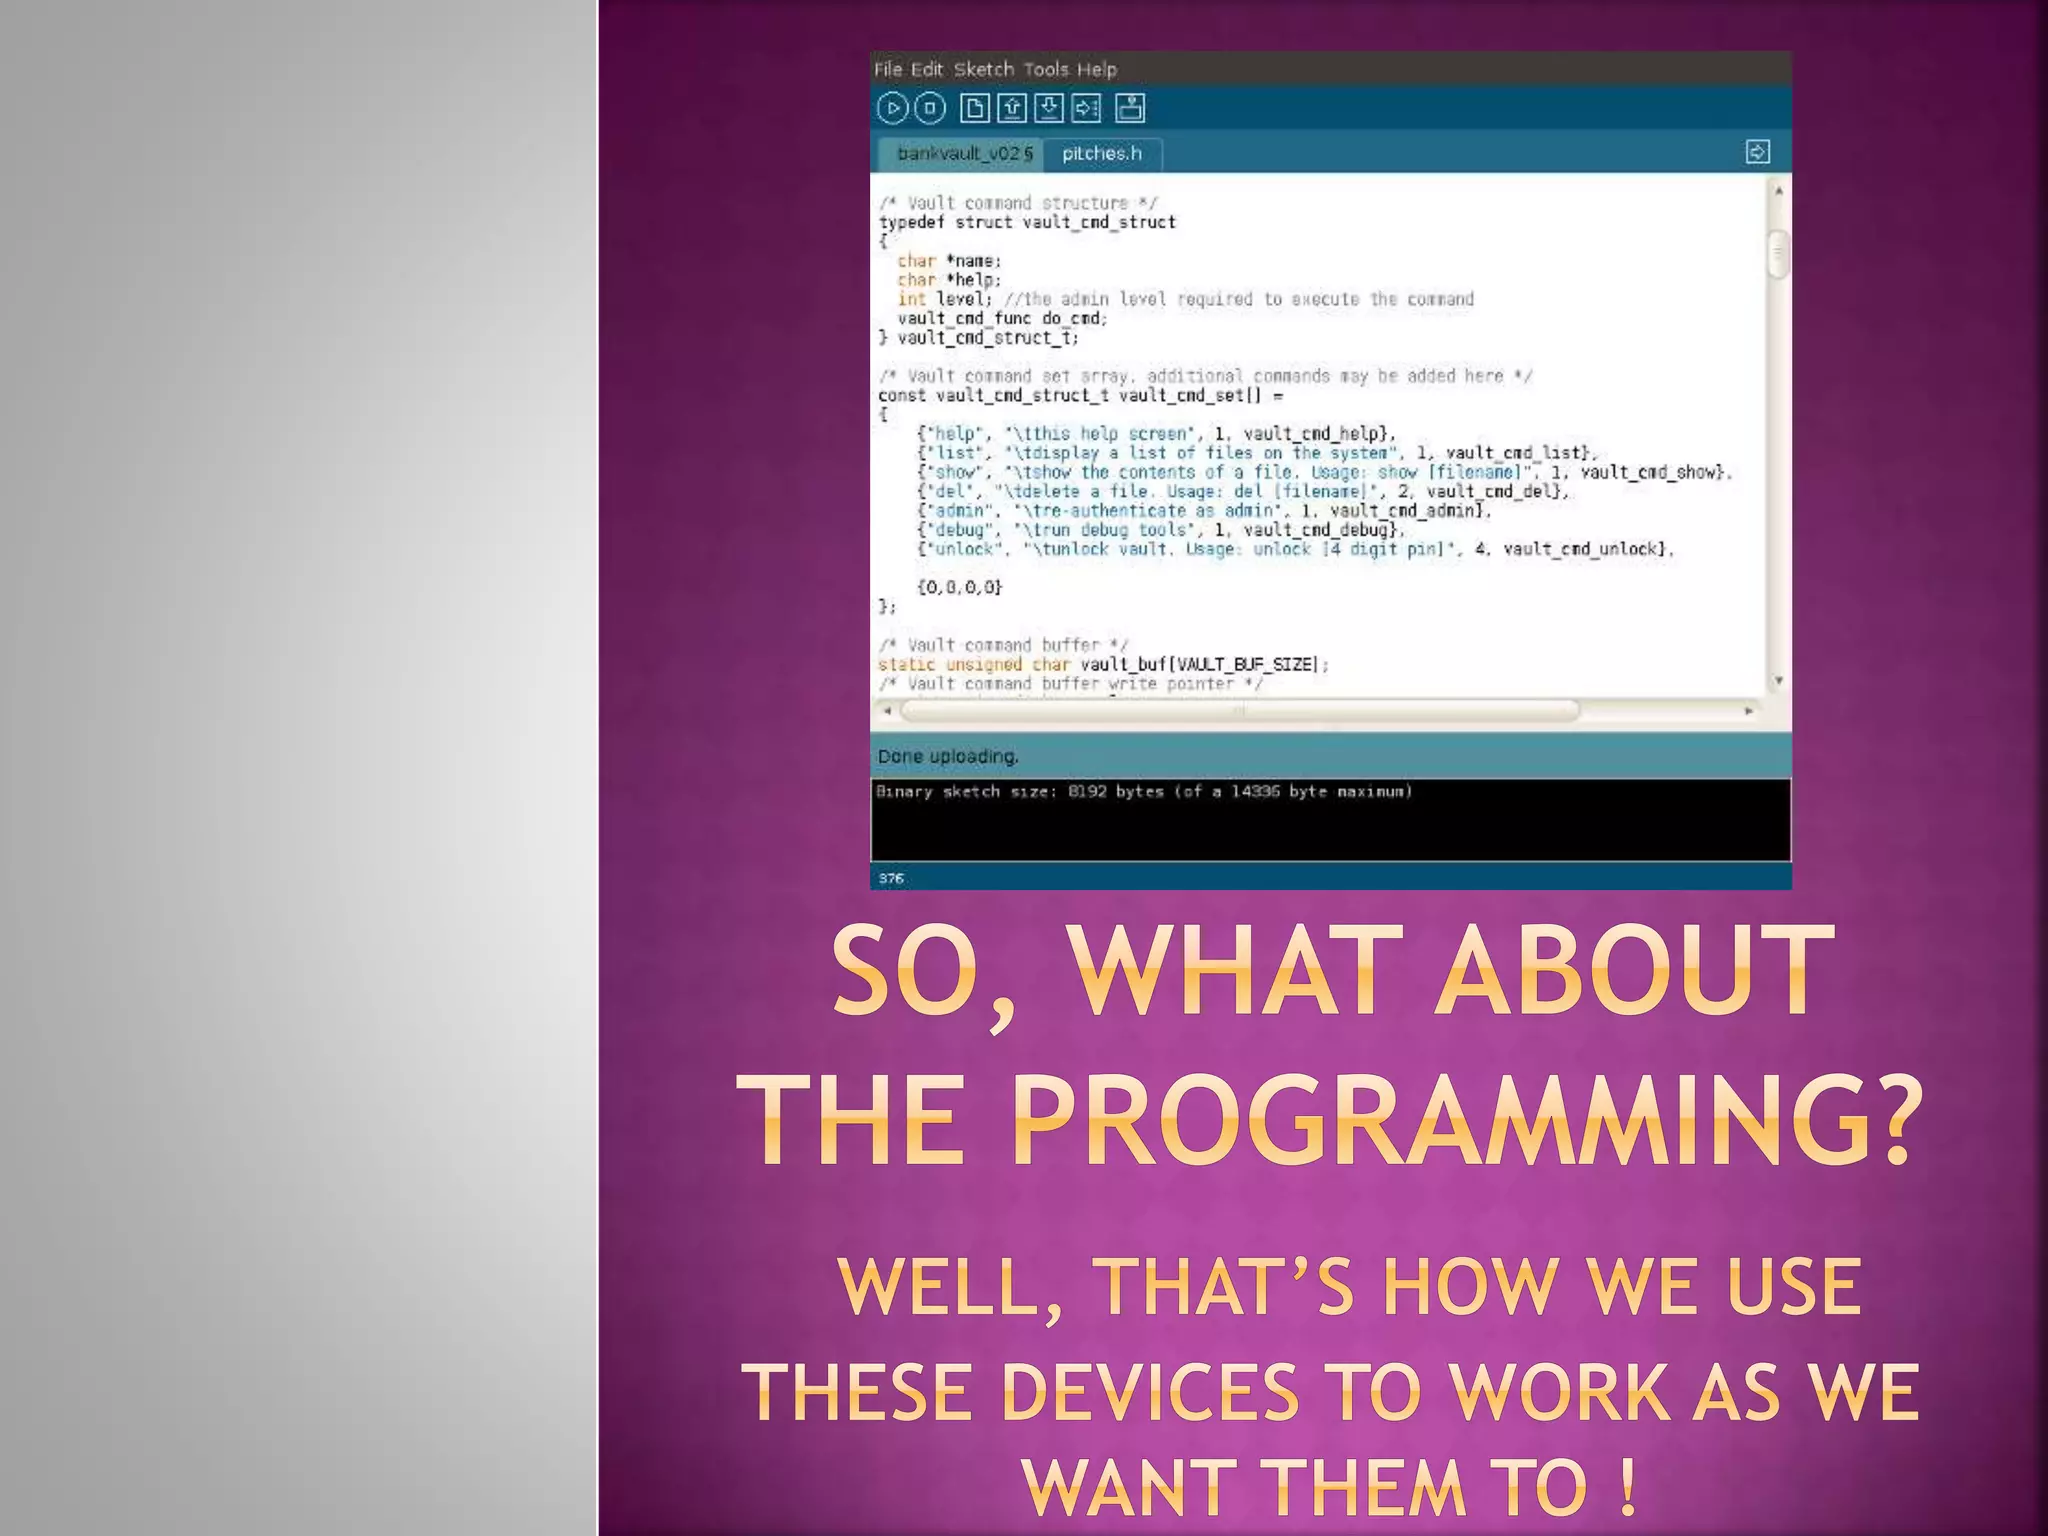
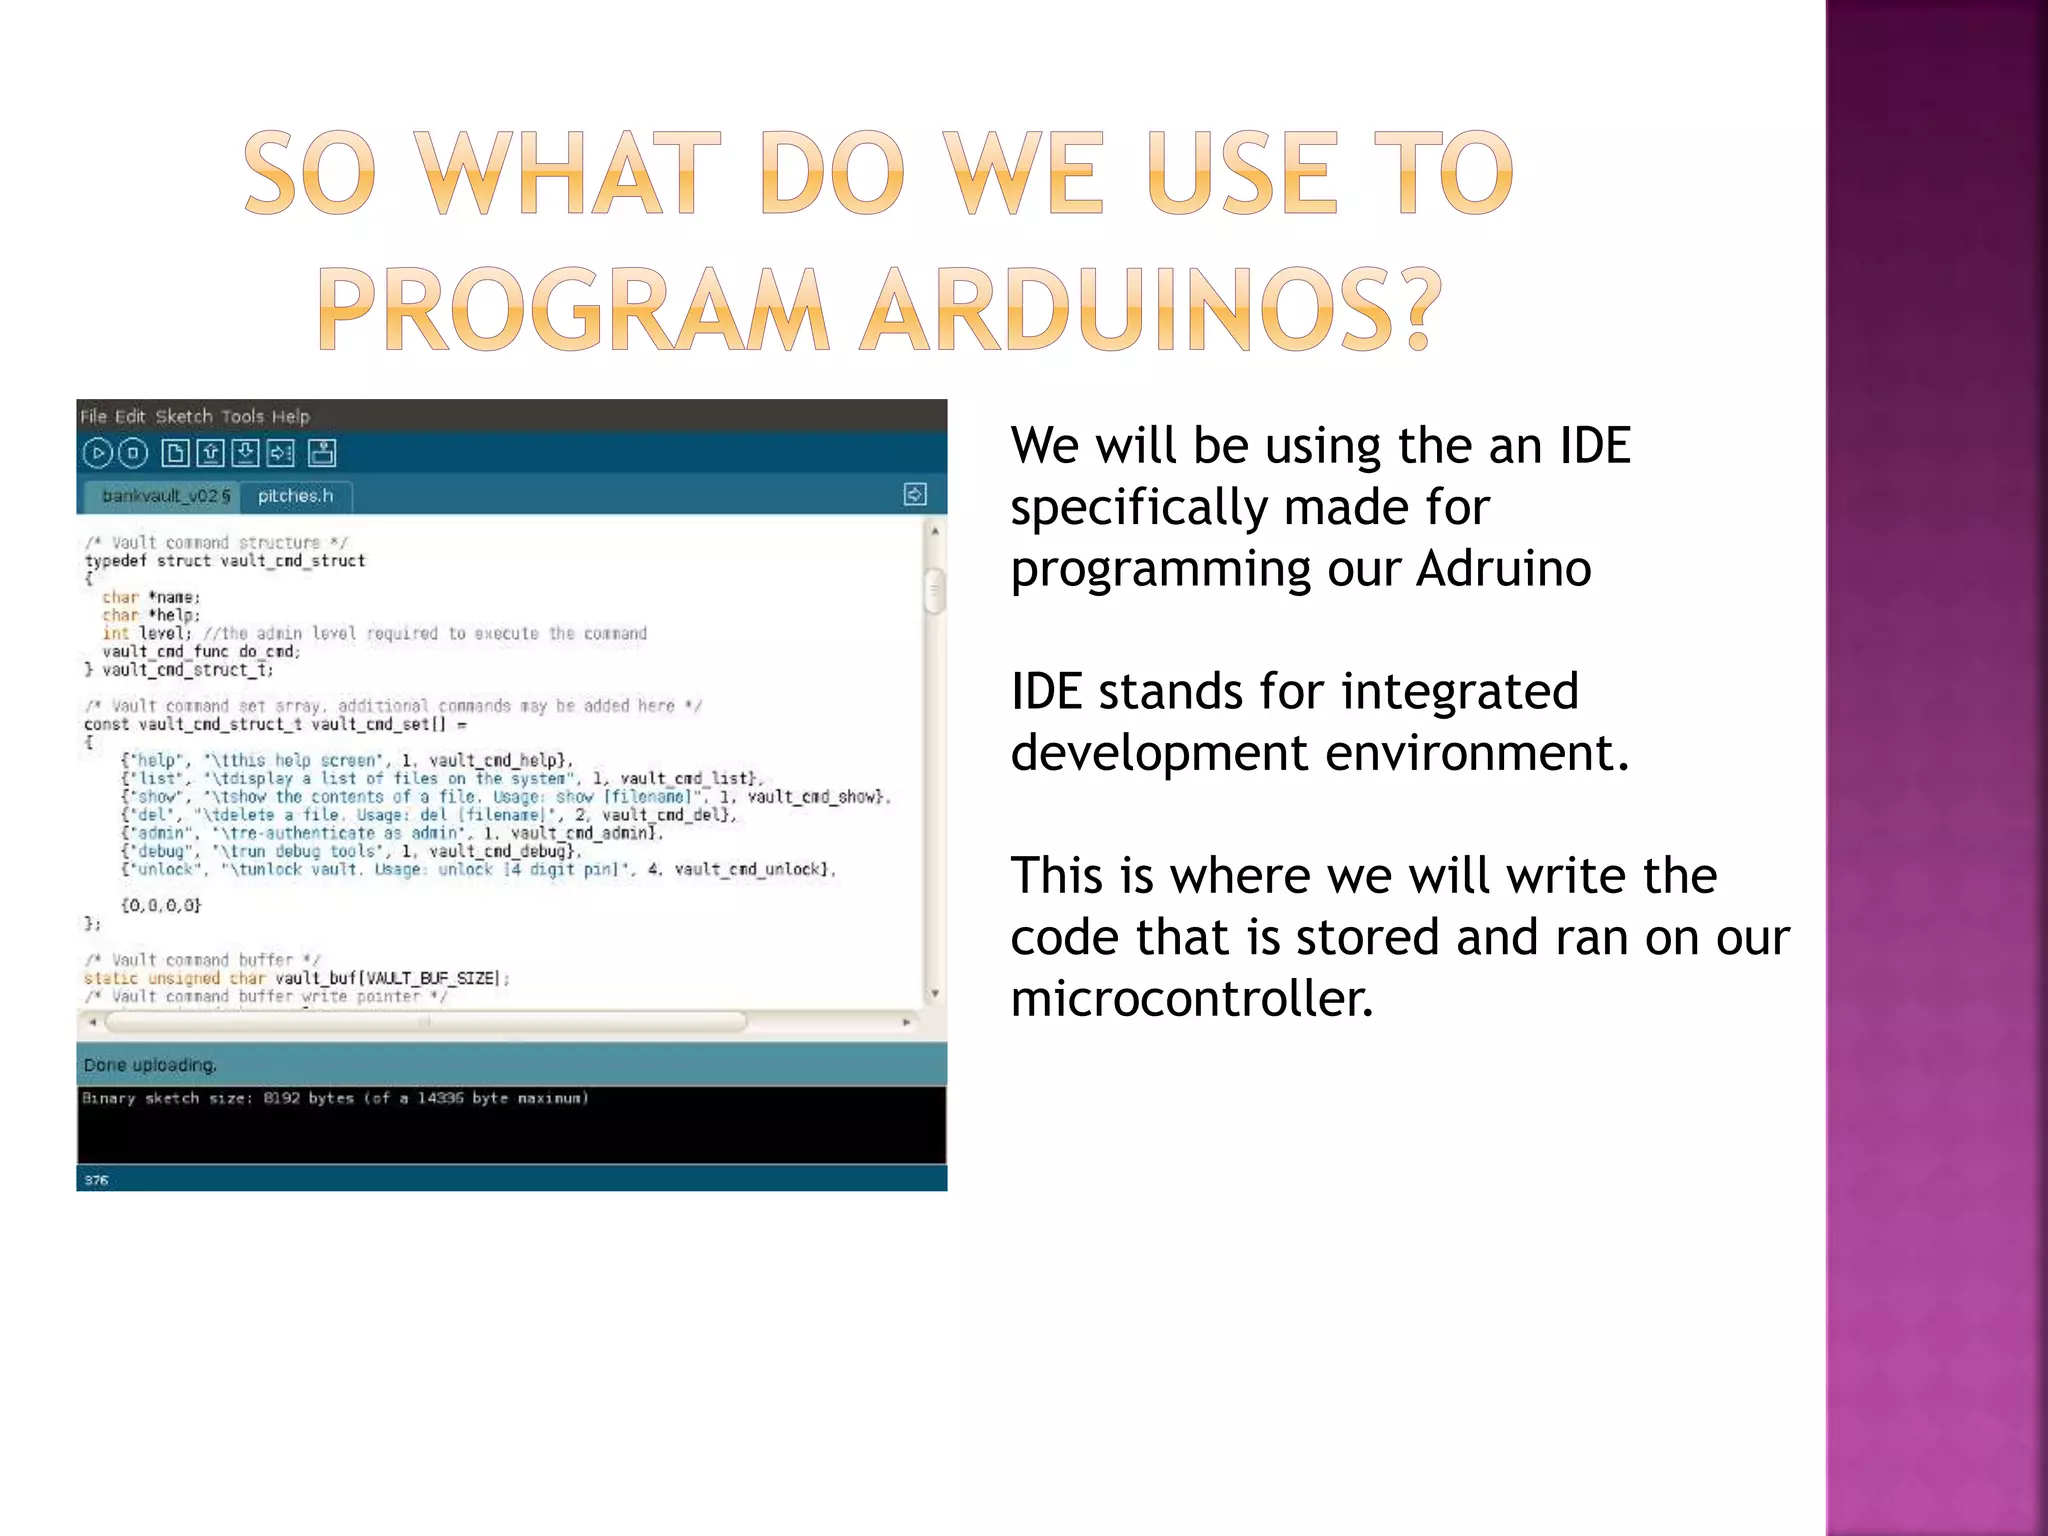
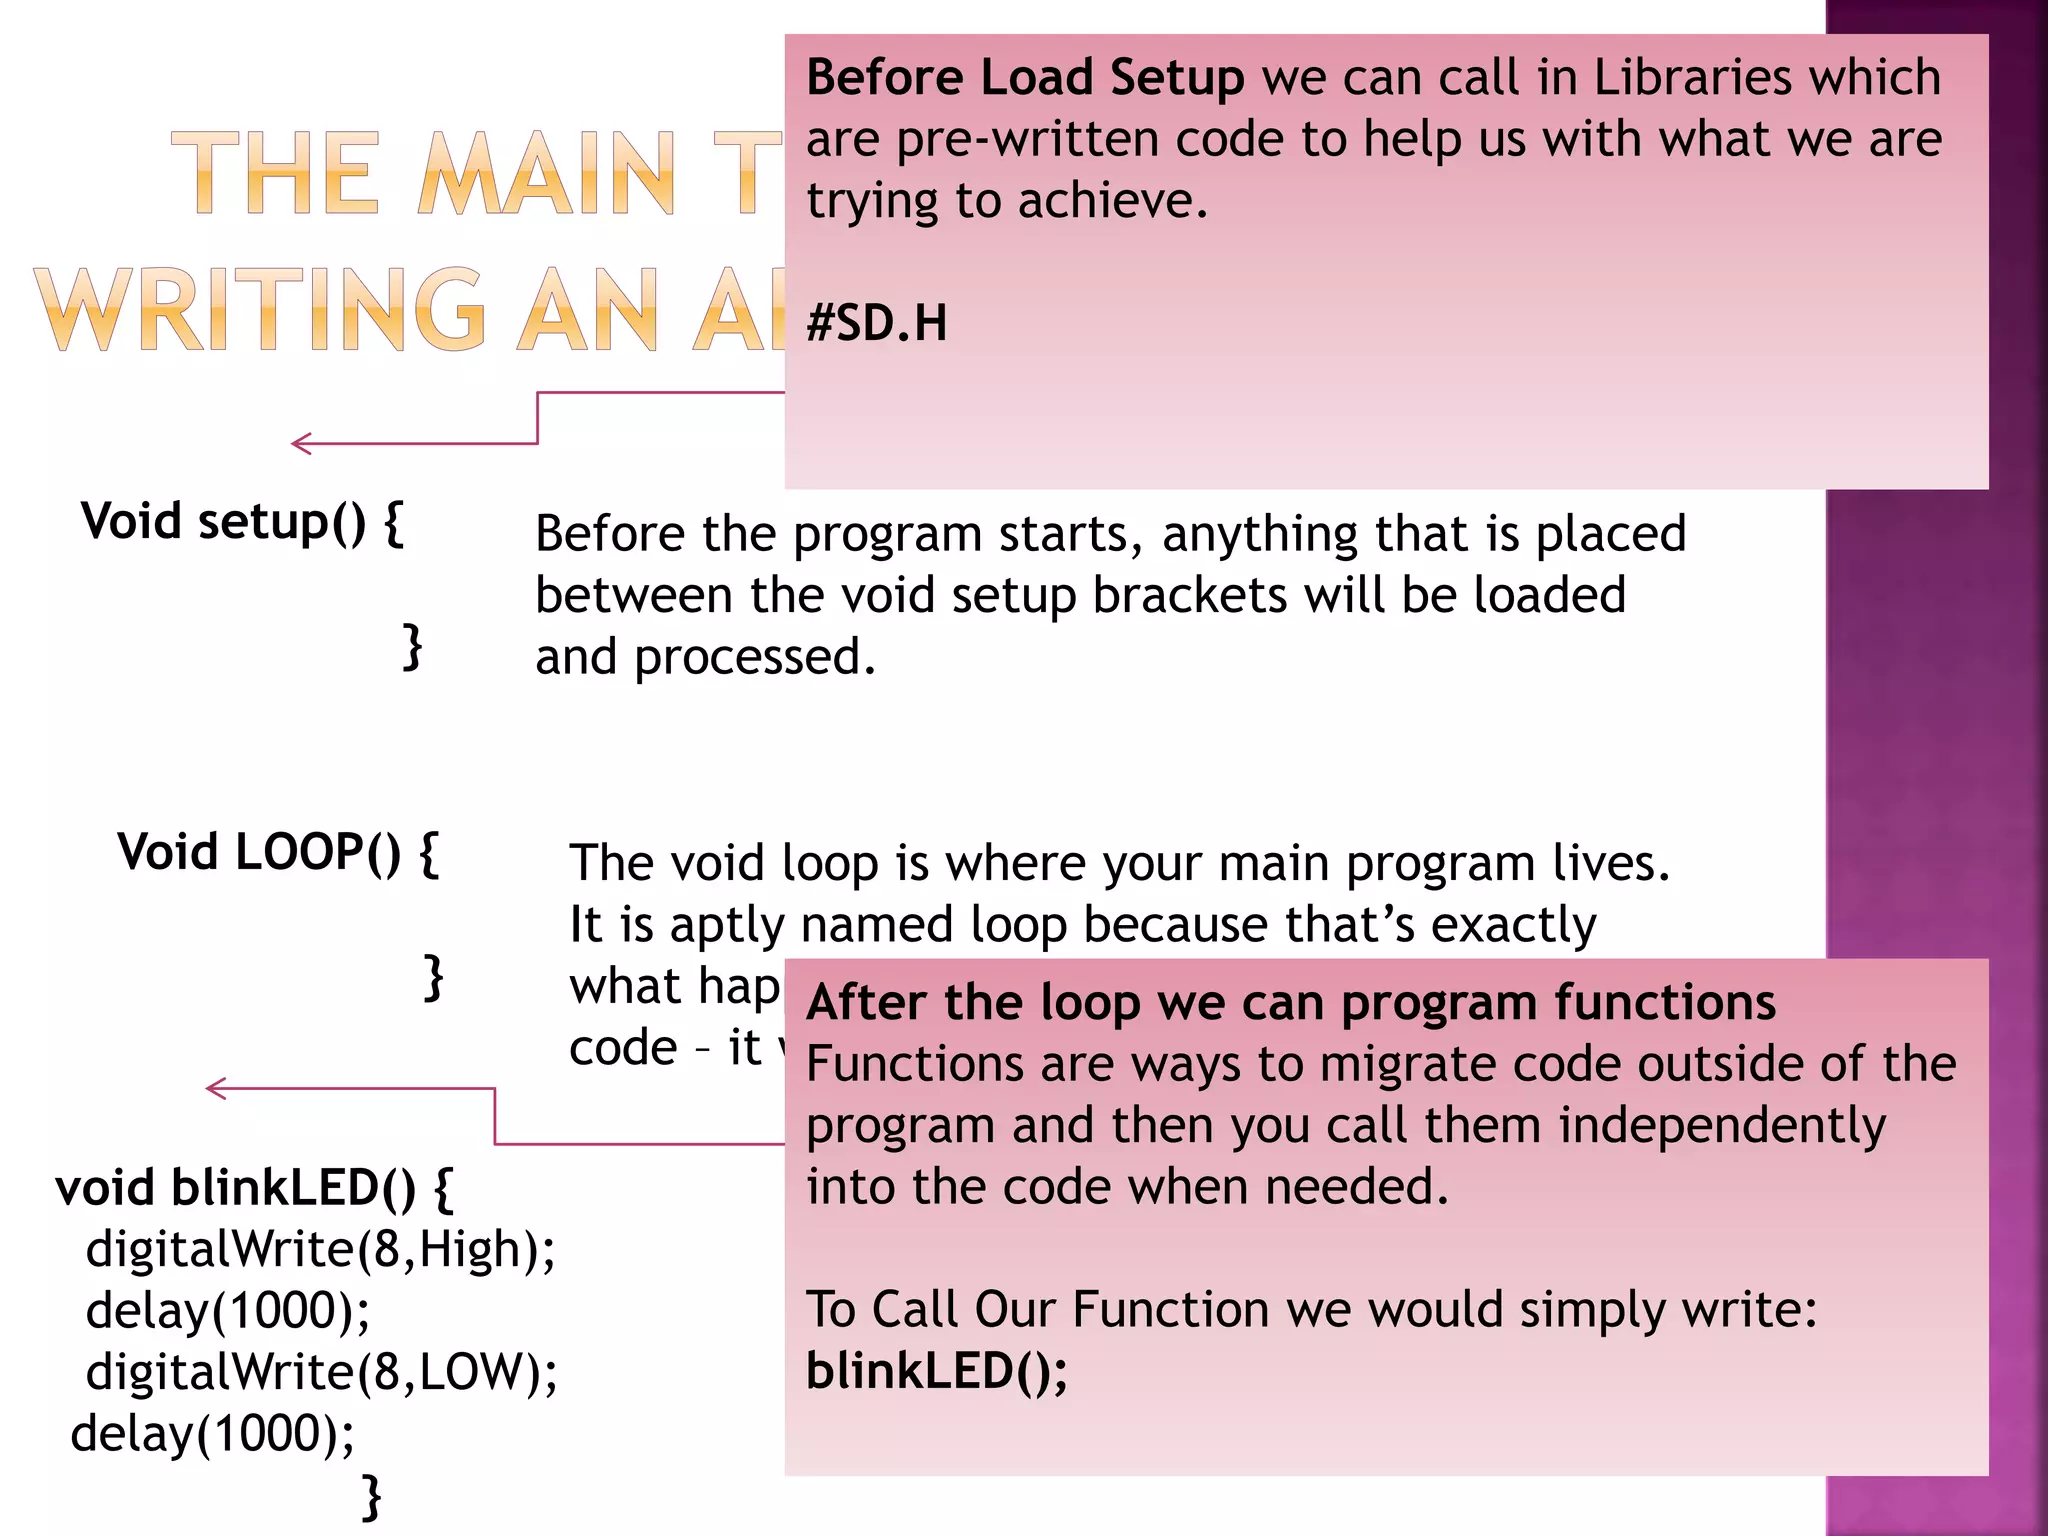
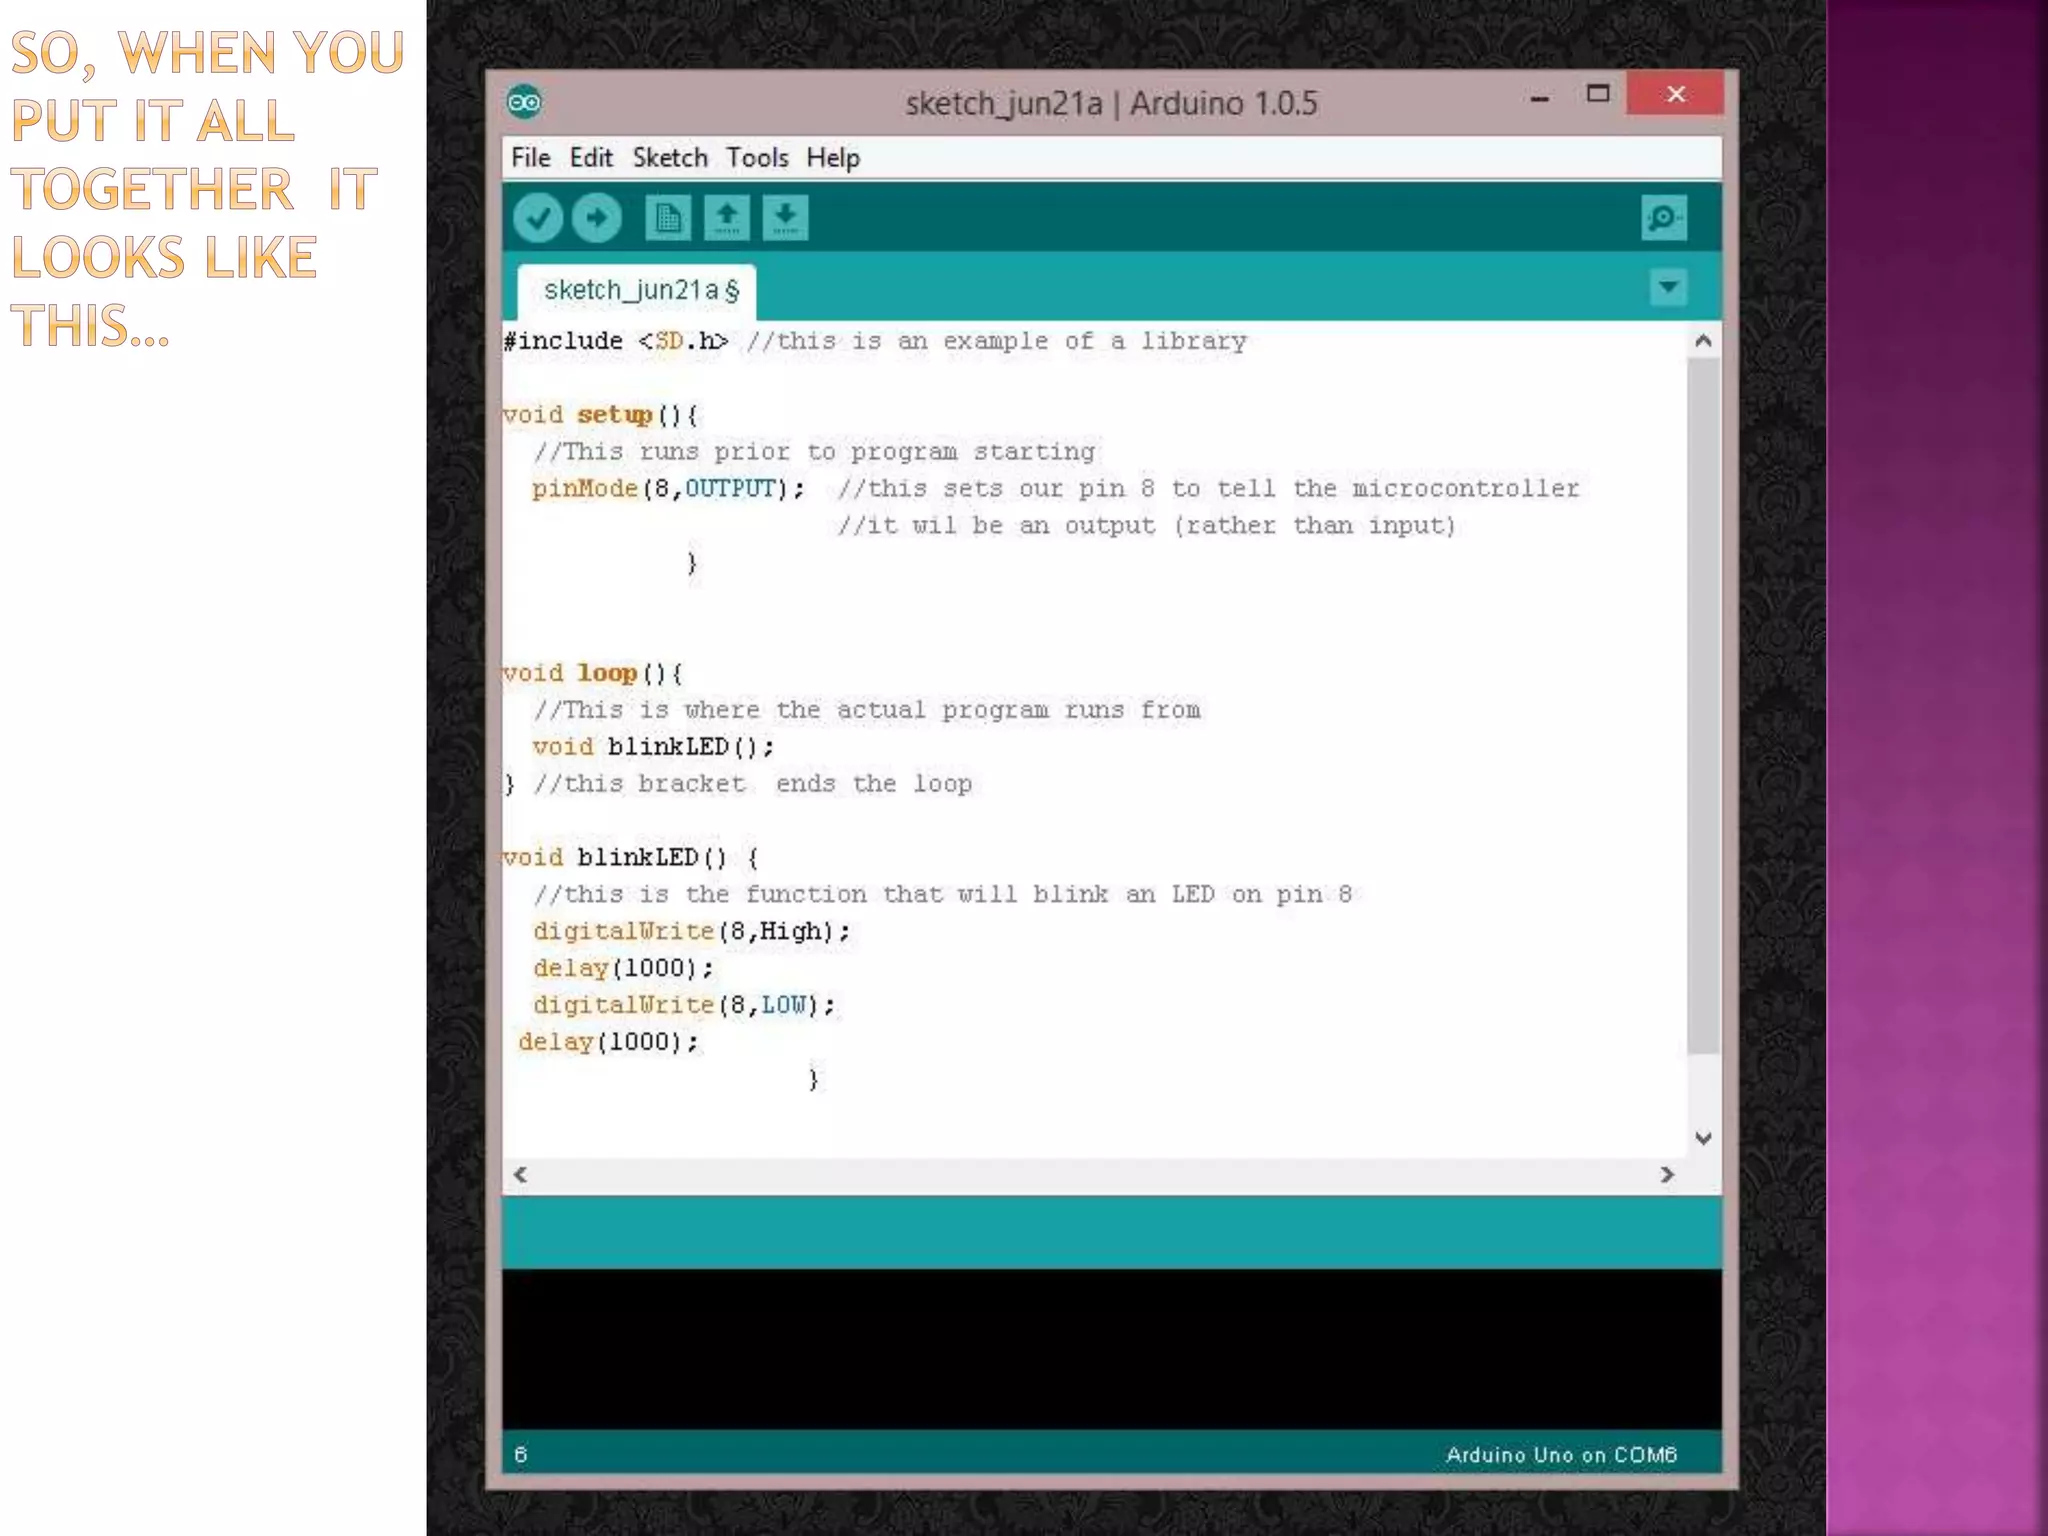
With this class, you will begin learning
how to create custom software defined
hardware devices to build your own
electronic devices
Brought To You By
Your Local Make
Space
www.MakeSpace.io
Class Instructor
Joseph Sanchez
6/24/2014
build cool robots!
make an automated beverage dispenser
build an automated watering
system for plants
Build a digital harp that uses lasers as strings
Wouldn’t those type of abilities
make you happy?
 A microcontroller (sometimes abbreviated
µC, uC or MCU) is a small computer on a
single integrated circuit containing a
processor core, memory, and programmable
input/output peripherals. Program memory
that is also often included on chip, as well as
a typically small amount of RAM.
 Arduino is an open-source electronics
prototyping platform based on flexible, easy-
to-use hardware and software. It's intended
for artists, designers, hobbyists .
 There are a plethora of options for
development board to use. Including:
Arduino Raspberry Pi Beagle
……And Many More!
Arduino
The internal voltage
reference options may not
be used if an external
reference voltage is being
applied to the AREF pin.
Arduino
TX/RX
Inputs/outputs
are next!
Rx = (received data)
Tx = (transmit data)
These ports input and
output serial data
This will allow you to do things
like connect two Arduinos to
communicate with each other!
So what do we
plug into our
Input and outputs
on the arduino?
GADGETS!
 You have a variety of already built sensors, motors, and
other electrical devices to use in combination with your
Arduino
 These hardware devices are similar to your five senses.
These hardware devices our devices: See, feel, manipulate
and hear our surroundings.
 The more information you know about the availability of
these devices, the better you can create a solution for the
task you are trying to achieve with your Arduino.
L.E.D which stands for light emitting diode. Is a diode that lights
up when current is applied to it.
Resistors come in a variety of sizes
and they are used to reduce current
flow, and, at the same time, act to
lower voltage levels within circuits.
Schematic
Representations
of Resistors
Relays are devices which allow us to
complete a circuit or disconnect a
circuit based on an input voltage.
Based on the rating of the relay you
can switch a variety of voltages and
amperages.
Relays could be used to :
-Turn on water pumps
-Turn off lights or appliances in your
house
Electric motors spin when voltage is
applied.
If you reverse the power in (most)
motors then the spin direction will
reverse.
Take for example our 3D printers
which require to go one way and the
alternative direction.
Instead of constantly spinning, servo
motors will move based on an input.
Often times servo motors will turn
based on degrees.
This allows you to turn the top 90
degrees, 180 and then back or
anything in-between
Photocells are variable resistors
where the resistance decreases with
the increasing amount of light you
shine onto it.
A great example of using a photocell
in a “real life” application would be
laser trip wires. In order to achieve
this, we would place a laser towards
the photocell and if something
comes in between the two, the
resistance increases and we can
perform an action like playing an
alarm sound through a speaker.
Humidity sensors are as they sound.
They detect the levels of humidity in
the area and depending on the level
of moisture in the air, a value
decreases or increases respectively.
Gyroscopes which have been ever
increasing in their popularity due to
smart phones and personal drones,
allow us to sense the tilt and
rotation of a device.
The simple answer is yes! And this class will make sure you are
successful in understanding how to program (on Arduino).
We will be using the an IDE
specifically made for
programming our Adruino
IDE stands for integrated
development environment.
This is where we will write the
code that is stored and ran on our
microcontroller.
Void setup() {
}
Before the program starts, anything that is placed
between the void setup brackets will be loaded
and processed.
Void setup() {
}
Before the program starts, anything that is placed
between the void setup brackets will be loaded
and processed.
Void LOOP() {
}
The void loop is where your main program lives.
It is aptly named loop because that’s exactly
what happens when it reaches the end of the
code – it will LOOP and start over .
Before Load Setup we can call in Libraries which
are pre-written code to help us with what we are
trying to achieve.
#SD.H
After the loop we can program functions
Functions are ways to migrate code outside of the
program and then you call them independently
into the code when needed.
To Call Our Function we would simply write:
blinkLED();
void blinkLED() {
digitalWrite(8,High);
delay(1000);
digitalWrite(8,LOW);
delay(1000);
}
Our first program will be a blinking LED. We will turn one led on and
then we will turn another LED on. Since our program loops it will repeat
and we should see the LEDs take turns turning on and off.
To get started we open our IDE.
And put in our void setup() { }
and
void loop(){ }
Add // after each ending curly bracket and put what these brackets are
closing. So we will write ‘//ends setup’ and
‘//ends loop’.
This will help us keep track of our code as the program grows.
Microcontroller Programming & Hardware Introduction

Microcontroller Programming & Hardware Introduction

  • 1.
    With this class,you will begin learning how to create custom software defined hardware devices to build your own electronic devices Brought To You By Your Local Make Space www.MakeSpace.io Class Instructor Joseph Sanchez 6/24/2014
  • 3.
  • 4.
    make an automatedbeverage dispenser
  • 5.
    build an automatedwatering system for plants
  • 6.
    Build a digitalharp that uses lasers as strings
  • 7.
    Wouldn’t those typeof abilities make you happy?
  • 9.
     A microcontroller(sometimes abbreviated µC, uC or MCU) is a small computer on a single integrated circuit containing a processor core, memory, and programmable input/output peripherals. Program memory that is also often included on chip, as well as a typically small amount of RAM.
  • 10.
     Arduino isan open-source electronics prototyping platform based on flexible, easy- to-use hardware and software. It's intended for artists, designers, hobbyists .
  • 11.
     There area plethora of options for development board to use. Including: Arduino Raspberry Pi Beagle ……And Many More!
  • 12.
  • 13.
    The internal voltage referenceoptions may not be used if an external reference voltage is being applied to the AREF pin. Arduino
  • 14.
  • 15.
    Rx = (receiveddata) Tx = (transmit data) These ports input and output serial data This will allow you to do things like connect two Arduinos to communicate with each other!
  • 16.
    So what dowe plug into our Input and outputs on the arduino? GADGETS!
  • 17.
     You havea variety of already built sensors, motors, and other electrical devices to use in combination with your Arduino  These hardware devices are similar to your five senses. These hardware devices our devices: See, feel, manipulate and hear our surroundings.  The more information you know about the availability of these devices, the better you can create a solution for the task you are trying to achieve with your Arduino.
  • 19.
    L.E.D which standsfor light emitting diode. Is a diode that lights up when current is applied to it.
  • 20.
    Resistors come ina variety of sizes and they are used to reduce current flow, and, at the same time, act to lower voltage levels within circuits. Schematic Representations of Resistors
  • 21.
    Relays are deviceswhich allow us to complete a circuit or disconnect a circuit based on an input voltage. Based on the rating of the relay you can switch a variety of voltages and amperages. Relays could be used to : -Turn on water pumps -Turn off lights or appliances in your house
  • 22.
    Electric motors spinwhen voltage is applied. If you reverse the power in (most) motors then the spin direction will reverse. Take for example our 3D printers which require to go one way and the alternative direction.
  • 23.
    Instead of constantlyspinning, servo motors will move based on an input. Often times servo motors will turn based on degrees. This allows you to turn the top 90 degrees, 180 and then back or anything in-between
  • 24.
    Photocells are variableresistors where the resistance decreases with the increasing amount of light you shine onto it. A great example of using a photocell in a “real life” application would be laser trip wires. In order to achieve this, we would place a laser towards the photocell and if something comes in between the two, the resistance increases and we can perform an action like playing an alarm sound through a speaker.
  • 25.
    Humidity sensors areas they sound. They detect the levels of humidity in the area and depending on the level of moisture in the air, a value decreases or increases respectively.
  • 26.
    Gyroscopes which havebeen ever increasing in their popularity due to smart phones and personal drones, allow us to sense the tilt and rotation of a device.
  • 29.
    The simple answeris yes! And this class will make sure you are successful in understanding how to program (on Arduino).
  • 30.
    We will beusing the an IDE specifically made for programming our Adruino IDE stands for integrated development environment. This is where we will write the code that is stored and ran on our microcontroller.
  • 31.
    Void setup() { } Beforethe program starts, anything that is placed between the void setup brackets will be loaded and processed.
  • 32.
    Void setup() { } Beforethe program starts, anything that is placed between the void setup brackets will be loaded and processed. Void LOOP() { } The void loop is where your main program lives. It is aptly named loop because that’s exactly what happens when it reaches the end of the code – it will LOOP and start over .
  • 33.
    Void setup() { } Beforethe program starts, anything that is placed between the void setup brackets will be loaded and processed. Void LOOP() { } The void loop is where your main program lives. It is aptly named loop because that’s exactly what happens when it reaches the end of the code – it will LOOP and start over . Before Load Setup we can call in Libraries which are pre-written code to help us with what we are trying to achieve. #SD.H
  • 34.
    Void setup() { } Beforethe program starts, anything that is placed between the void setup brackets will be loaded and processed. Void LOOP() { } The void loop is where your main program lives. It is aptly named loop because that’s exactly what happens when it reaches the end of the code – it will LOOP and start over . Before Load Setup we can call in Libraries which are pre-written code to help us with what we are trying to achieve. #SD.H After the loop we can program functions Functions are ways to migrate code outside of the program and then you call them independently into the code when needed. To Call Our Function we would simply write: blinkLED(); void blinkLED() { digitalWrite(8,High); delay(1000); digitalWrite(8,LOW); delay(1000); }
  • 36.
    Our first programwill be a blinking LED. We will turn one led on and then we will turn another LED on. Since our program loops it will repeat and we should see the LEDs take turns turning on and off. To get started we open our IDE. And put in our void setup() { } and void loop(){ } Add // after each ending curly bracket and put what these brackets are closing. So we will write ‘//ends setup’ and ‘//ends loop’. This will help us keep track of our code as the program grows.