Functions
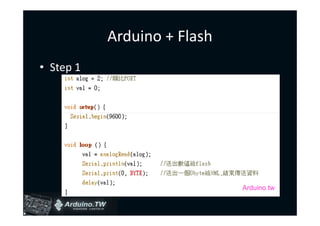
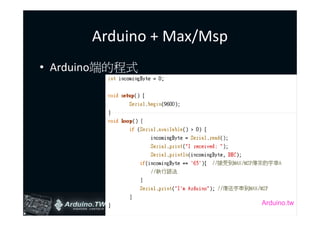
• Arduino的Functions主要分成七類
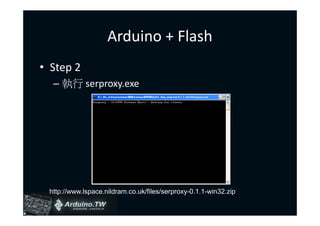
– Digital
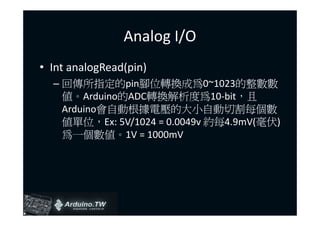
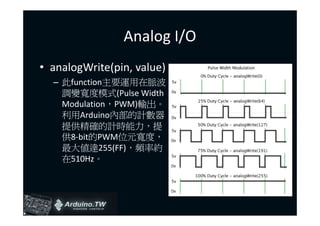
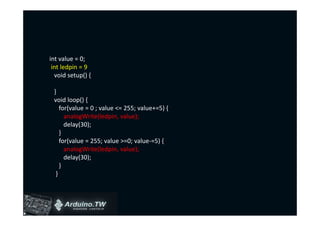
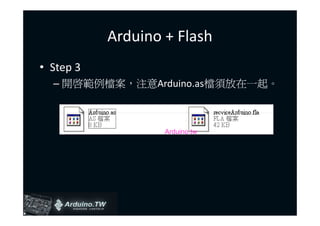
– Analog
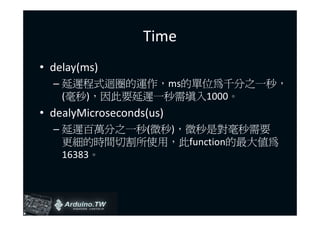
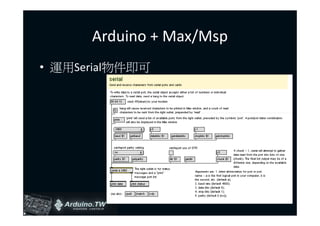
– Time
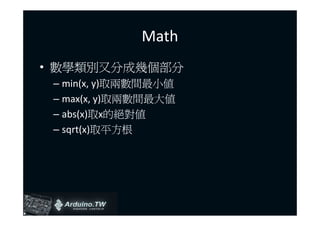
– Math ( (有需要才用) )
– Bits/Bytes (有需要才用)
– Interrupts (有需要才用)
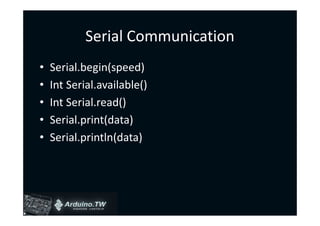
– Serial Communication
• 以及額外的Libraries
20.
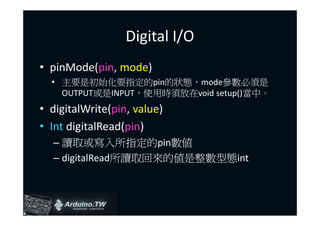
Digital I/O
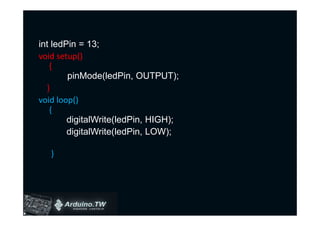
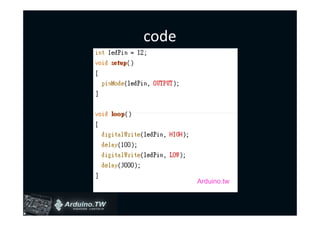
• pinMode(pin,mode)
• 主要是初始化要指定的pin的狀態,mode參數必須是
OUTPUT或是INPUT,使用時須放在void setup()當中。
• digitalWrite(pin, value)
• Int digitalRead(pin)
– 讀取或寫入所指定的pin數值
– digitalRead所讀取回來的值是整數型態int
![資料型態
– Float 單精度浮點數, 10^-38 ~ 10^38
– Double 雙精度浮點數, 10^-308 ~ 10^308
– String , “I’m Arduino”
– Array , char A[8] = {‘a’, ‘r’, ‘d’, ‘u’, ‘i’, ‘n’, ‘o’}
– Void , void setup()](https://image.slidesharecdn.com/arduinol2-091005113927-phpapp02/85/Arduino-L2-5-320.jpg)


![[嵌入式系統] MCS-51 實驗 - 使用 IAR (1)](https://cdn.slidesharecdn.com/ss_thumbnails/mcs51iarpart1-150613071712-lva1-app6892-thumbnail.jpg?width=640&height=640&fit=bounds)


