The document provides instructions for completing Step 3 of a tribal mask tattoo design lesson in Adobe Illustrator:
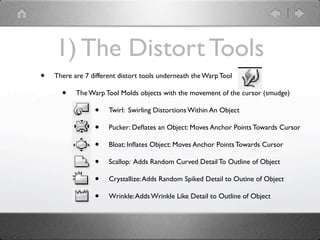
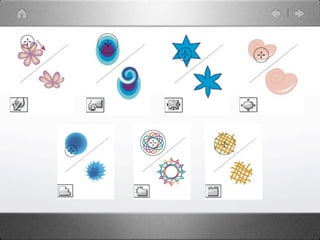
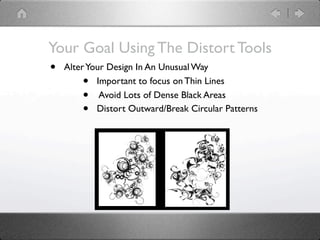
1. Describe how to use the distort tools to alter a design in an unusual way by focusing on thin lines and avoiding dense black areas.
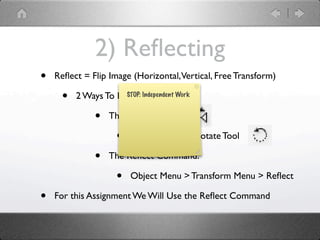
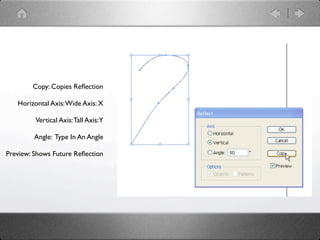
2. Explain how to use the Reflect tool or Reflect command to flip an image horizontally, vertically, or at an angle.
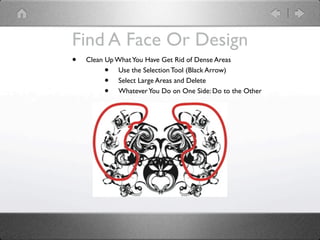
3. Instruct the reader to clean up their design, select and delete large areas, and ensure changes are made on both sides in order to make the black line work into a compound path that can be filled with a gradient.