The document serves as a comprehensive guide for setting up and managing WordPress Multisite, which allows for the administration of multiple websites from a single WordPress installation. It outlines the steps required to enable Multisite, including backup, configuration changes, and how to administer and use the feature effectively. Additionally, it provides insight into domain mapping and the essential resources needed for optimal performance in a multisite environment.
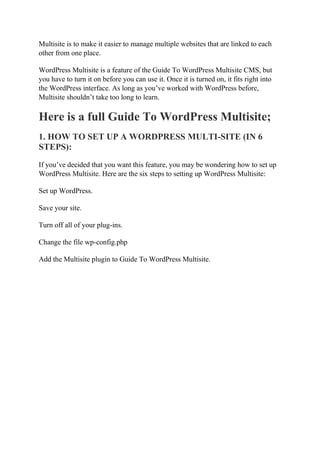

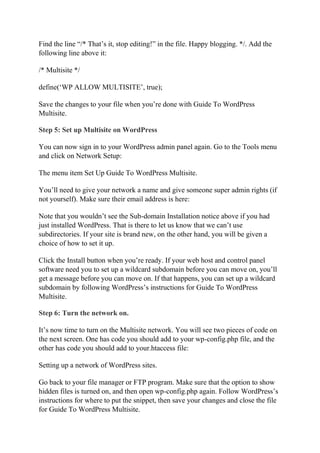
![Also, WordPress suggests that each site on a Multisite has its own encrypted login.
Install a Secure Sockets Layer (SSL) certificate at the end of the custom domain
setup process for extra security for Guide To WordPress Multisite.
Step 2: Set up the domain in DNS
Depending on which web hosting company you use to buy and manage your
domains, this step will be different. But if you create your domain in the same
account as your web hosting and the main domain for your network, this should be
a quick and easy process Guide To WordPress Multisite.
Note: If your domain isn’t on the same account, you might want to think about
transferring it now. If you’re going to do this for more than one website, it’s best to
keep everything in one place.
We suggest doing a Google search for your host’s Multisite and custom domain
mapping instructions. But you’ll likely need to do these simple things for Guide To
WordPress Multisite:
You can get to your domain management system from your web hosting or domain
account. You should have a number of choices for what to do with your domain.
Find one that says something like “Assign a domain to your cPanel account.”
Choose the domain you want to give a custom domain name to and add it to your
Multisite network. Then you can pick the option to make it an “Addon Domain.”
Next, you should be able to give your domain a unique directory. At public html/,
you’ll find the main site for your network. So, yours will have to be at public
HTML/[the name of your site].
You must also give this site a subdomain name if you want to use cPanel. Assign
the domain when you’re done setting everything up. You’ve basically set up a
subdomain for your Multisite network and covered it up with a custom domain
name for Guide To WordPress Multisite.
Step 3: In WordPress, add the custom domain
Lastly, you need to connect your custom domain, which is now connected, to your
Multisite network. Go back to WordPress to do this. Next, click on Add New under
Sites:
Adding a custom domain to a network of Guide To WordPress Multisite.](https://image.slidesharecdn.com/acompleteguidetowordpressmultisite-230117115812-96884f85/85/A-Complete-Guide-To-WordPress-Multisite-pdf-11-320.jpg)


![Getting Started with Apache Spark: Big Data Made Simple [Free Meetup]](https://cdn.slidesharecdn.com/ss_thumbnails/apachesparkgettingstarted-260203175547-8361bcc3-thumbnail.jpg?width=640&height=640&fit=bounds)


