Download to read offline
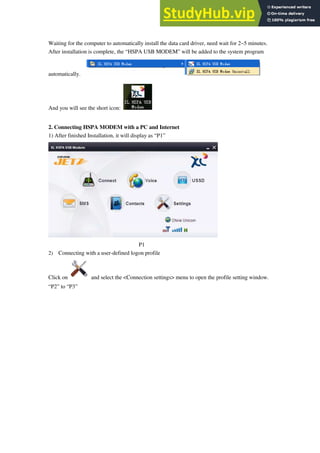
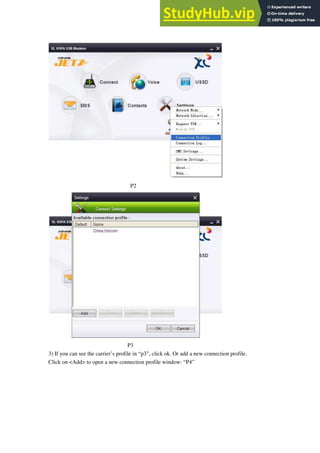
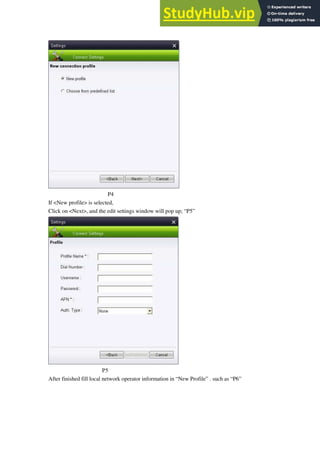
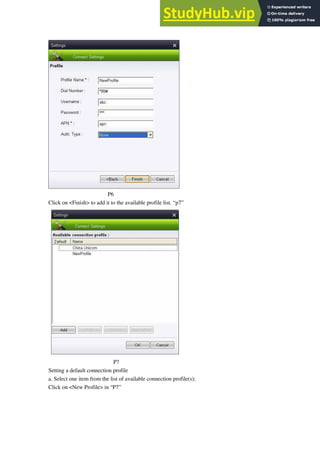
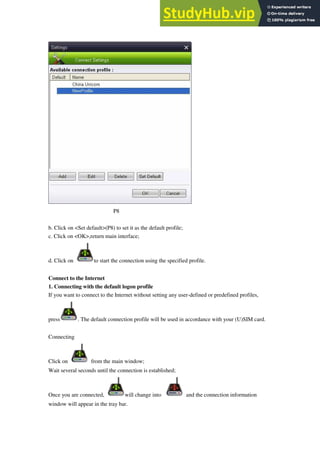

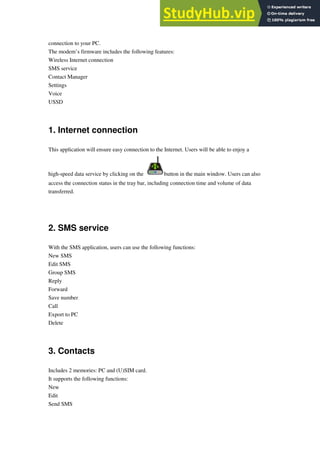
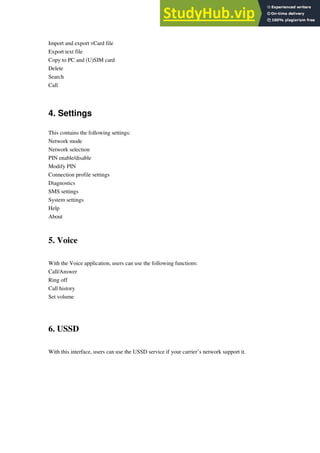
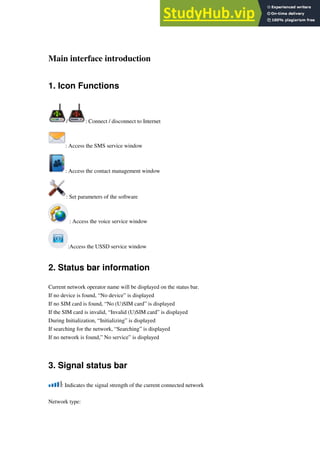
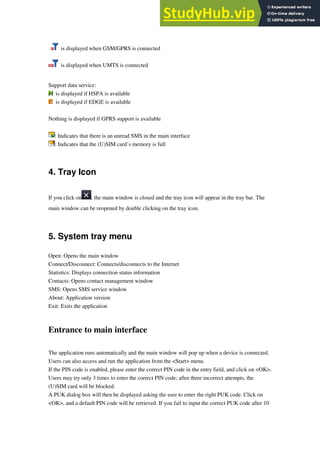
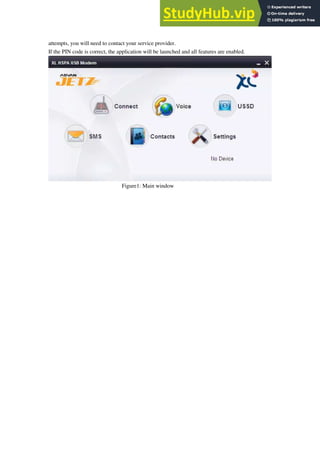

The document provides instructions for using an HSPA USB modem. It discusses installing the modem's software, connecting to the internet using various connection profiles, and using the modem's SMS, contacts, settings, voice, and USSD functions. Main features include accessing the internet, sending and receiving SMS messages, managing contacts stored on the SIM card or computer, changing network and system settings, making calls, and using USSD services if supported by the carrier.


![Cp575 Notice 1291124000505[1]](https://cdn.slidesharecdn.com/ss_thumbnails/cp575notice12911240005051-129960290191-phpapp01-thumbnail.jpg?width=640&height=640&fit=bounds)