Download to read offline

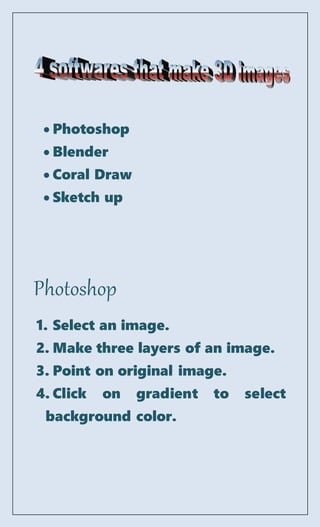
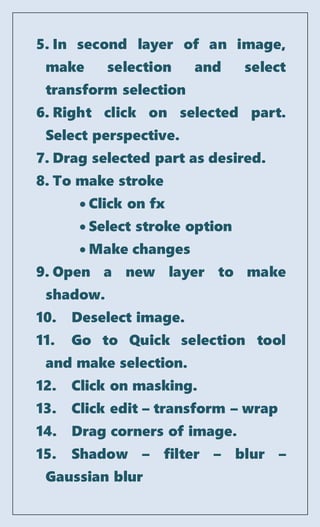
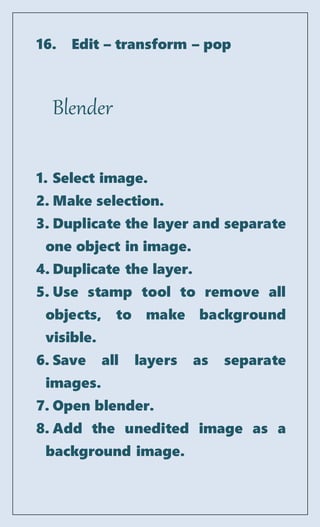
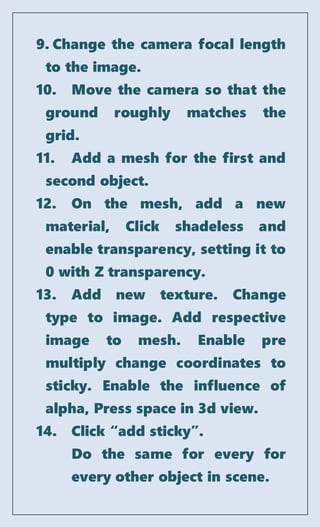
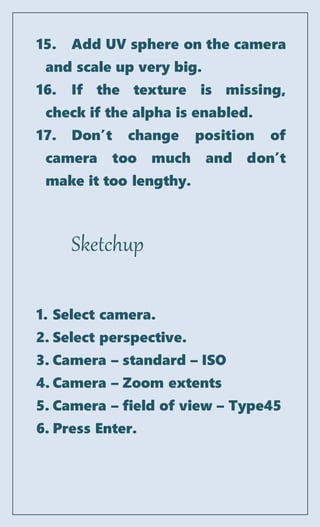
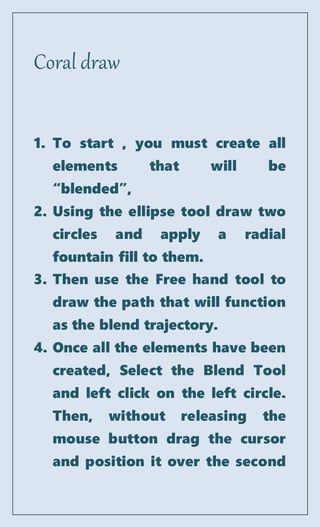

This document discusses several software that can be used to make images appear 3D: Photoshop, Blender, Coral Draw, and SketchUp. For each software, it provides steps on how to take a 2D image and manipulate it using tools in the software to create a 3D effect. The steps include using layers, transformations, materials, textures, and blending to add depth and realism to make the image appear three-dimensional.