Download to read offline

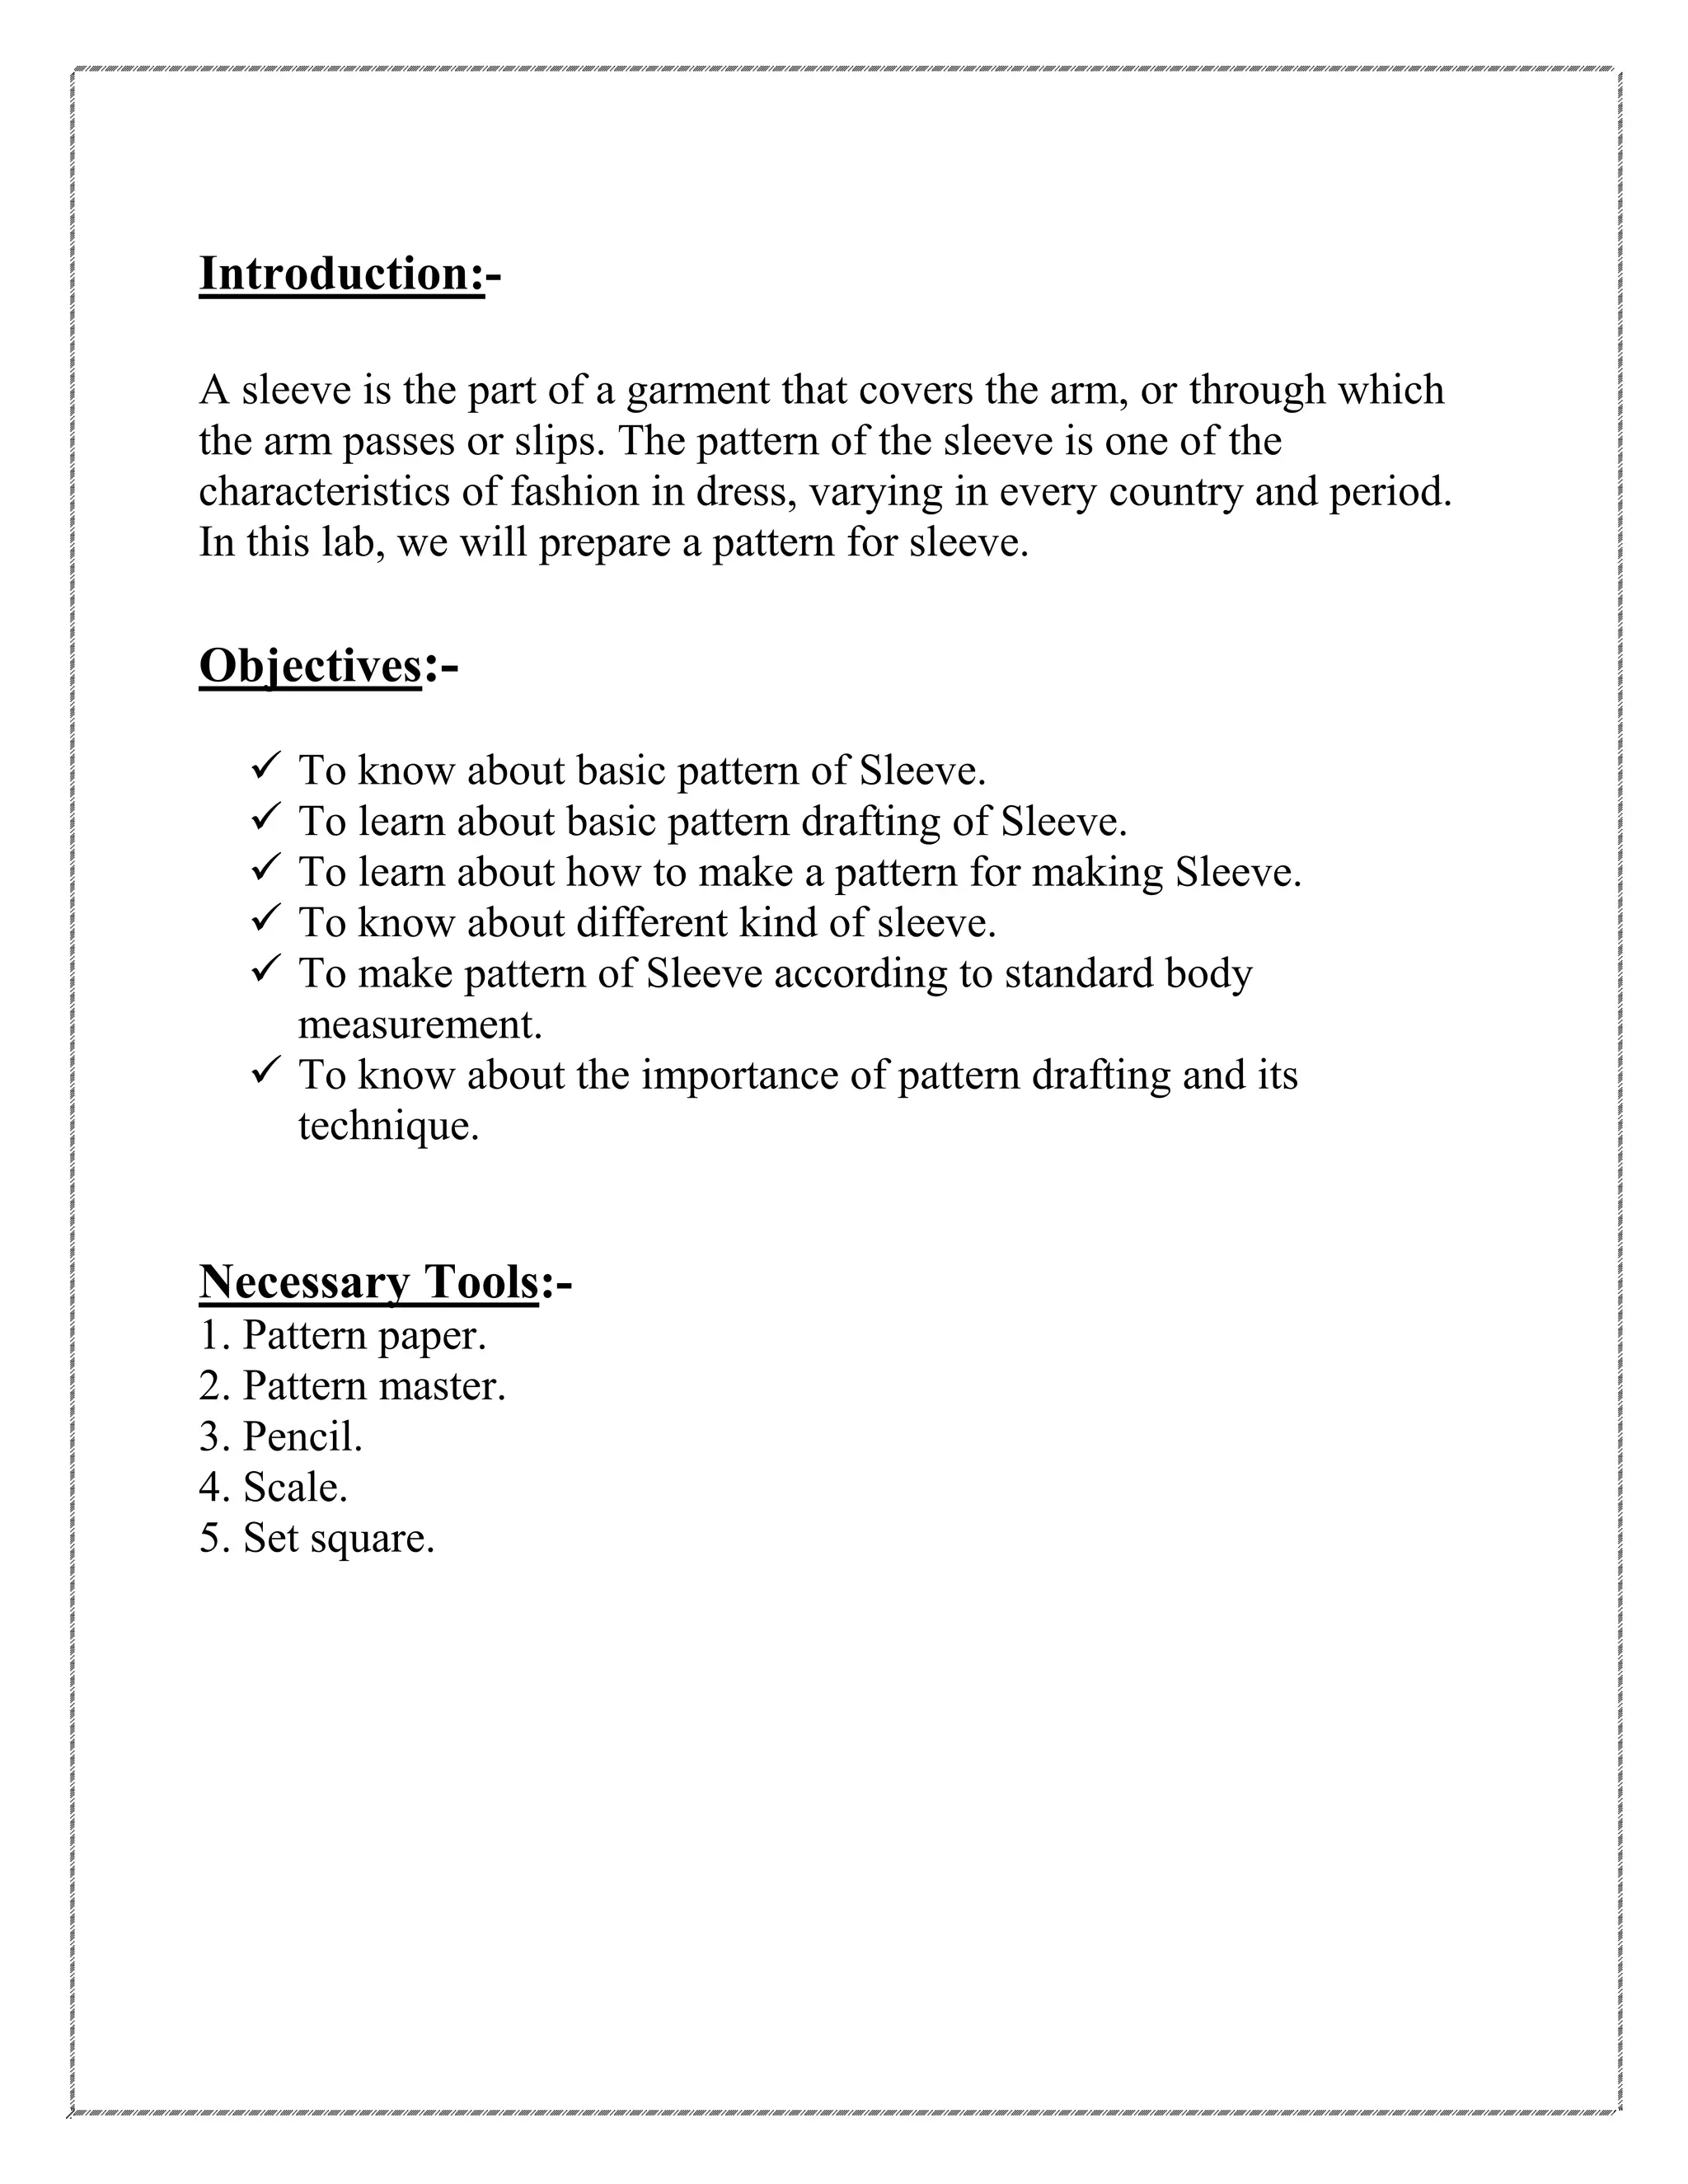

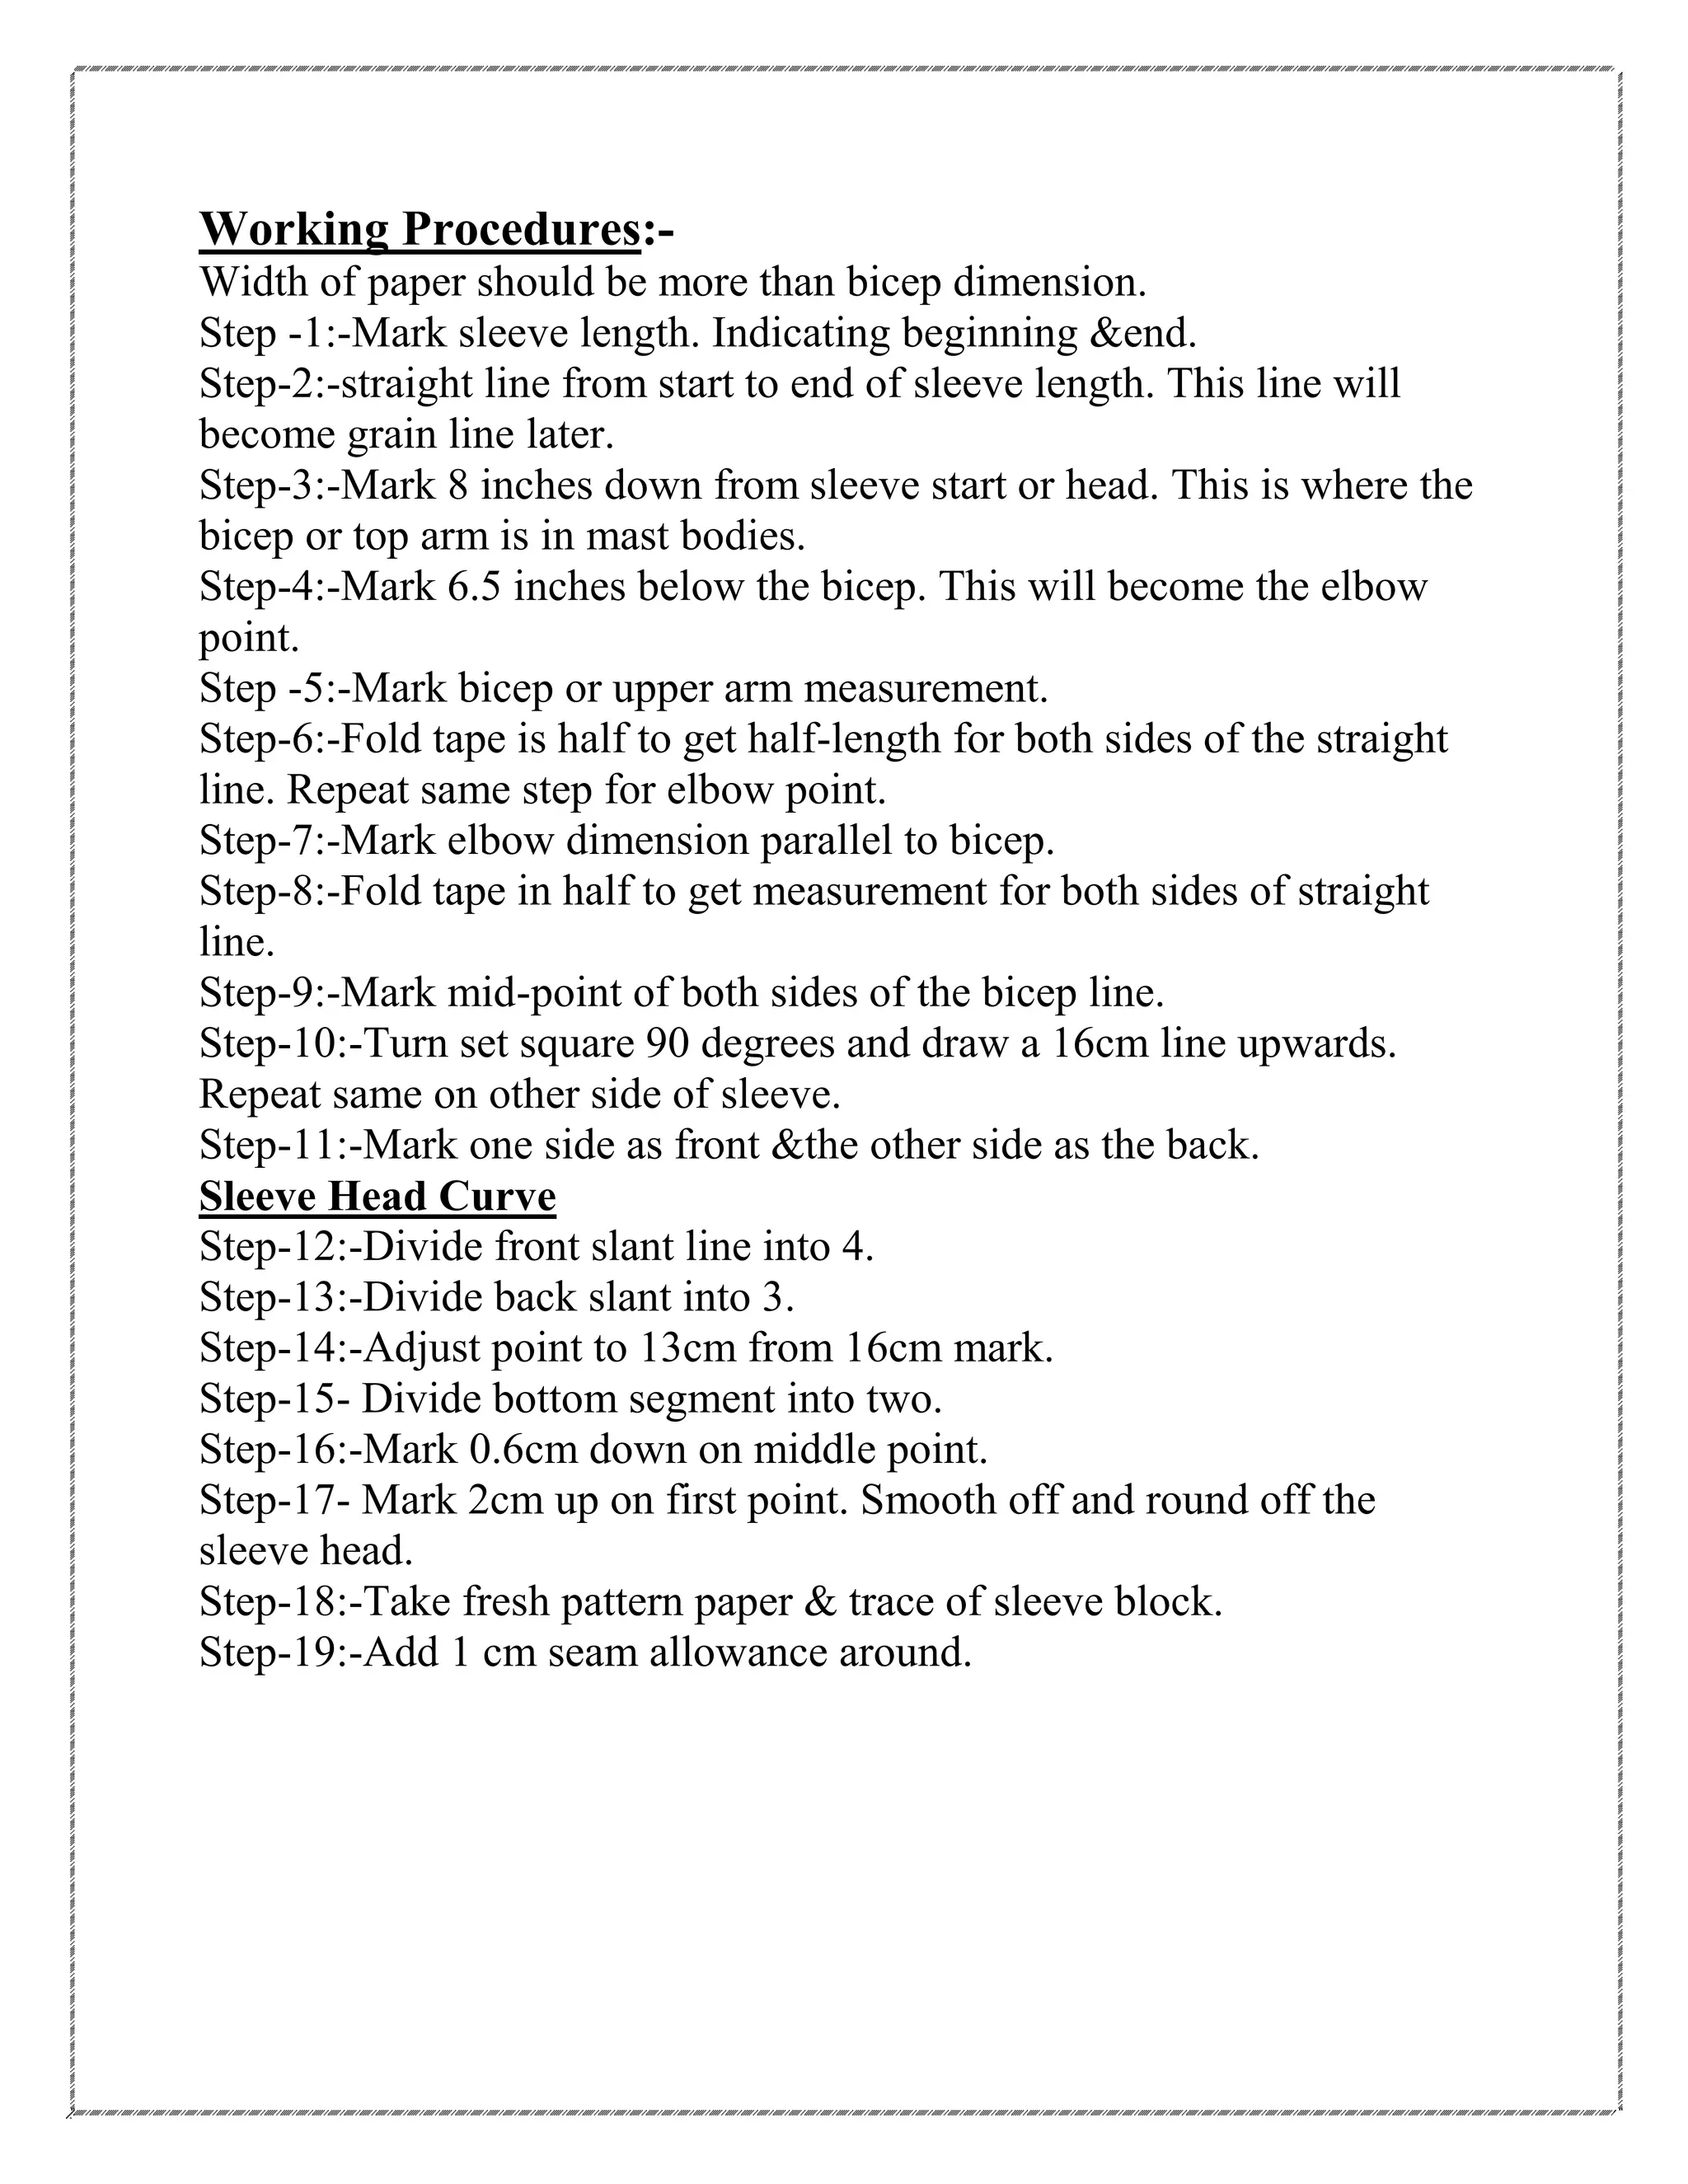


This lab report summarizes a student's experiment on basic pattern drafting of sleeves. The student learned how to make a basic sleeve pattern using standard body measurements. Key steps included marking the sleeve length and grain line, identifying points for the bicep and elbow, measuring and marking these dimensions, and drafting the sleeve head curve. The objectives were to understand basic sleeve patterns, drafting techniques, and how to make a pattern that can be used to manufacture sleeves.