2. What you need:
140 cm of wood, 12-15ccm wide.
Saw
Hammer
Nails
Sand paper
Paint for decorating
3. Getting Started.
• Collect a plank of wood and place it on the table.
• Measure out the wood: 25cm, 25cm, 25cm, 25 cm,
25cm, 8cm and 7cm.
• Mark the measurements with a pencil on the
wood.
4. Process.
After measuring the wood, cut off all the sections
using the saw.
Take turns to saw off the sections of wood.
5. When all the sections are cut, sand them down to
ensure that they were smooth and of even surface.
Hold the wood in one hand and rub the uneven
edges with sandpaper
By sanding them down, any uneven sides or stray
chippings of wood were removed.
6. When all of the parts are sanded down, place the
sides together to ensure the shape are correct and
that all the measurements add up.
Then get a teacher to create a hole for the birds in
one side of the house using a specialised tool.
7. Then connect all the pieces together using a
hammer and nails.
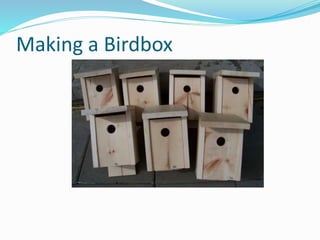
8. End Product
When all the parts are hammered tightly together,
decorate the bird house.
It is then ready to be placed in the garden for all
the birds to visit!