This document provides information on various Photoshop and Lightroom techniques including:
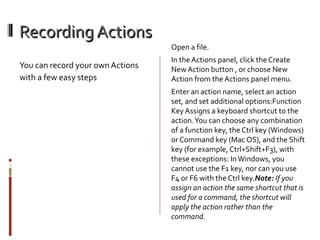
- How to record actions in Photoshop by beginning recording, performing operations, and stopping recording.
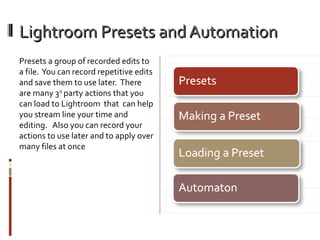
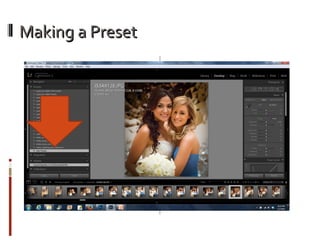
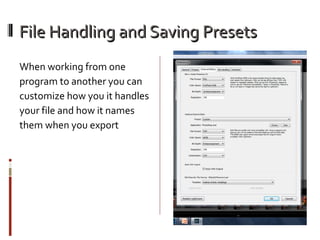
- How to create, load, and export presets in Lightroom by selecting settings, naming the preset, and importing or exporting preset template files.
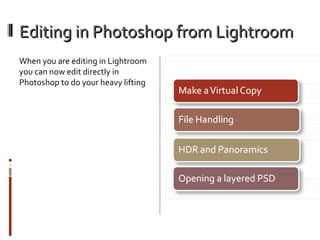
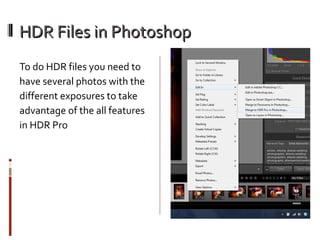
- Tips for editing HDR files, panoramic images, and composite photos in Photoshop, including considerations for file size when editing panoramas.
- An assignment to practice techniques like recording a Lightroom preset, making a panorama, HDR image, and composite photo.