Download to read offline
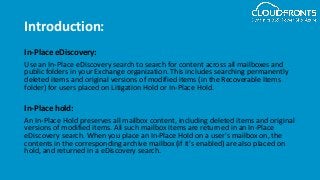


In this webinar, we will take a look at In-Place eDiscovery which can be used to search for content across all mailboxes in your organization and we will also walkthrough In-place hold which preserves all mailbox content, including deleted items. All such mailbox items are returned in an In-place eDiscovery search.


![Getting Started with Apache Spark: Big Data Made Simple [Free Meetup]](https://cdn.slidesharecdn.com/ss_thumbnails/apachesparkgettingstarted-260203175547-8361bcc3-thumbnail.jpg?width=640&height=640&fit=bounds)


