
Recommended
More Related Content
What's hot
What's hot (19)
Similar to A guide to using PikiStrips
Similar to A guide to using PikiStrips (20)
More from digitalmaverick
More from digitalmaverick (20)
Recently uploaded
Recently uploaded (20)
A guide to using PikiStrips
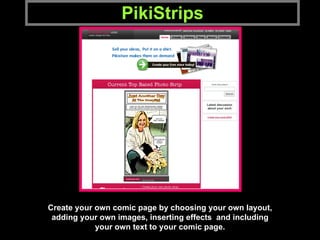
- 1. PikiStrips Create your own comic page by choosing your own layout, adding your own images, inserting effects and including your own text to your comic page.
- 2. Comic Layout Select the number of cells you want for your comic page. Then pick the layout direction of the images you will add.
- 3. Layout Pt. 2 Choose the size of your boarder by sliding the red mark along the line. Then Choose the Colour of your border. Next select the space between each image box. After the spacing, choose the background colour and the cell background colour. Finally, pick your comic size.
- 4. Uploading Images Upload a picture to begin creating your comic. Upload photo from your own personal images. Search for Images on Flickr View saved images in ‘Gallery’ Choose a panel to begin making your comic.
- 5. Panel Properties Under Panel Properties you can change the transparency, height, width and size of the object that you added to your image. You can also rotate, and flip the objects that you included in your photograph by selecting the effects button.
- 6. Adding Text Bubbles Drag and Drop speech bubbles to add to your image. Then type a phrase inside the bubble. Choose your text size, style and colour.
- 7. Fun Stuff Add ‘fun stuff’ to your images by Dragging and dropping onto your Photo. There are many different Categories that you can choose from For your comic.
- 8. Preview and Save Preview your work and then save it to your Gallery. Choose a title for your comic strip, write a description and add tags. Choose to make it public or to keep it personal. Then select save and view your creation.