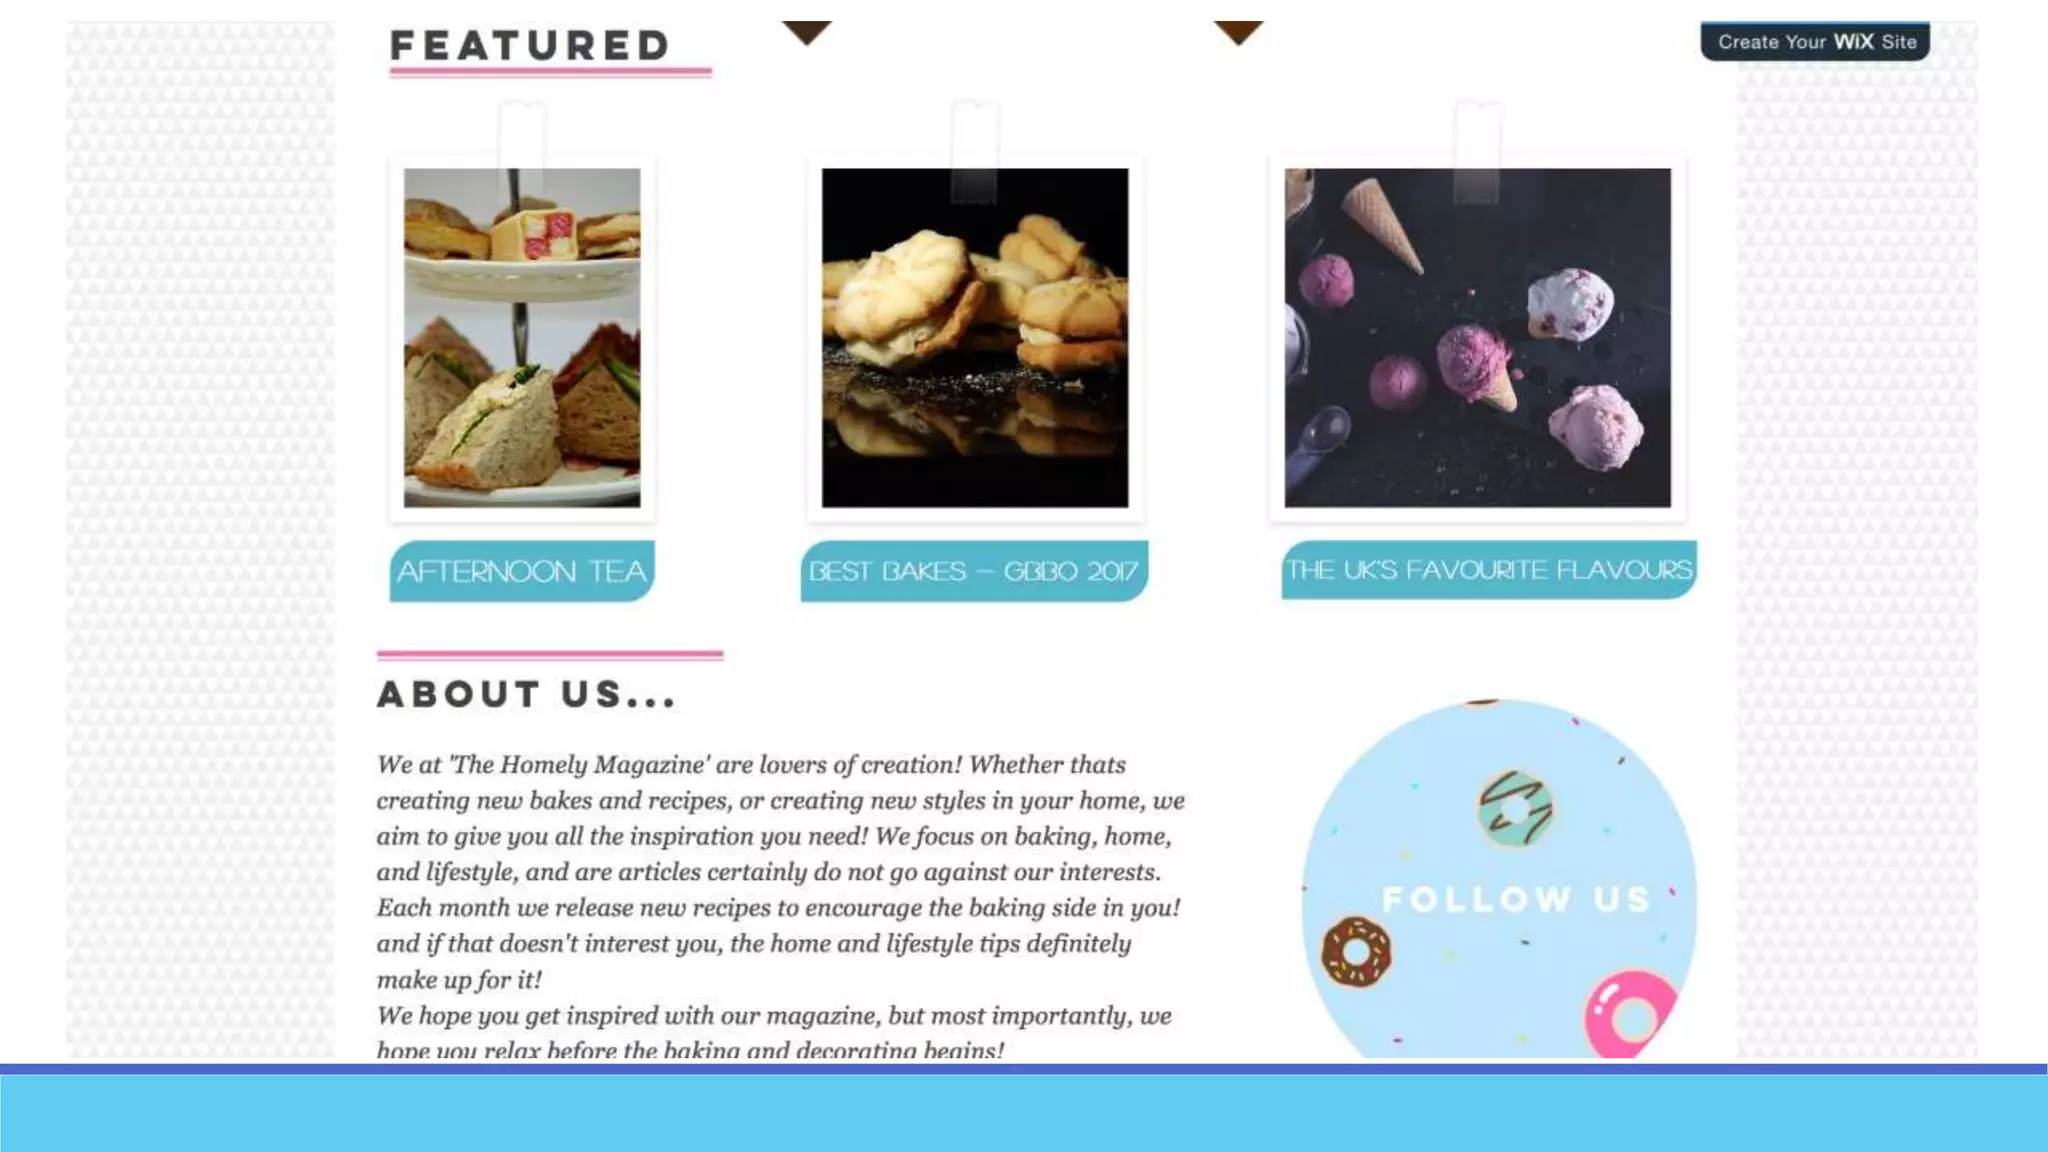
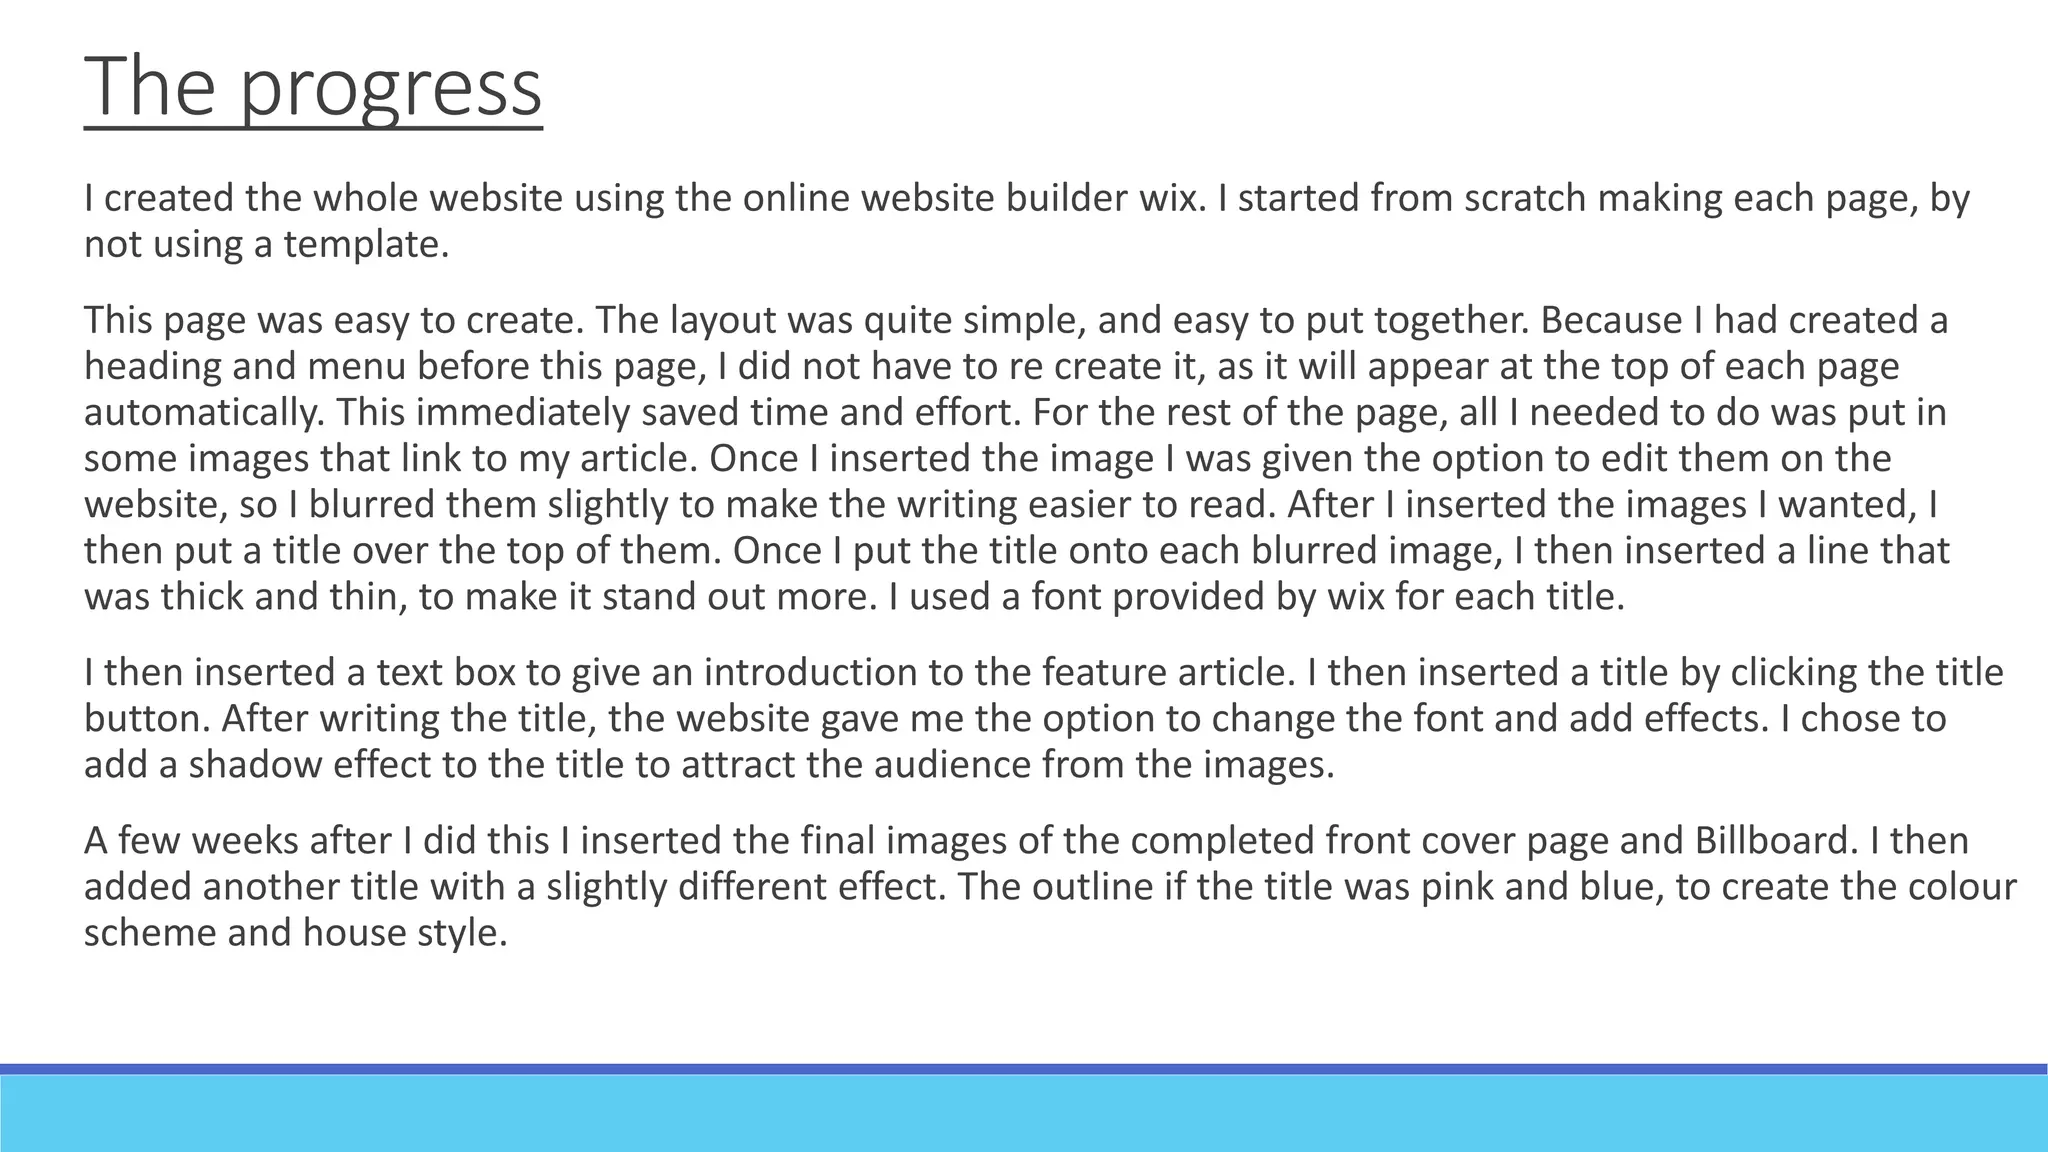
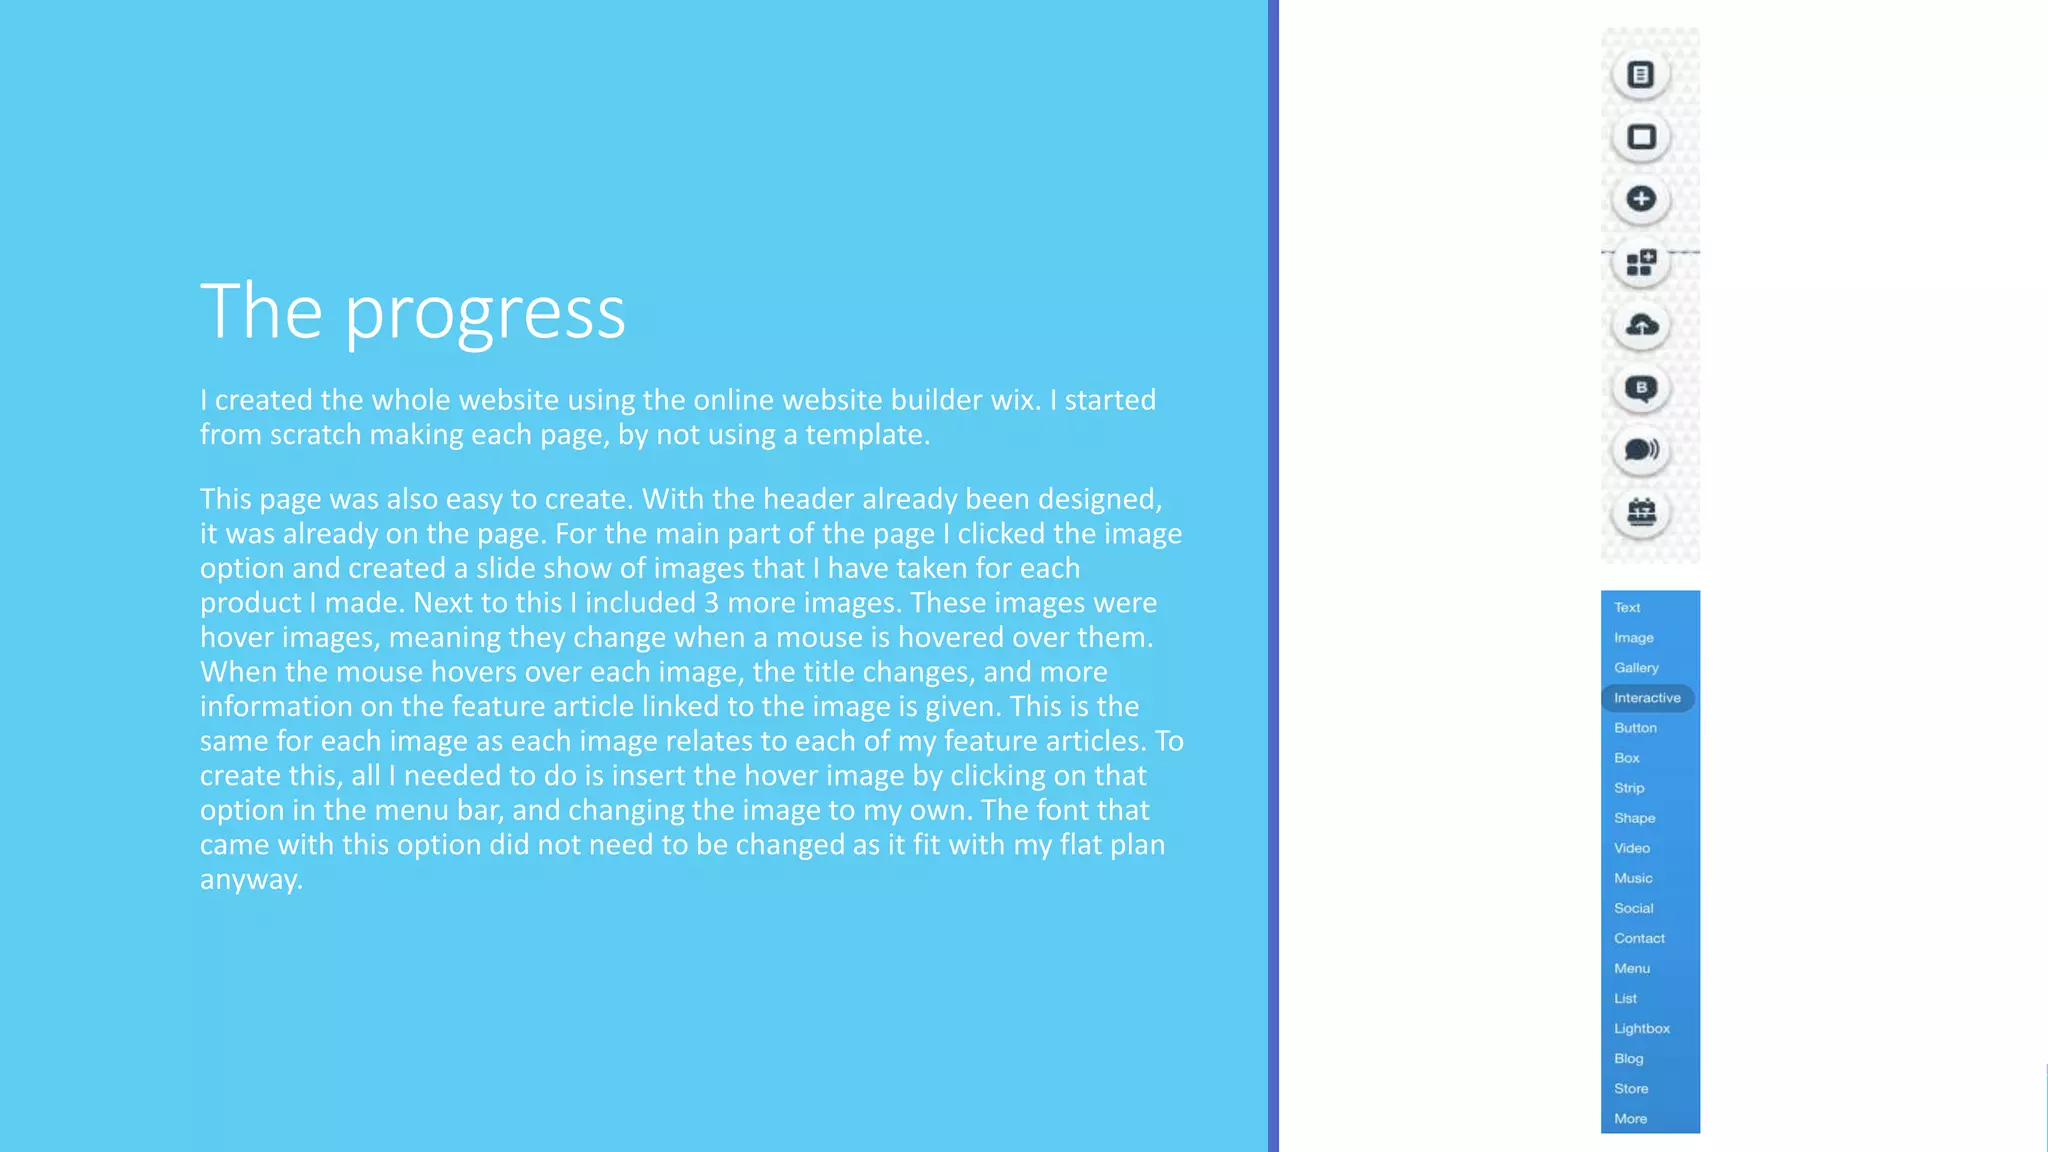
Website – Process
Home page
The progress
I created the whole website using the online website builder wix. I started
from scratch making each page, by not using a template.
I started by changing the design of the page actual page to white. I then
changed the design of the margins to a geometric design so it fit with the
theme of my products. I then added in images at the top of the page which
created the brand name which shows at the top of each page. These were just
screenshots of the font that I have used for all of my products. I then inserted
a menu, so that people can navigate their way around my website through
hyperlinked pages. With the menu the line becomes thicker on the page you
are on so you know which page you are reading.
After the pages were hyperlinked I started to construct the home page. I used
the image option to pick this already set up design. I then inserted the layout
onto the page and changed the images so they were then my own images.
After this I inserted more images but with a boarder that looks like a mood
board. These images correspond with the feature articles. I also inserted a
text box underneath each image so the readers could see what articles were
featured.
I then put in a title and a text box underneath giving information on the
brand. Next to this I inserted a hover box. This shows an image of donuts with
‘follow us’ on it when you do not hover over it but when you do it turns into a
video of the ocean, with the social media handles of the brand on it.
Current issue page
The progress
I created the whole website using the online website builder wix. I started from scratch making each page, by
not using a template.
This page was easy to create. The layout was quite simple, and easy to put together. Because I had created a
heading and menu before this page, I did not have to re create it, as it will appear at the top of each page
automatically. This immediately saved time and effort. For the rest of the page, all I needed to do was put in
some images that link to my article. Once I inserted the image I was given the option to edit them on the
website, so I blurred them slightly to make the writing easier to read. After I inserted the images I wanted, I
then put a title over the top of them. Once I put the title onto each blurred image, I then inserted a line that
was thick and thin, to make it stand out more. I used a font provided by wix for each title.
I then inserted a text box to give an introduction to the feature article. I then inserted a title by clicking the title
button. After writing the title, the website gave me the option to change the font and add effects. I chose to
add a shadow effect to the title to attract the audience from the images.
A few weeks after I did this I inserted the final images of the completed front cover page and Billboard. I then
added another title with a slightly different effect. The outline if the title was pink and blue, to create the colour
scheme and house style.
Gallery page
The progress
I created the whole website using the online website builder wix. I started
from scratch making each page, by not using a template.
This page was also easy to create. With the header already been designed,
it was already on the page. For the main part of the page I clicked the image
option and created a slide show of images that I have taken for each
product I made. Next to this I included 3 more images. These images were
hover images, meaning they change when a mouse is hovered over them.
When the mouse hovers over each image, the title changes, and more
information on the feature article linked to the image is given. This is the
same for each image as each image relates to each of my feature articles. To
create this, all I needed to do is insert the hover image by clicking on that
option in the menu bar, and changing the image to my own. The font that
came with this option did not need to be changed as it fit with my flat plan
anyway.

Website process

  • 1.
  • 2.
  • 5.
    The progress I createdthe whole website using the online website builder wix. I started from scratch making each page, by not using a template. I started by changing the design of the page actual page to white. I then changed the design of the margins to a geometric design so it fit with the theme of my products. I then added in images at the top of the page which created the brand name which shows at the top of each page. These were just screenshots of the font that I have used for all of my products. I then inserted a menu, so that people can navigate their way around my website through hyperlinked pages. With the menu the line becomes thicker on the page you are on so you know which page you are reading. After the pages were hyperlinked I started to construct the home page. I used the image option to pick this already set up design. I then inserted the layout onto the page and changed the images so they were then my own images. After this I inserted more images but with a boarder that looks like a mood board. These images correspond with the feature articles. I also inserted a text box underneath each image so the readers could see what articles were featured. I then put in a title and a text box underneath giving information on the brand. Next to this I inserted a hover box. This shows an image of donuts with ‘follow us’ on it when you do not hover over it but when you do it turns into a video of the ocean, with the social media handles of the brand on it.
  • 6.
  • 9.
    The progress I createdthe whole website using the online website builder wix. I started from scratch making each page, by not using a template. This page was easy to create. The layout was quite simple, and easy to put together. Because I had created a heading and menu before this page, I did not have to re create it, as it will appear at the top of each page automatically. This immediately saved time and effort. For the rest of the page, all I needed to do was put in some images that link to my article. Once I inserted the image I was given the option to edit them on the website, so I blurred them slightly to make the writing easier to read. After I inserted the images I wanted, I then put a title over the top of them. Once I put the title onto each blurred image, I then inserted a line that was thick and thin, to make it stand out more. I used a font provided by wix for each title. I then inserted a text box to give an introduction to the feature article. I then inserted a title by clicking the title button. After writing the title, the website gave me the option to change the font and add effects. I chose to add a shadow effect to the title to attract the audience from the images. A few weeks after I did this I inserted the final images of the completed front cover page and Billboard. I then added another title with a slightly different effect. The outline if the title was pink and blue, to create the colour scheme and house style.
  • 10.
  • 12.
    The progress I createdthe whole website using the online website builder wix. I started from scratch making each page, by not using a template. This page was also easy to create. With the header already been designed, it was already on the page. For the main part of the page I clicked the image option and created a slide show of images that I have taken for each product I made. Next to this I included 3 more images. These images were hover images, meaning they change when a mouse is hovered over them. When the mouse hovers over each image, the title changes, and more information on the feature article linked to the image is given. This is the same for each image as each image relates to each of my feature articles. To create this, all I needed to do is insert the hover image by clicking on that option in the menu bar, and changing the image to my own. The font that came with this option did not need to be changed as it fit with my flat plan anyway.