Download to read offline


![CORPORATE HEADQUARTERS: WebEx Communications, Inc., 3979 Freedom Circle, Santa Clara, CA 95054 USA Tel: +1.408.435.7000 Fax: +1.408.496.4353
©2005 WebEx Communications, Inc. All rights reserved. WebEx and the WebEx logo are registered trademarks of WebEx Communications, Inc.
All other trademarks are the property of their respective owners. CS-EL-0606
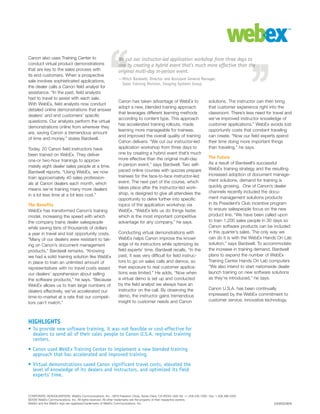
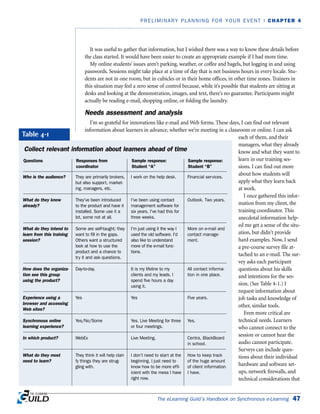
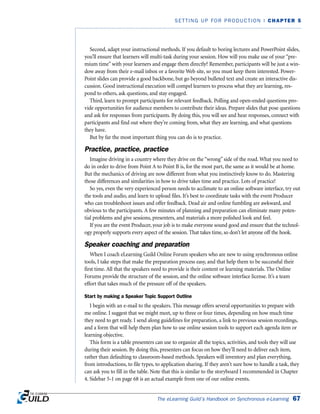
WebEx eLearning Consulting Service Offerings
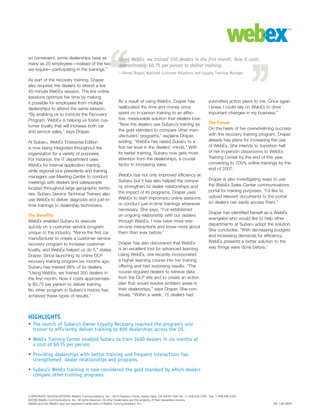
Choose from three program levels, based on the support you need and the results you desire.
Consulting program Deliverables
Quick-Start
Have us TELL YOU
how to develop
your roadmap.
Discovery session & interviews
Conduct a minimum of 15-20 individual interviews with your C-level executives,
customers, stakeholders, and attendees.
WebEx analysis of findings
Use interview and discovery findings to analyze your organization, instructors, course
and content development, and audience.
Stakeholder presentation [via WebEx]
Approximately 3-weeks after interviews, findings and recommendations
are presented in a WebEx Meeting.
Delivery of customer opportunity document
Strategic Account Plan recommends steps to develop your
eLearning Roadmap.
»
Pro-Start
Let us show YOU
how to implement
your roadmap.
All Quick-Start deliverables, but your stakeholder presentation will be delivered live:
2-Day stakeholder onsite workshop
Approximately 3-weeks following interviews the customer sponsor & stakeholders
are presented with findings and recommendations and your Action Plan is
developed collaboratively.
Your Action Plan includes necessary tasks and actions to accomplish business
objectives, work effort estimates, and determination of roles and responsibilities.
Delivery of customer opportunity document
Strategic Account Plan documents specific executables for implementing an
eLearning Roadmap and an Action plan customized to your unique environment.
»
Custom
Consulting
Let WebEx develop
and execute your
roadmap FOR YOU.
Successful Custom Consulting engagements have included the following deliverables:
Training your trainers
— Presentation techniques for eLearning
— Optimization of WebEx tools
Optimizating your course designs
— Methods to increase interaction and optimize delivery
Designing effective class materials
— Design/repurpose materials
Integrating your existing processes/systems
Measuring your success
— Constant evaluation of efforts and improvement opportunities
»
»
»
»
»
Contact your WebEx Account Manager for more information,
or email psconsulting@webex.com.](https://image.slidesharecdn.com/the-elearning-guilds-handbook-on-synchronous-e-learning-181102053209/85/The-e-learning-guilds-handbook-on-synchronous-e-learning-45-320.jpg)


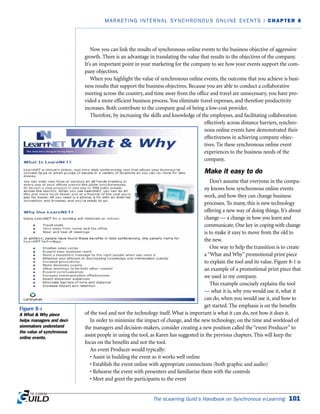


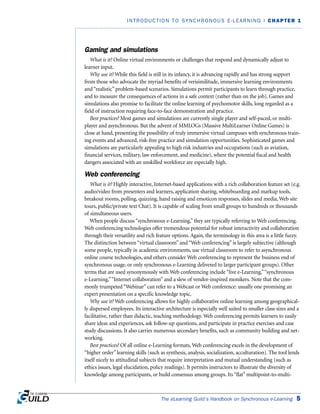
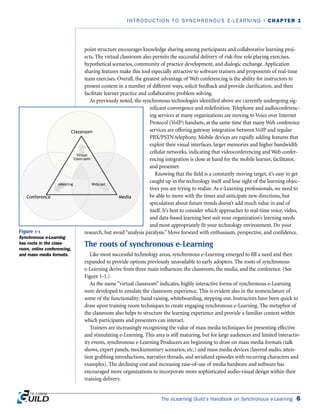
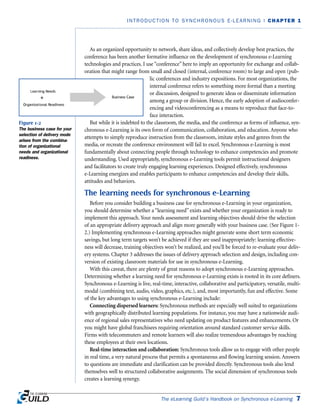
This document provides an introduction to synchronous e-learning and discusses various synchronous technologies such as teleconferencing, webcasting, gaming/simulations, and web conferencing. It outlines the business case for synchronous e-learning and considerations for integrating synchronous technologies. The document is a handbook for designing, producing, leading and promoting successful synchronous e-learning events.


![Distance Learning Ict1[1]](https://cdn.slidesharecdn.com/ss_thumbnails/distancelearningict11-090726042008-phpapp02-thumbnail.jpg?width=640&height=640&fit=bounds)


