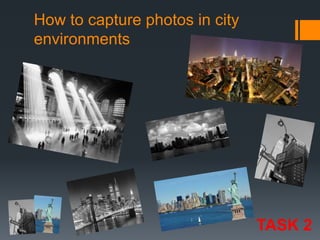
This document provides tips for capturing nighttime city photography in 3 sentences or less:
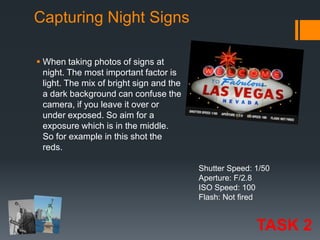
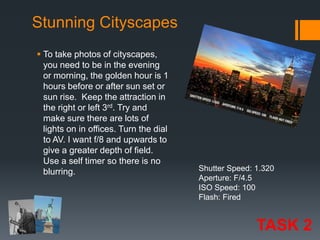
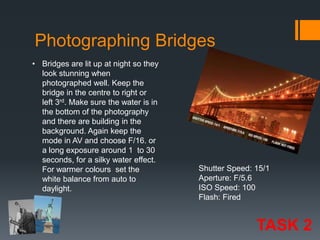
Capturing signs at night requires balancing the bright sign with a dark background to avoid over or underexposure. Taking cityscapes is best during golden hour to include lights in offices with the subject in the left or right third. Bridges are lit up at night so keep the bridge centered with water below and buildings in back, using a long exposure or flash depending on the scene.