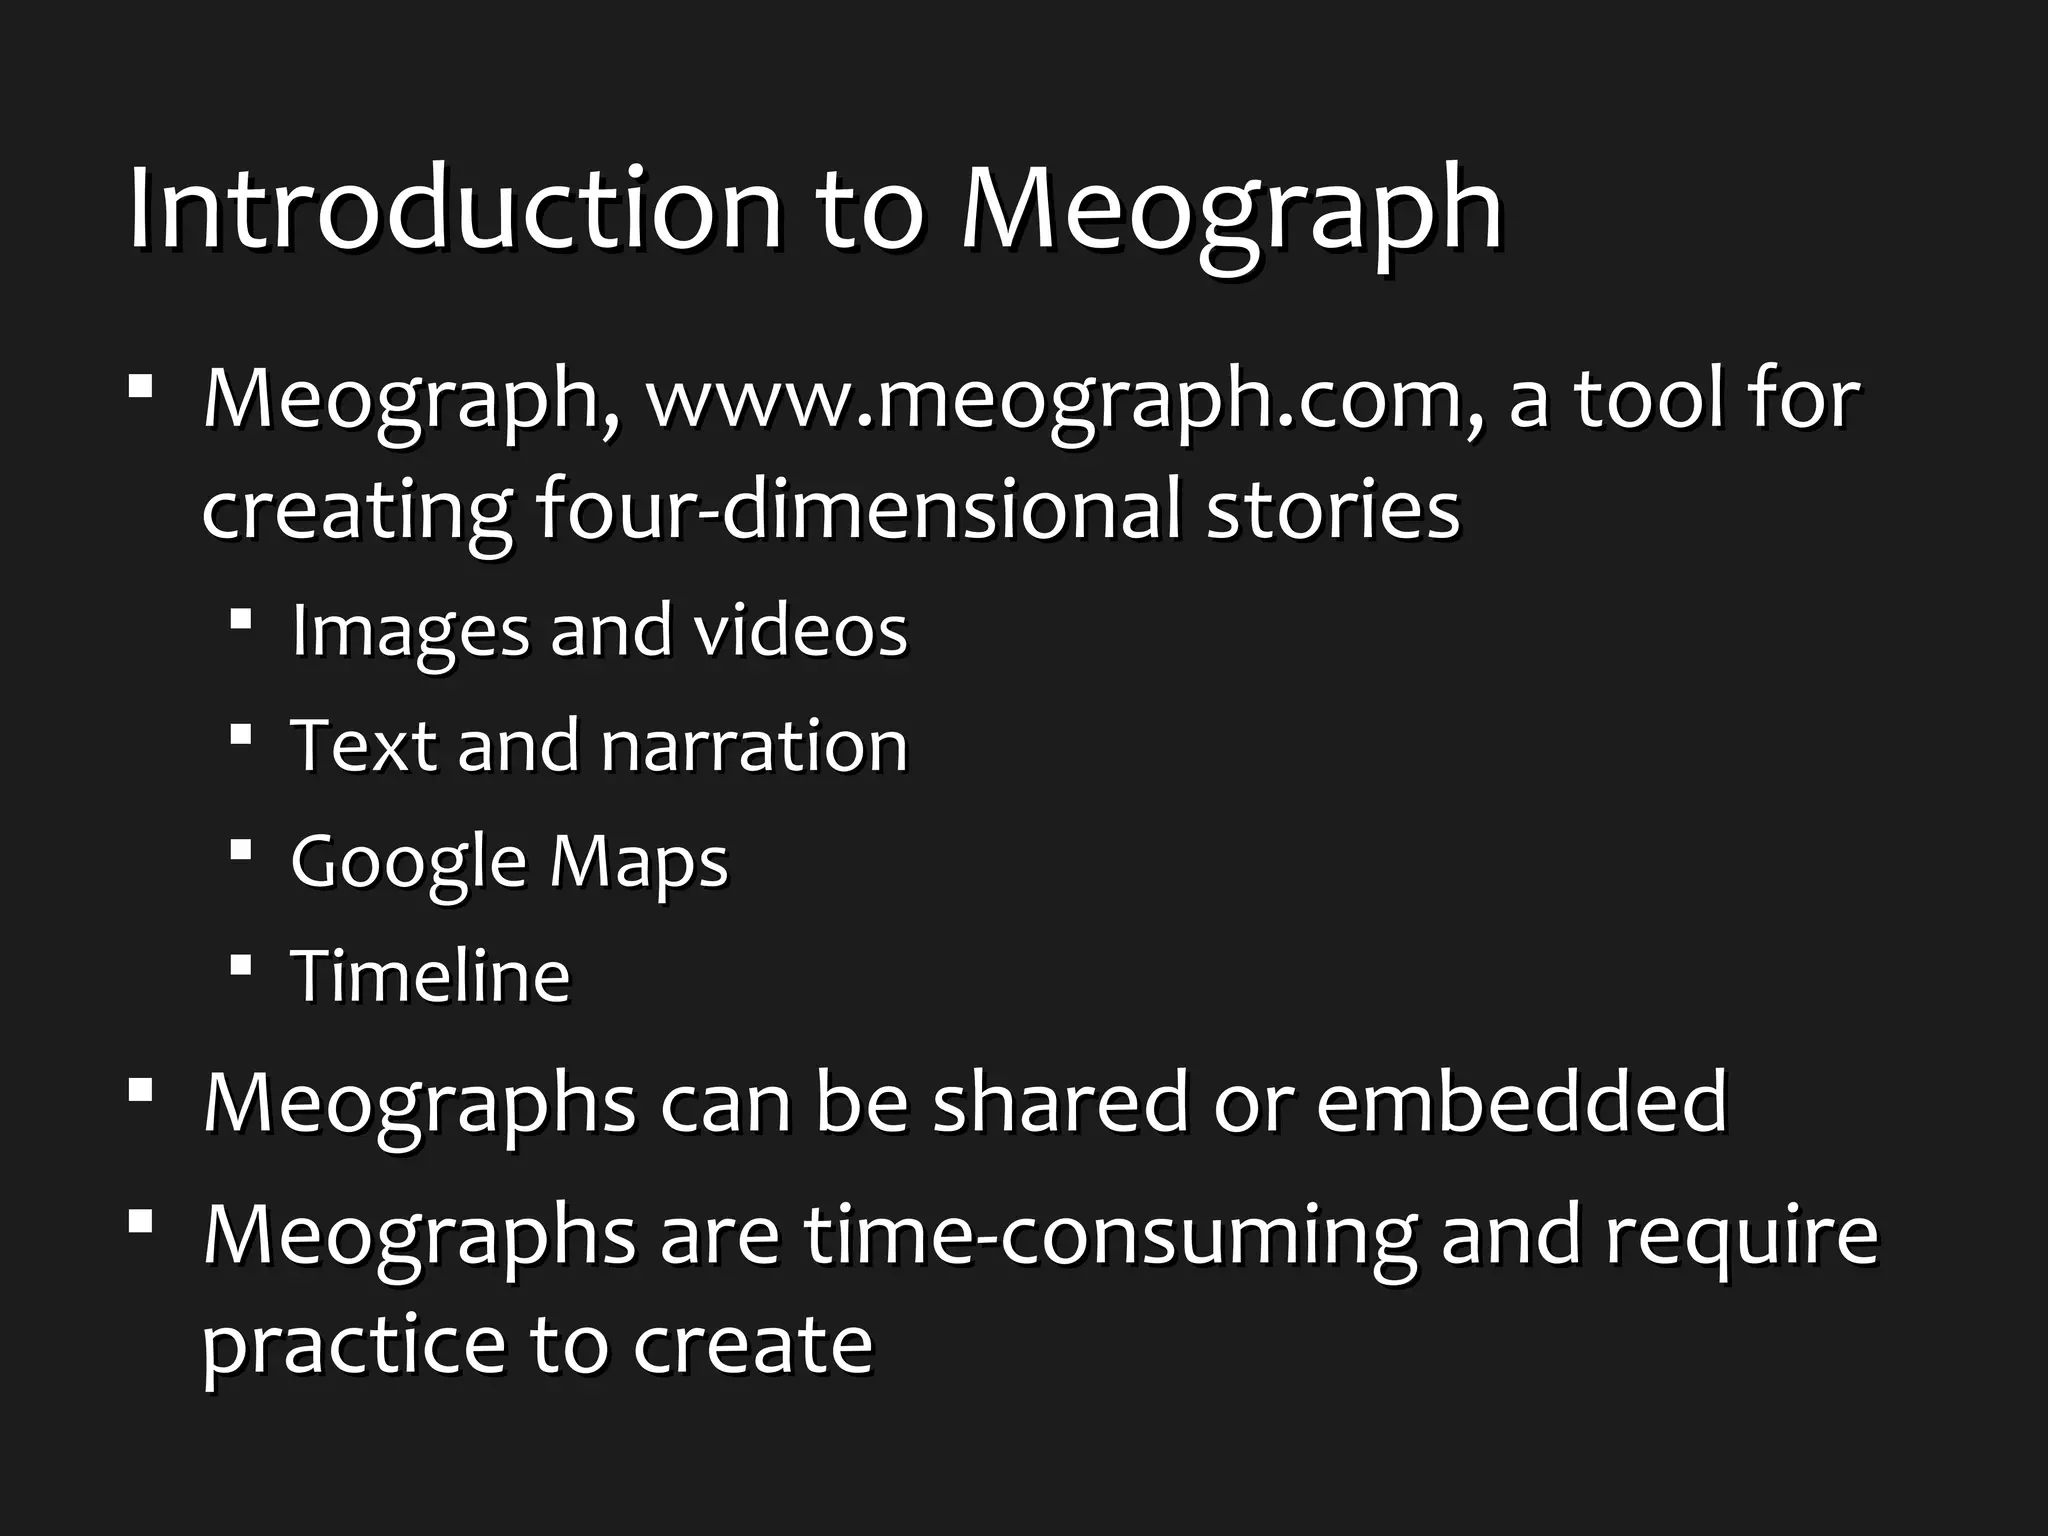
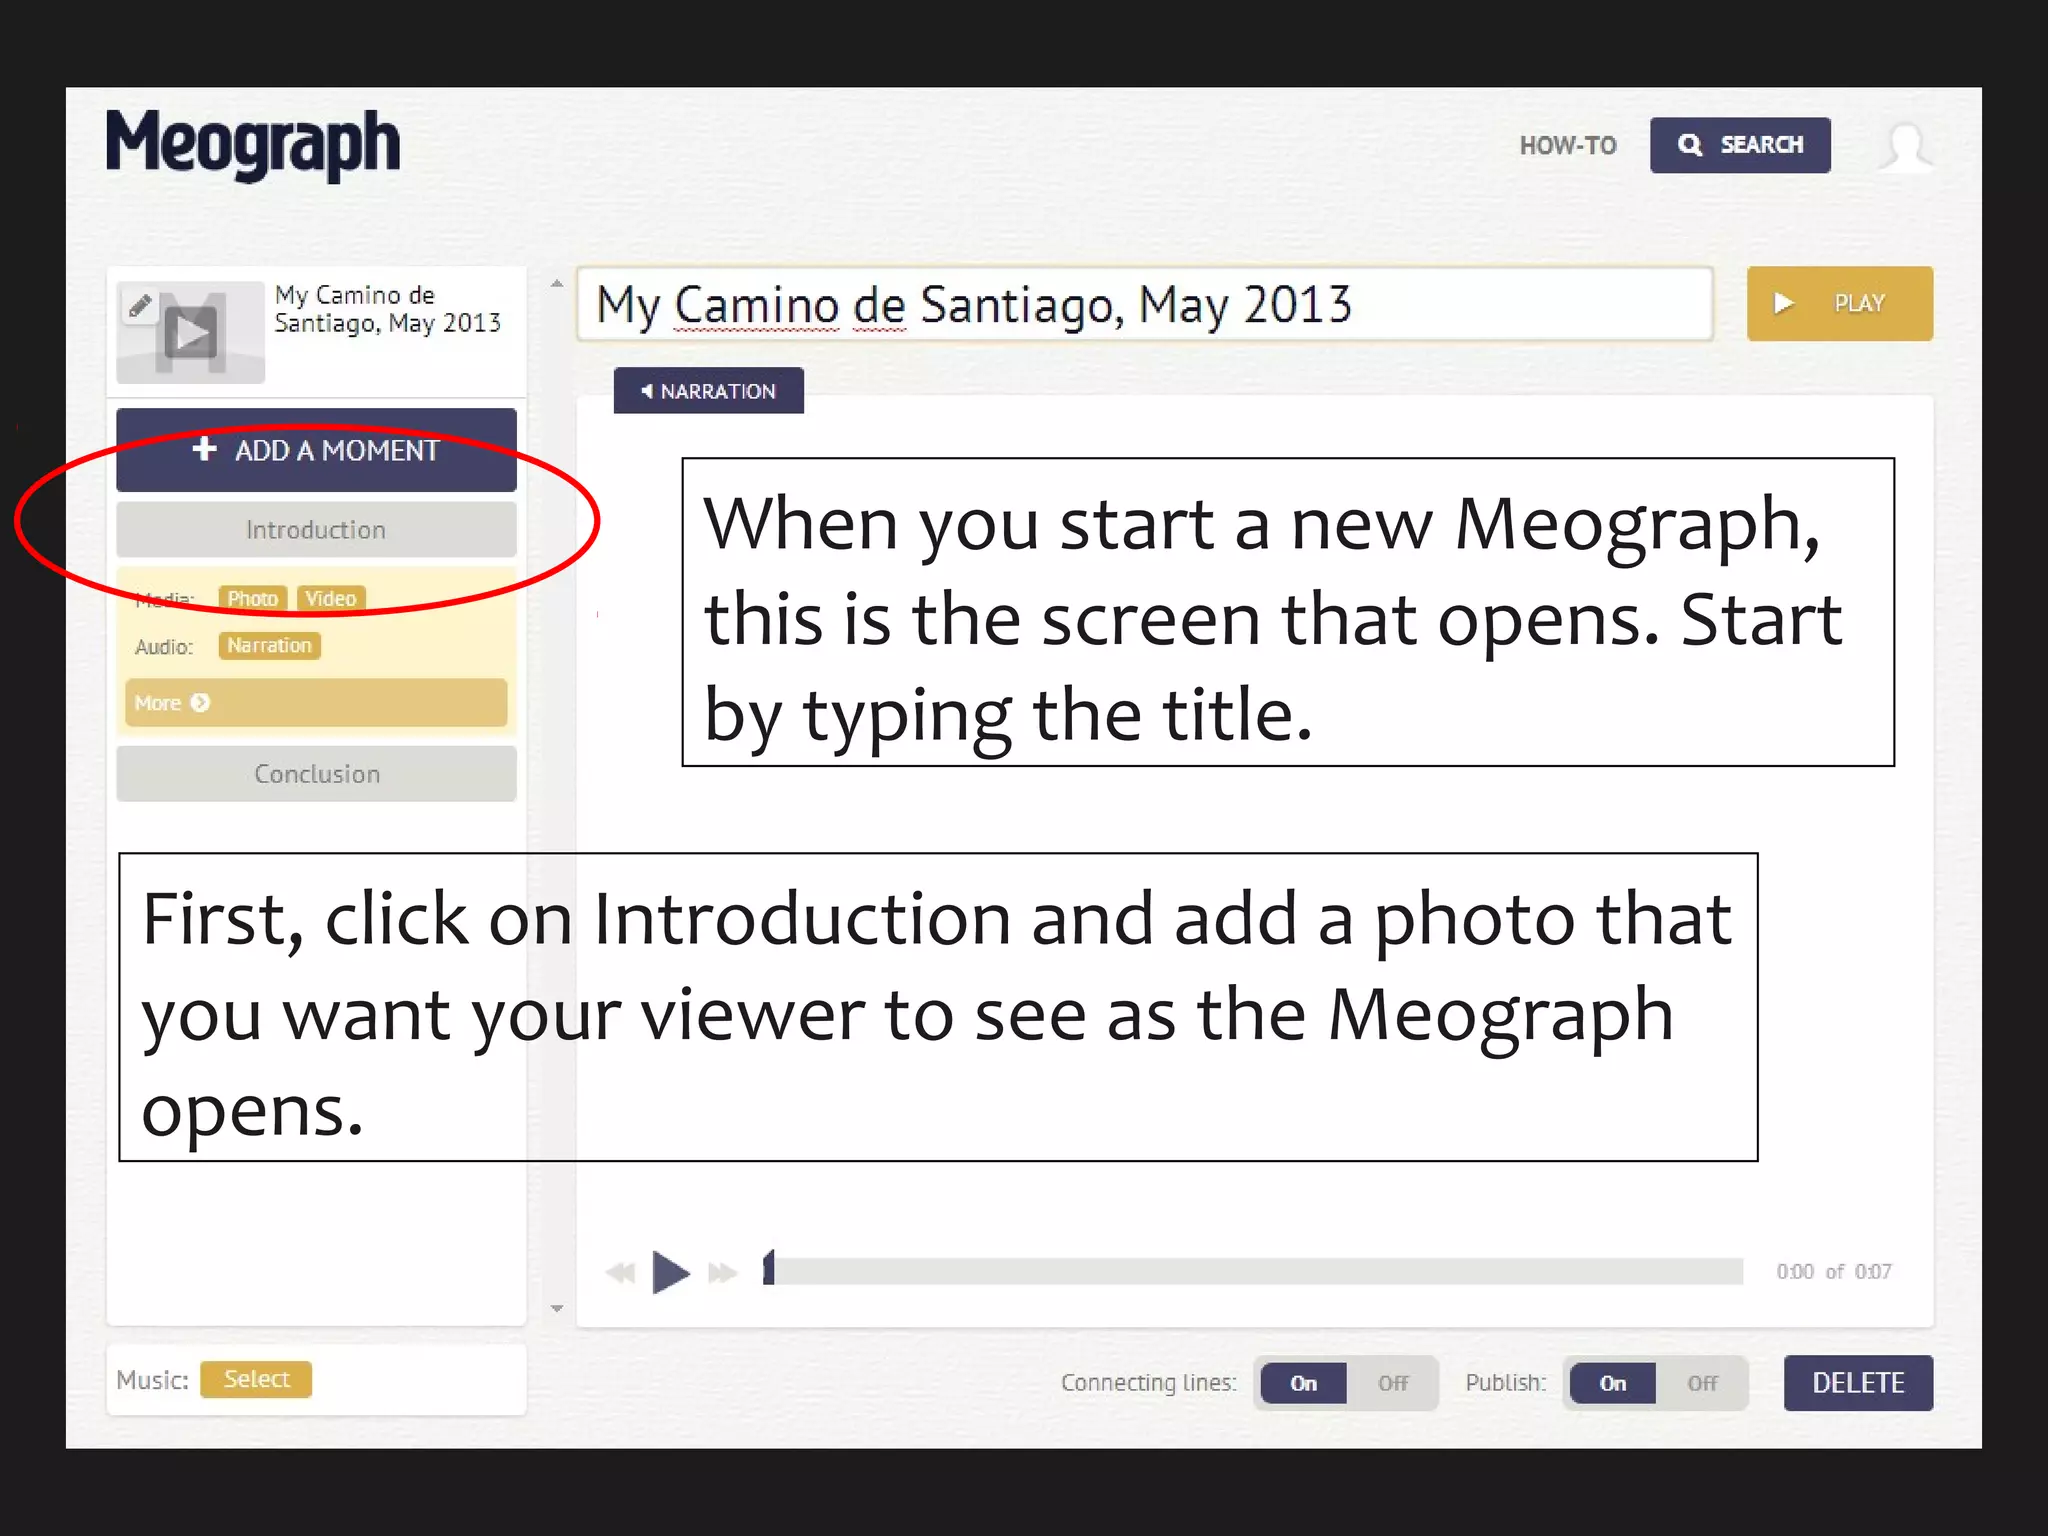
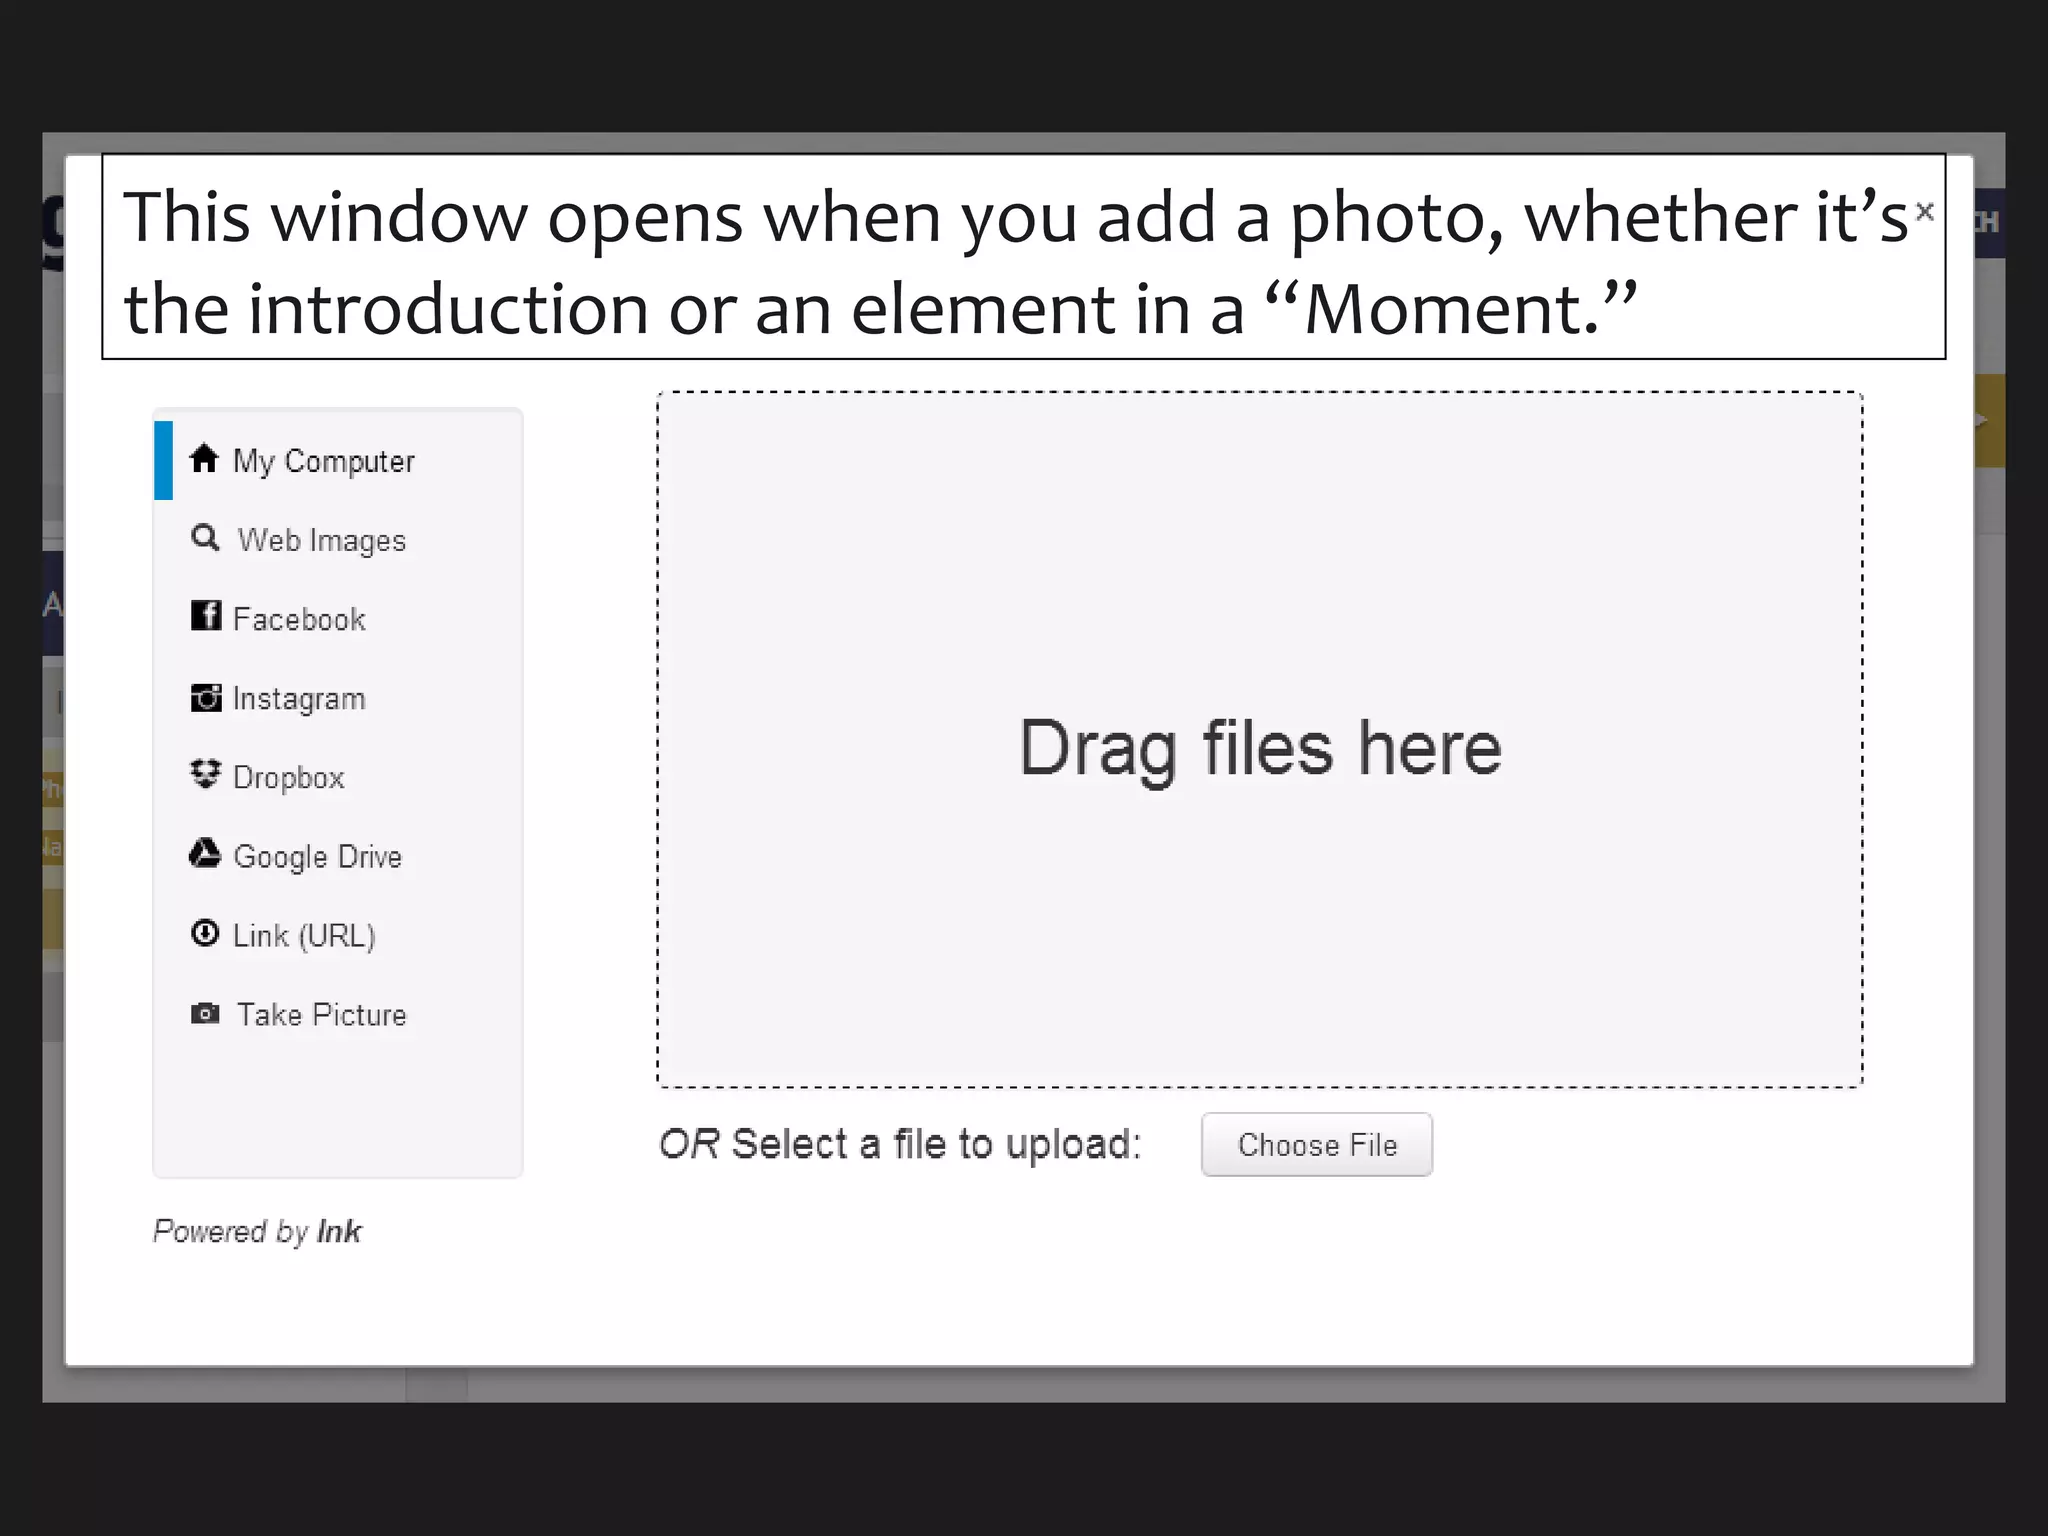
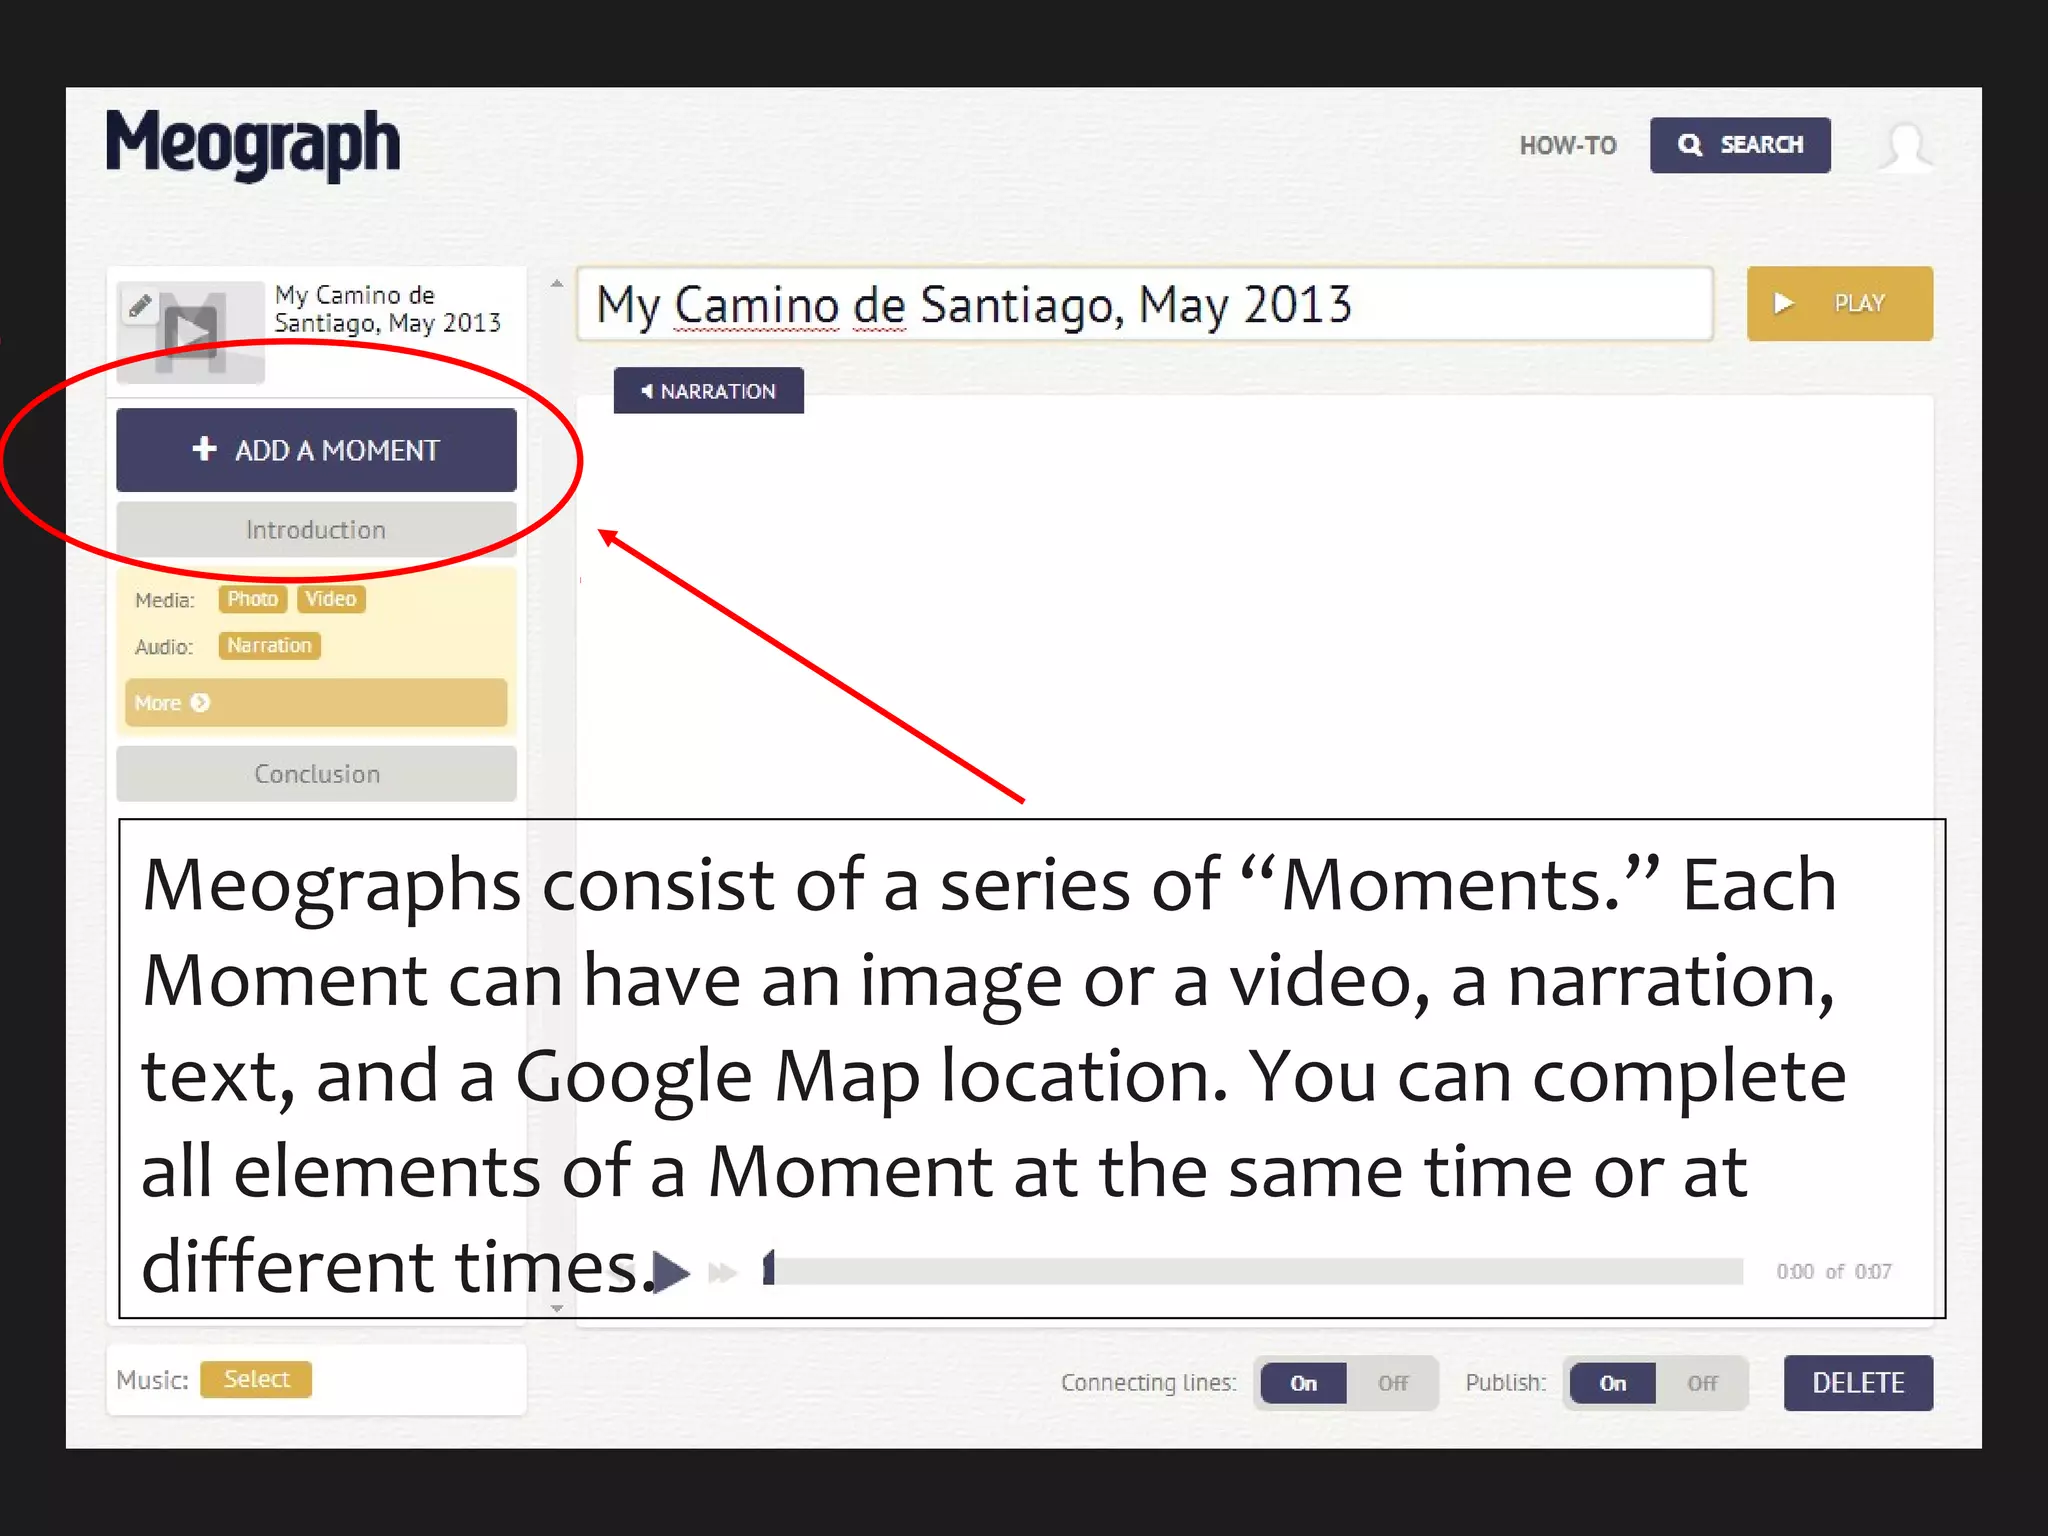
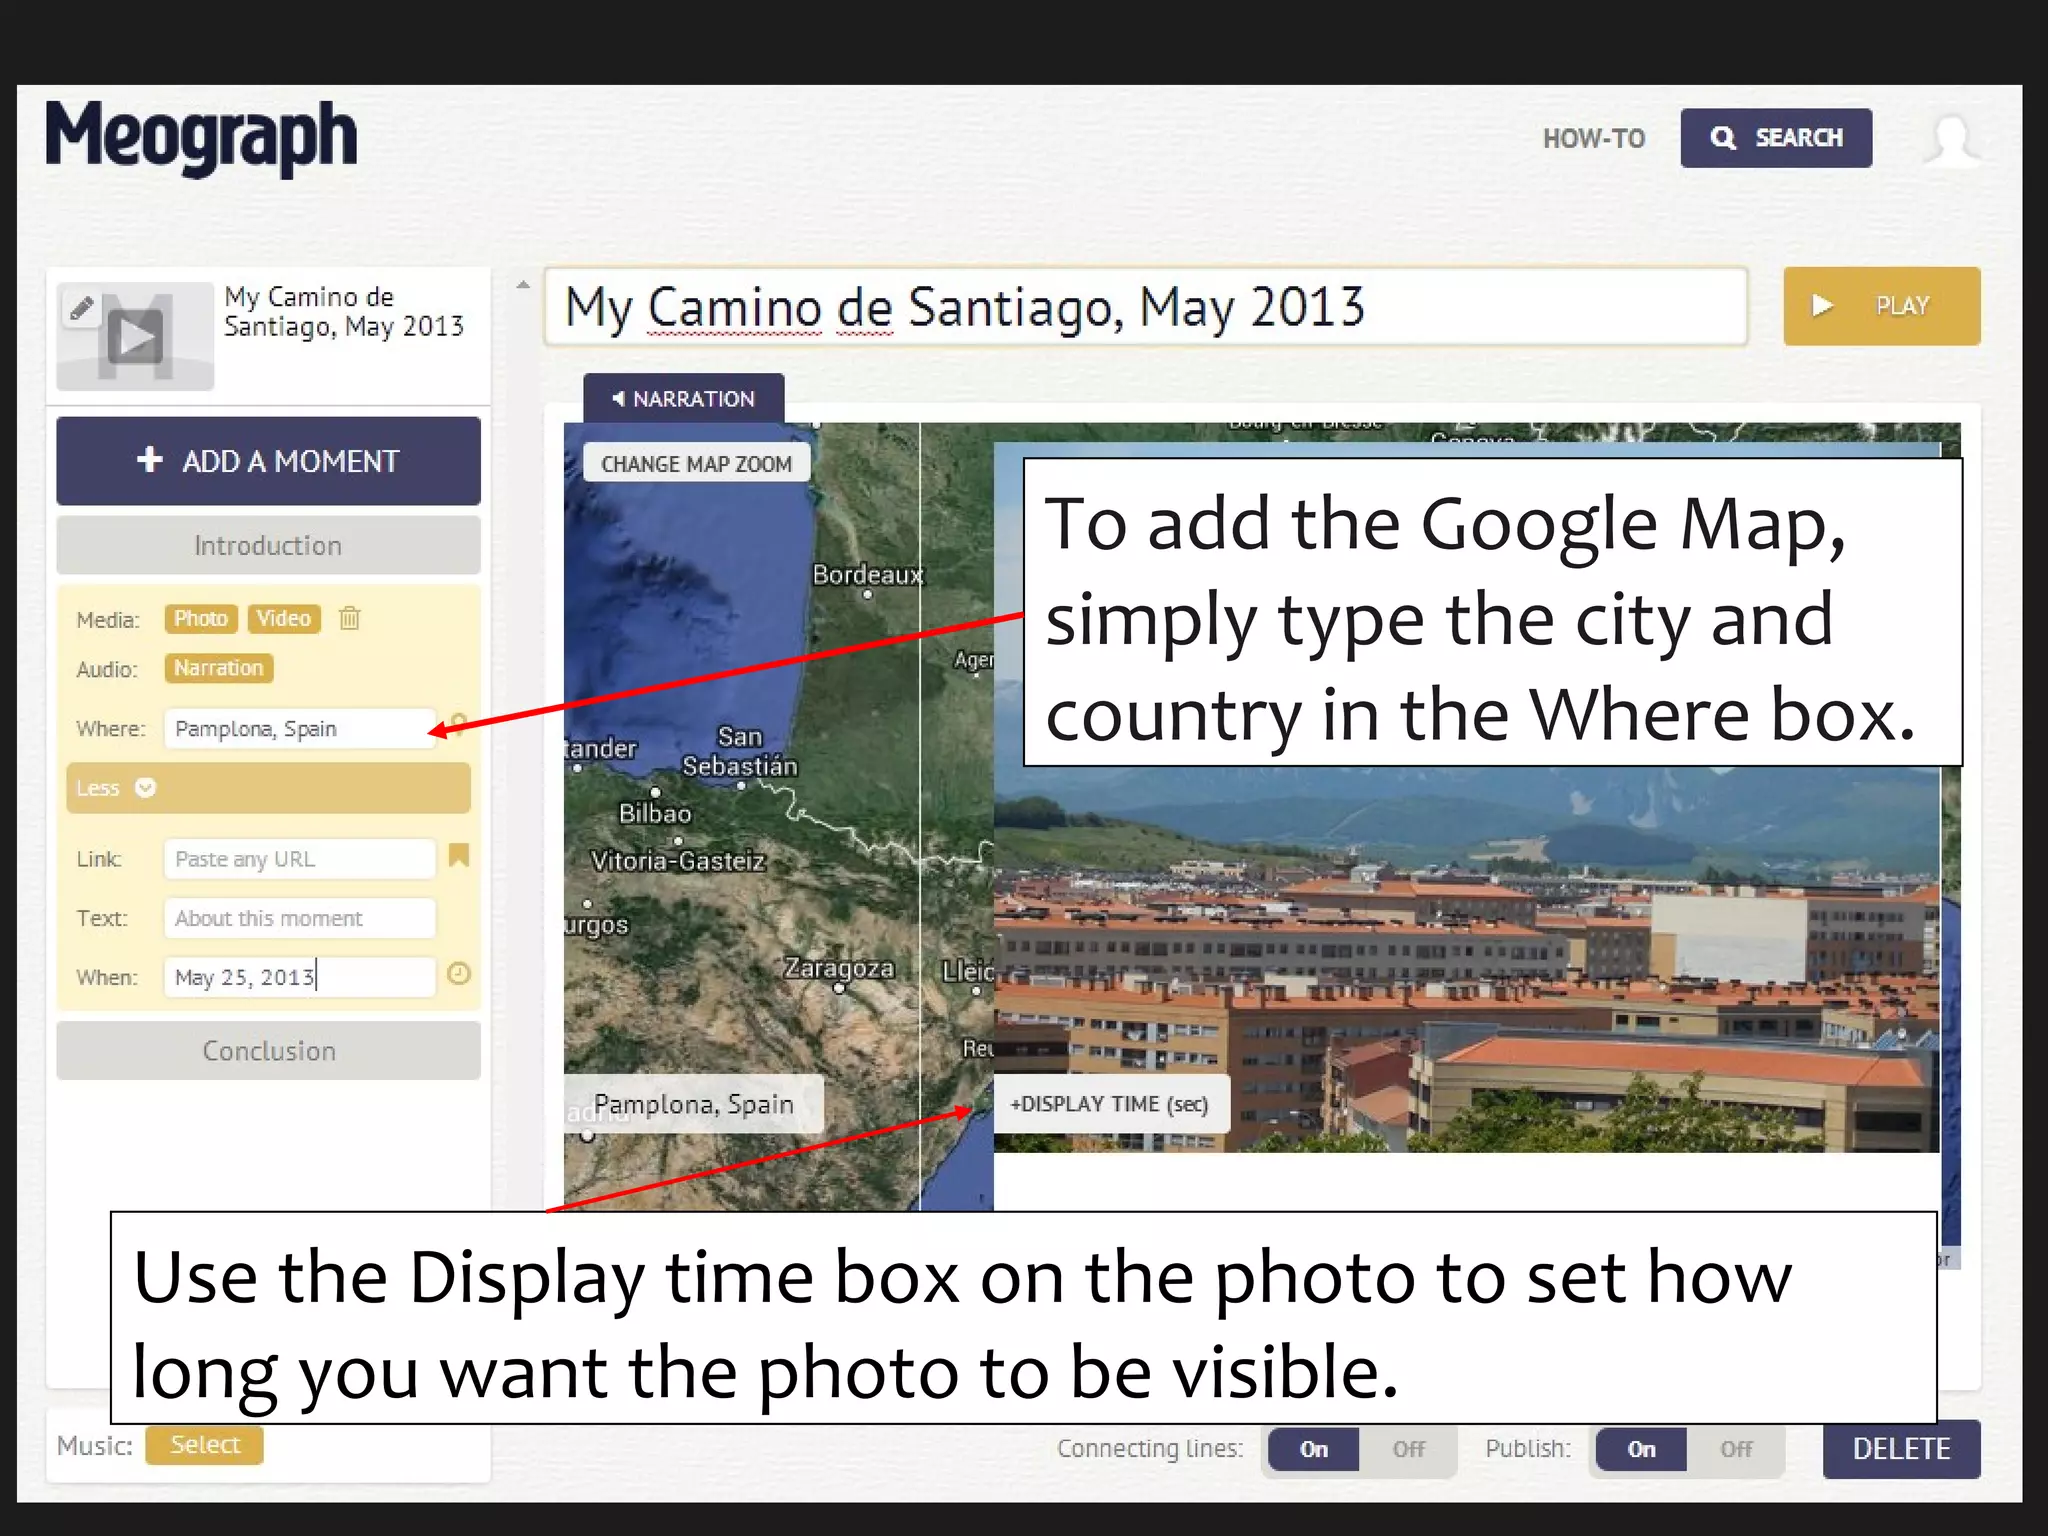
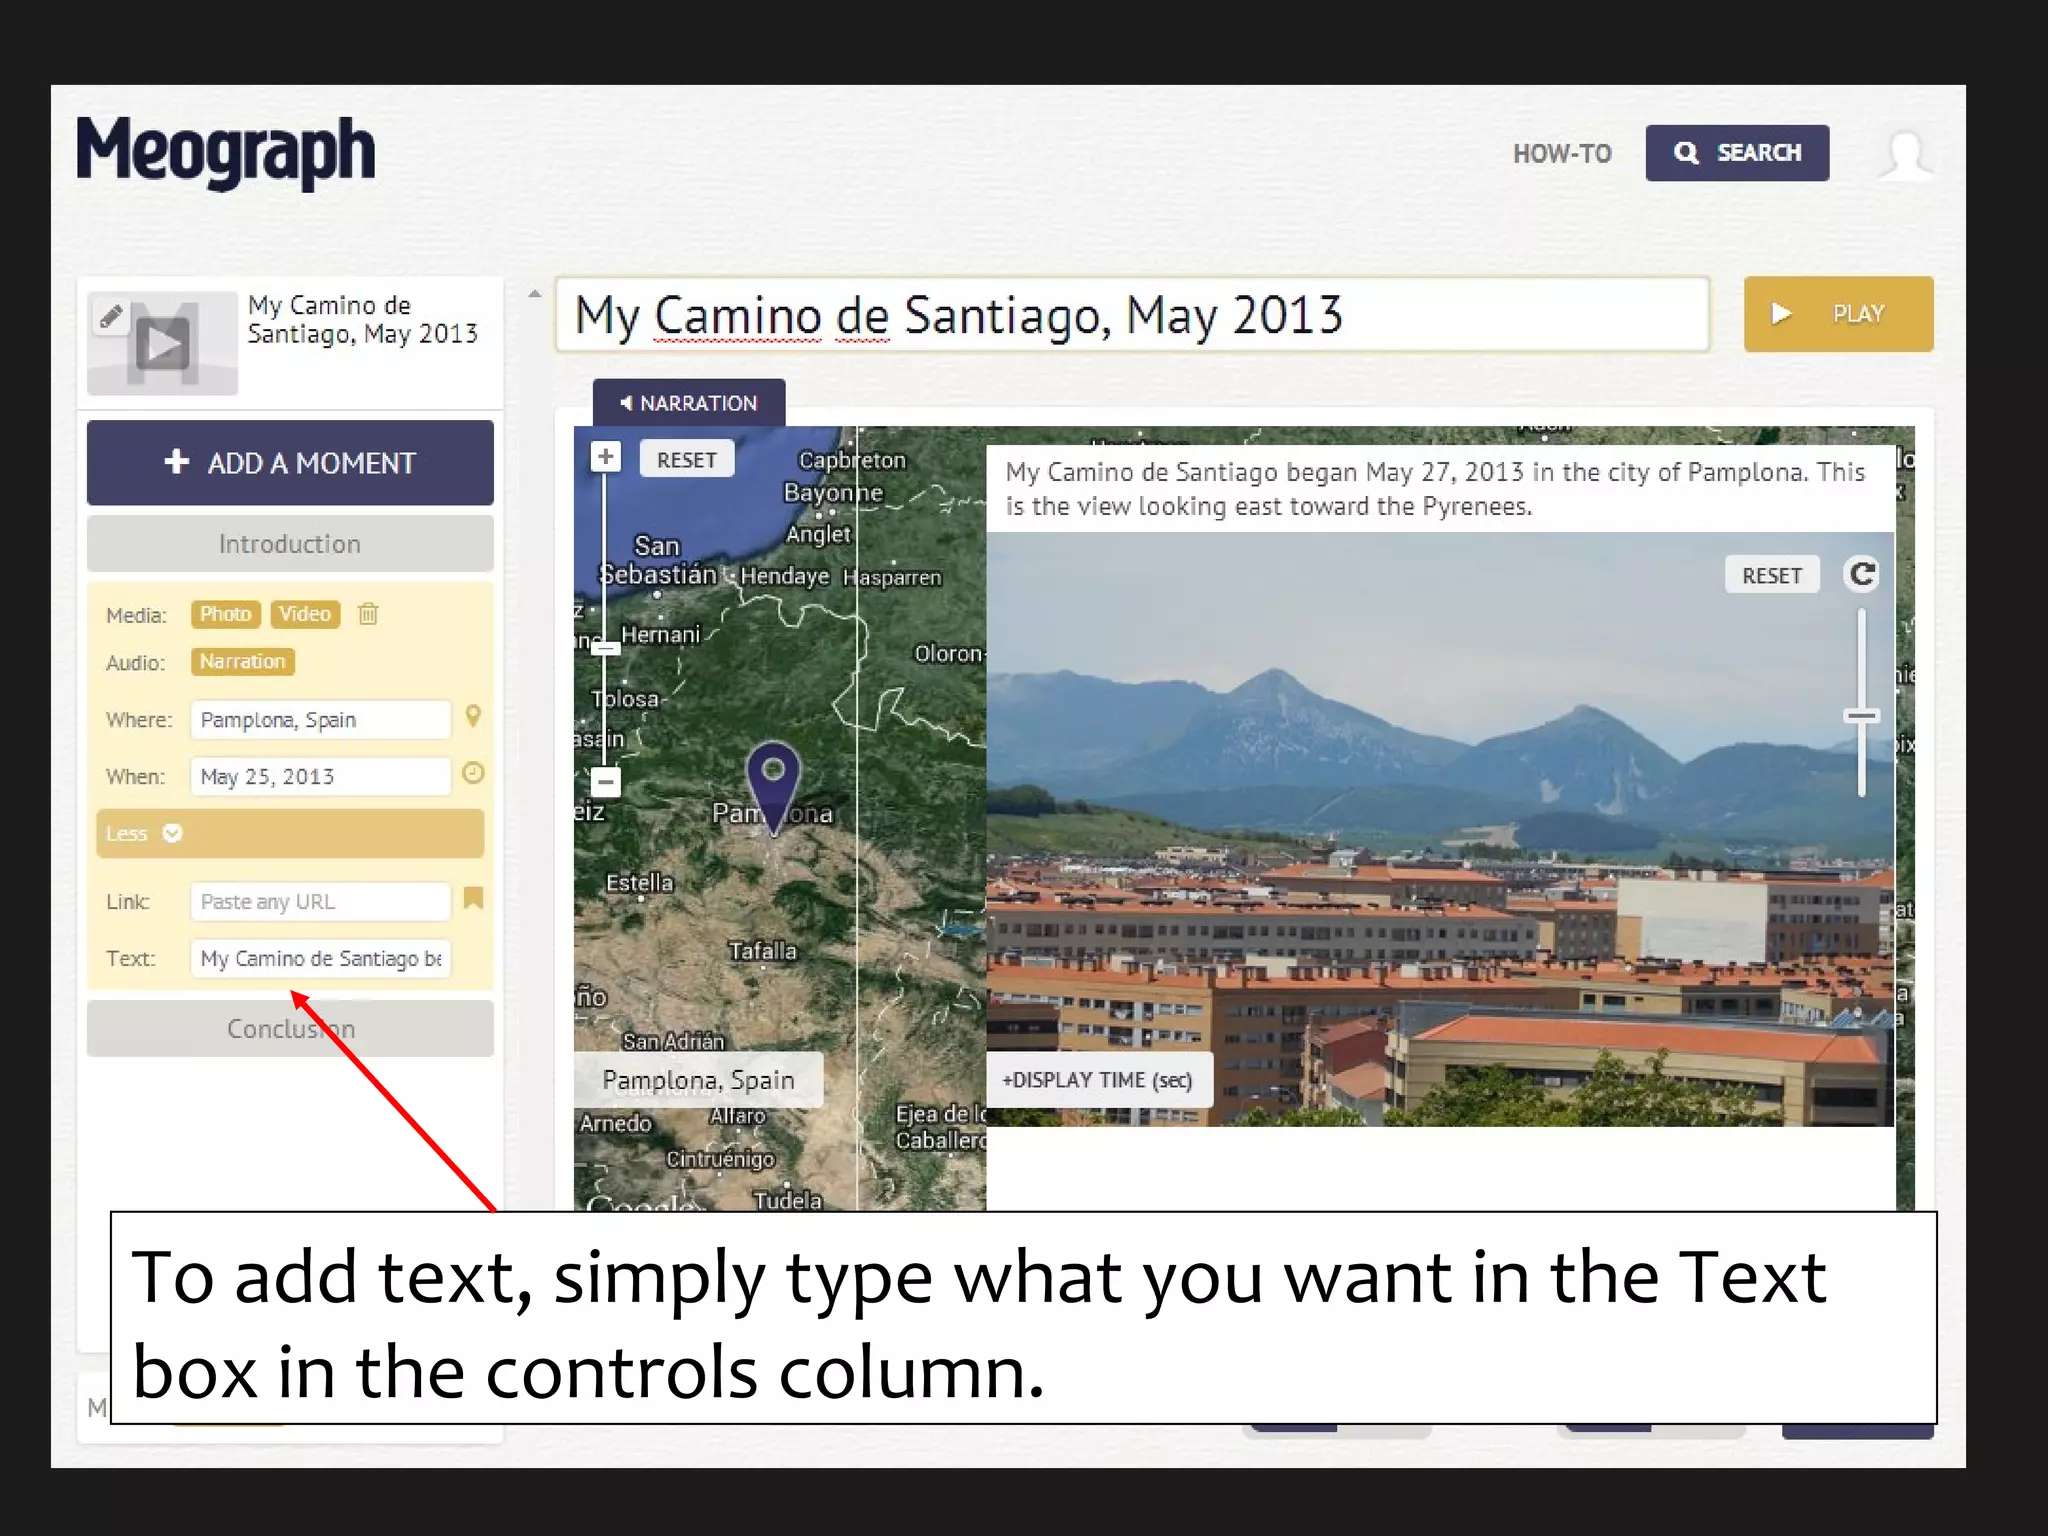
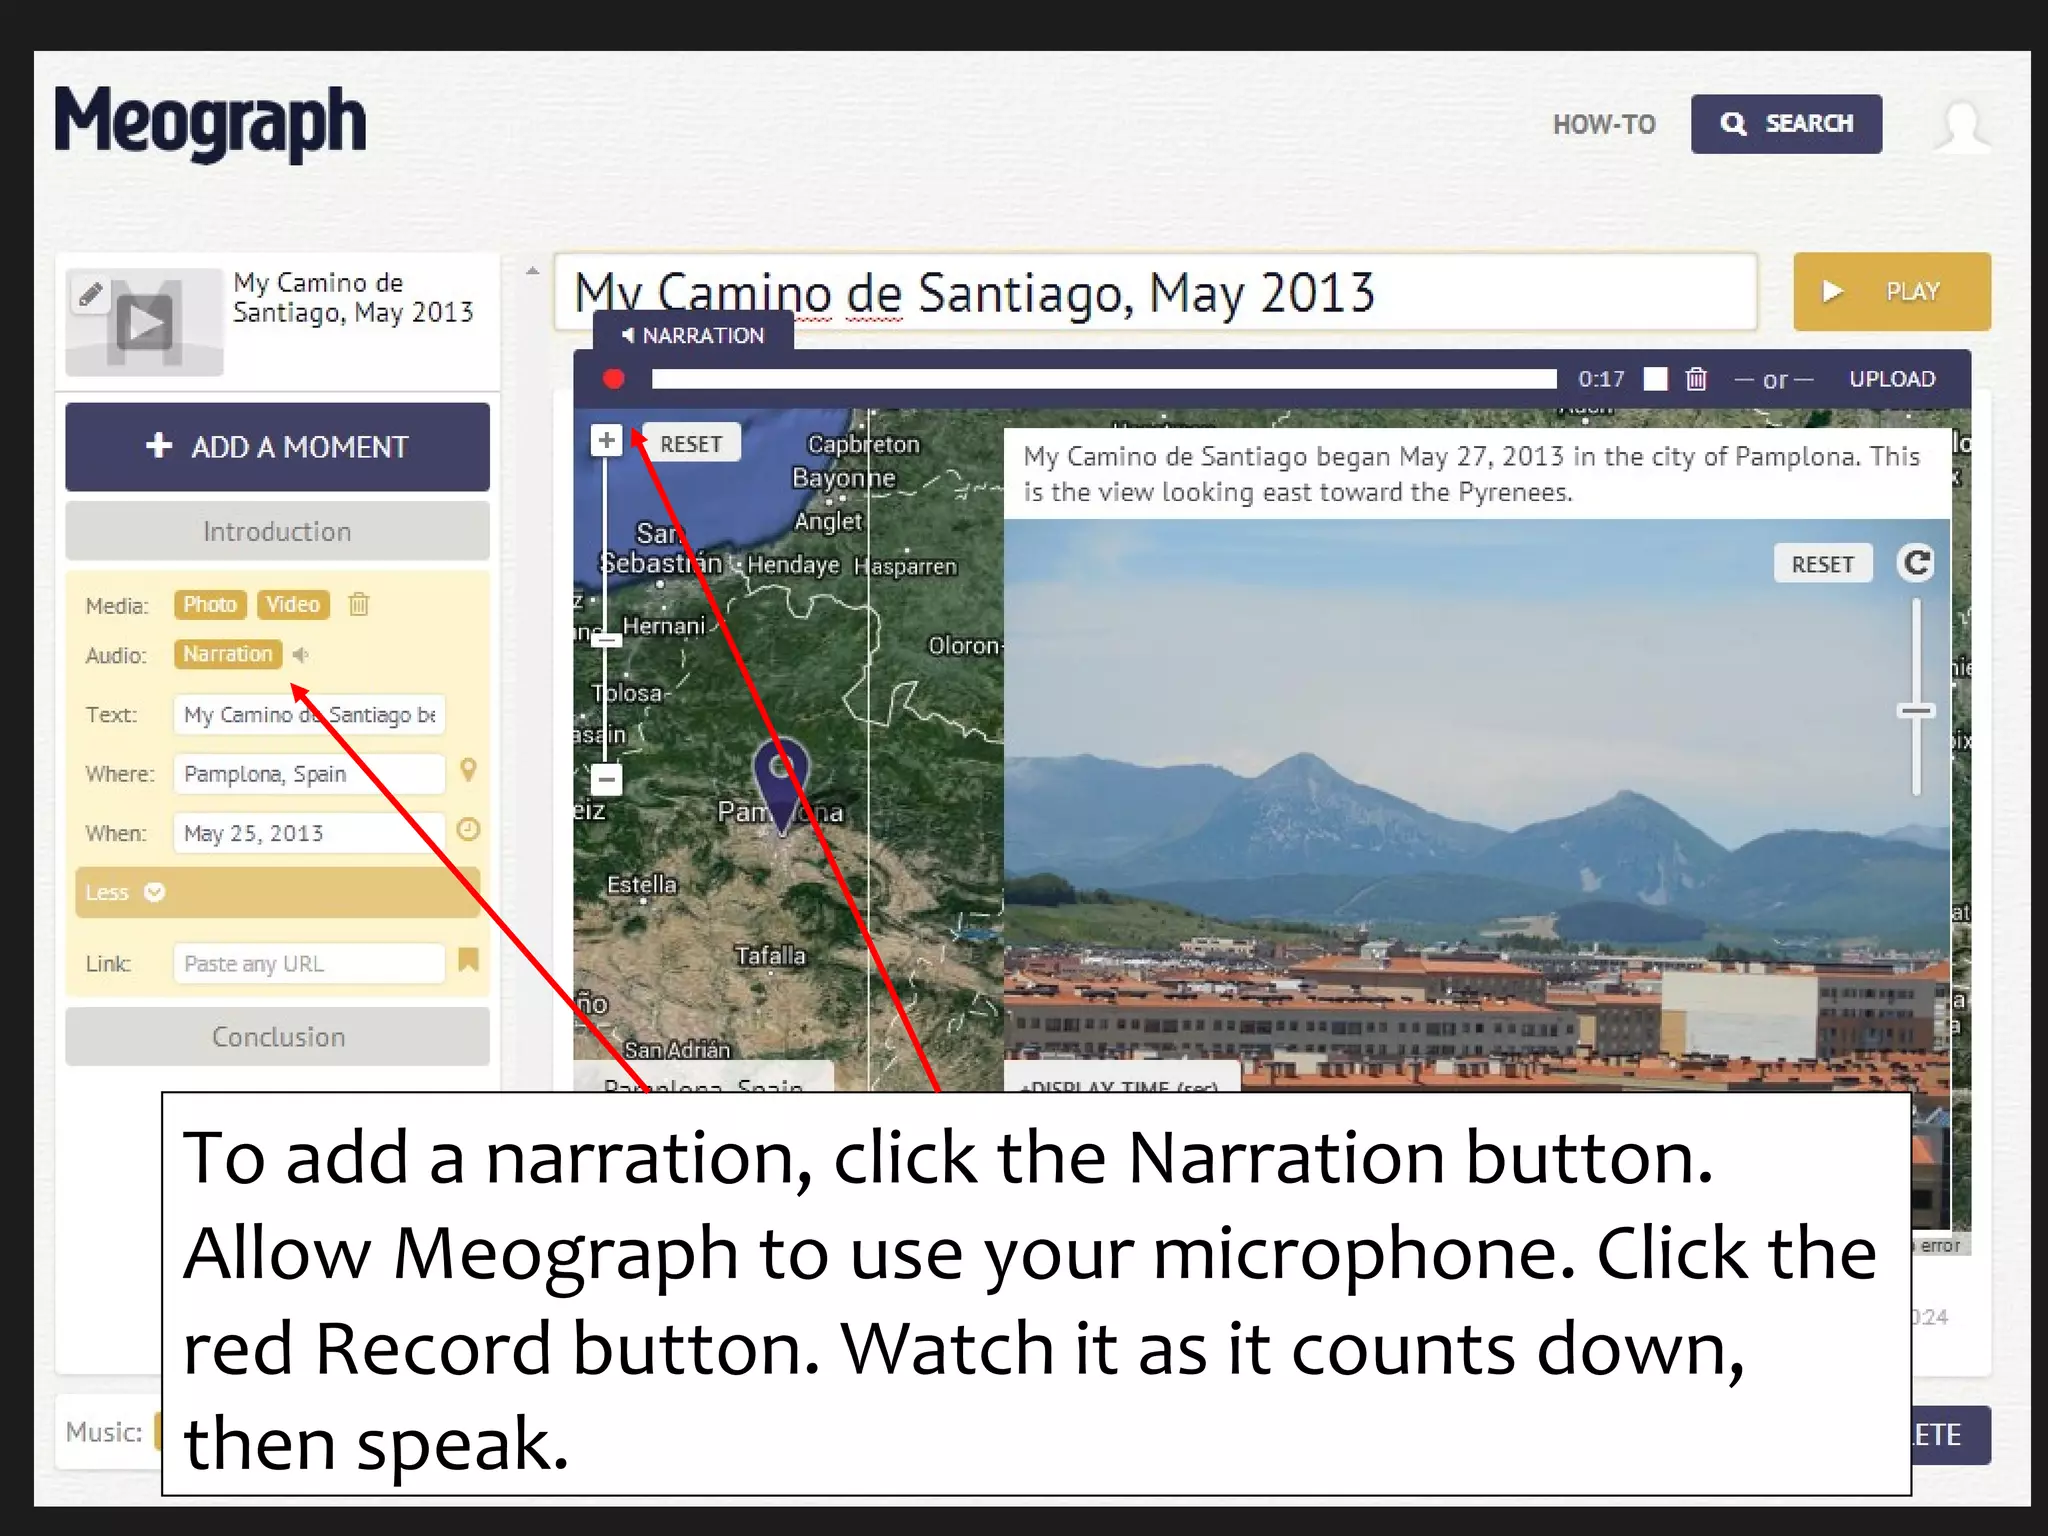
Using Meograph toUsing Meograph to
Create MultimediaCreate Multimedia
StoriesStories
Introduction to MeographIntroduction to Meograph
 Meograph,Meograph, www.meograph.comwww.meograph.com, a tool for, a tool for
creating four-dimensional storiescreating four-dimensional stories
 Images and videosImages and videos
 Text and narrationText and narration
 Google MapsGoogle Maps
 TimelineTimeline
 Meographs can be shared or embeddedMeographs can be shared or embedded
 Meographs are time-consuming and requireMeographs are time-consuming and require
practice to createpractice to create
Steps for Creating a MeographSteps for Creating a Meograph
 Set up an accountSet up an account
 Organize the media you want to useOrganize the media you want to use
 Storyboarding the Meograph in advance isStoryboarding the Meograph in advance is
helpfulhelpful
 Be prepared to spend some time at itBe prepared to spend some time at it
When you start a new Meograph,
this is the screen that opens. Start
by typing the title.
First, click on Introduction and add a photo that
you want your viewer to see as the Meograph
opens.
This window opens when you add a photo, whether it’s
the introduction or an element in a “Moment.”
Meographs consist of a series of “Moments.” Each
Moment can have an image or a video, a narration,
text, and a Google Map location. You can complete
all elements of a Moment at the same time or at
different times.
To add the Google Map,
simply type the city and
country in the Where box.
Use the Display time box on the photo to set how
long you want the photo to be visible.
To add text, simply type what you want in the Text
box in the controls column.
To add a narration, click the Narration button.
Allow Meograph to use your microphone. Click the
red Record button. Watch it as it counts down,
then speak.
ConclusionConclusion
 Once you’ve added all your Moments, yourOnce you’ve added all your Moments, your
Meograph is finished!Meograph is finished!
 To make sure it’s working correctly, click onTo make sure it’s working correctly, click on
Introduction to take it back to theIntroduction to take it back to the
beginning, then Play to the right of thebeginning, then Play to the right of the
MeographMeograph
 You can edit your Meograph by clicking theYou can edit your Meograph by clicking the
Edit buttonEdit button

Swcolt 2014 meograph tutorial

  • 1.
    Using Meograph toUsingMeograph to Create MultimediaCreate Multimedia StoriesStories
  • 2.
    Introduction to MeographIntroductionto Meograph  Meograph,Meograph, www.meograph.comwww.meograph.com, a tool for, a tool for creating four-dimensional storiescreating four-dimensional stories  Images and videosImages and videos  Text and narrationText and narration  Google MapsGoogle Maps  TimelineTimeline  Meographs can be shared or embeddedMeographs can be shared or embedded  Meographs are time-consuming and requireMeographs are time-consuming and require practice to createpractice to create
  • 3.
    Steps for Creatinga MeographSteps for Creating a Meograph  Set up an accountSet up an account  Organize the media you want to useOrganize the media you want to use  Storyboarding the Meograph in advance isStoryboarding the Meograph in advance is helpfulhelpful  Be prepared to spend some time at itBe prepared to spend some time at it
  • 4.
    When you starta new Meograph, this is the screen that opens. Start by typing the title. First, click on Introduction and add a photo that you want your viewer to see as the Meograph opens.
  • 5.
    This window openswhen you add a photo, whether it’s the introduction or an element in a “Moment.”
  • 6.
    Meographs consist ofa series of “Moments.” Each Moment can have an image or a video, a narration, text, and a Google Map location. You can complete all elements of a Moment at the same time or at different times.
  • 7.
    To add theGoogle Map, simply type the city and country in the Where box. Use the Display time box on the photo to set how long you want the photo to be visible.
  • 8.
    To add text,simply type what you want in the Text box in the controls column.
  • 9.
    To add anarration, click the Narration button. Allow Meograph to use your microphone. Click the red Record button. Watch it as it counts down, then speak.
  • 10.
    ConclusionConclusion  Once you’veadded all your Moments, yourOnce you’ve added all your Moments, your Meograph is finished!Meograph is finished!  To make sure it’s working correctly, click onTo make sure it’s working correctly, click on Introduction to take it back to theIntroduction to take it back to the beginning, then Play to the right of thebeginning, then Play to the right of the MeographMeograph  You can edit your Meograph by clicking theYou can edit your Meograph by clicking the Edit buttonEdit button