The document lists various tools and software that were used throughout the filmmaking process. These include:
- Tagul and Imgflip - Used to create a word cloud and gifs for evaluations.
- Moovly - Used to create an animated film explaining the target audience.
- Prezi - Used to create an animated PowerPoint for an evaluation.
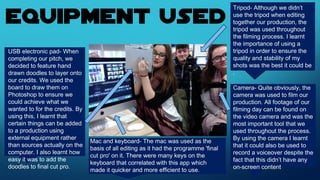
- Tripod - Used for filming to ensure stable and high quality shots.
- USB electronic pad - Used to draw doodles in Photoshop for credits.
- Camera - Used to film all footage of the production.
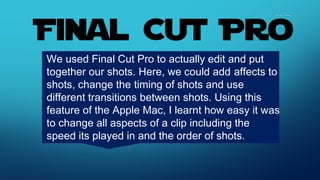
- Mac, keyboard, and Final Cut Pro - Used for editing, adding effects, changing timing and