The document provides a detailed overview of clock sources and configurations for the STM32F446RE microcontroller, focusing on various clock types such as HSI, HSE, and PLL. It discusses the default states of these clocks after a reset, their operational benefits, and methods of calibration for improved accuracy. Additionally, it outlines the STM32 Cube clock handling APIs and offers exercises for configuring different clock frequencies using the PLL.


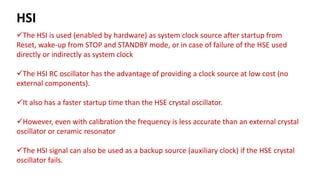


![HSI Calibration adjustment
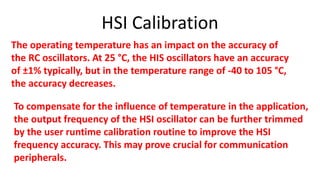
The frequency of the internal RC oscillators
can be fine-tuned to achieve better accuracy
with wider temperature and supply voltage
ranges. The trimming bits are used for this
purpose.
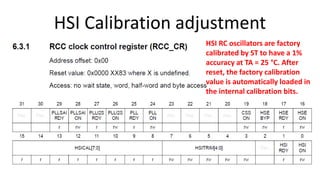
the calibration value is loaded in
HSICAL[7:0] bits after reset. Five
trimming bits HSITRIM[4:0] are
used for fine-tuning. The default
trimming value is 16](https://image.slidesharecdn.com/rcc-181102011107/85/STM32-Microcontroller-Clocks-and-RCC-block-21-320.jpg)
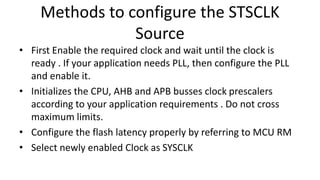
![HSI Calibration adjustment
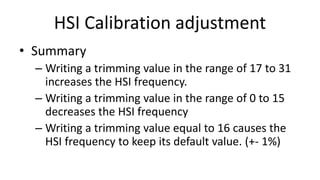
• Effect of HSITRIM[4:0]
– The default trimming value is 16
– An increase in this trimming value causes an increase
in HSI frequency
– Decrease in this trimming value causes an decrease in
HSI frequency
– The HSI oscillator is fine-tuned in steps of 0.5%
(around 80 kHz)](https://image.slidesharecdn.com/rcc-181102011107/85/STM32-Microcontroller-Clocks-and-RCC-block-22-320.jpg)


![Getting Started with Apache Spark: Big Data Made Simple [Free Meetup]](https://cdn.slidesharecdn.com/ss_thumbnails/apachesparkgettingstarted-260203175547-8361bcc3-thumbnail.jpg?width=640&height=640&fit=bounds)


