Download to read offline


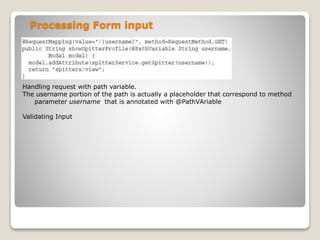
![Handling Controller input
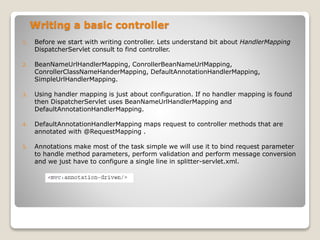
1. Class level @RequestMapping defines the root level path that the class will handle.
2. Method level @RequestMapping narrows down the mapping defined in class level.
3. Attribute [method=GET] defined in @RequestMapping indicate method will handle
only get request.
4. @RequestParam is useful to bind query parameters where the name does not
match, If @RequestParam is not given then binding name will be same as request
paramter.
5. Under the cover the Model passed is Map<String, Object>, but model provide few
convenient method to populate the model.](https://image.slidesharecdn.com/springmvc-150624174729-lva1-app6891/85/Spring-mvc-10-320.jpg)
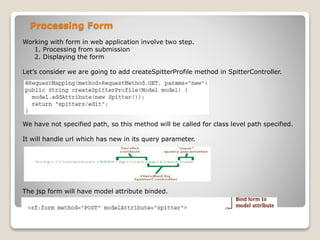
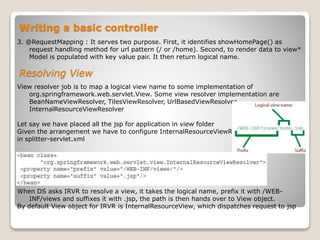
![Processing Form input
After the form is submitted we will need a handler method that takes a spitter object
and saves it. Then the page should be redirected to user profile page.
Note addSpitterFromForm is adorns with @RequestMapping and does not have url path
means this method will handle class level url, this method is going to handle POST
method. And when the form is submitted the fields in the request will be bound to
the Spitter object that is passed in as an argument.
@Valid : This indicates the spitter should be passed before being processed.
Note : redirect :/ [helps to stop resubmission of form]](https://image.slidesharecdn.com/springmvc-150624174729-lva1-app6891/85/Spring-mvc-12-320.jpg)

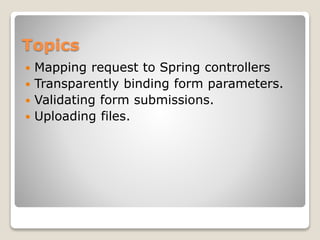
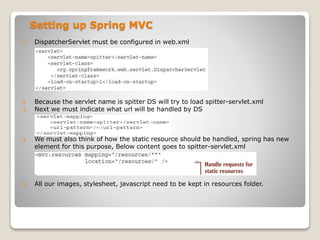
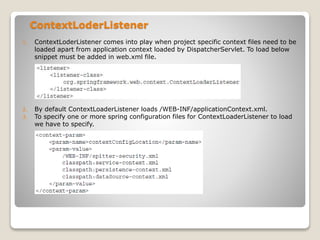
The document outlines key concepts of Spring MVC, detailing how requests are mapped to controllers and the steps involved in processing these requests through the DispatcherServlet. It explains the configuration of Spring MVC, including the setup of servlets and handlers, the use of annotations like @Controller and @RequestMapping, and how to handle form submissions and input validation. Various resolver implementations and the role of ContextLoaderListener in loading application context are also discussed.