Download as DOCX, PPTX

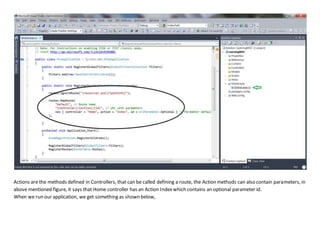
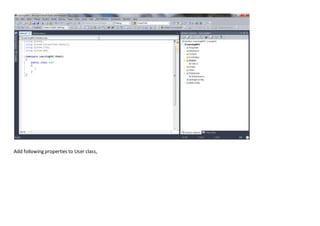


![request only means it is use when we are surethat next request will be redirecting to next view. Itrequires typecasting for complex
data type and check for null values to avoid error. Generally it is used to store only one time messages like error messages, validation
messages.
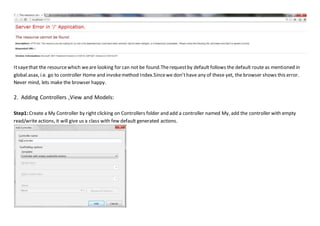
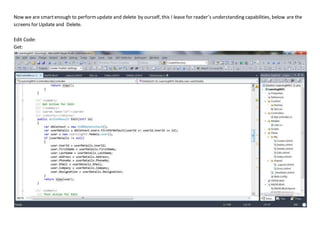
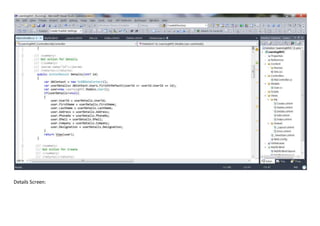
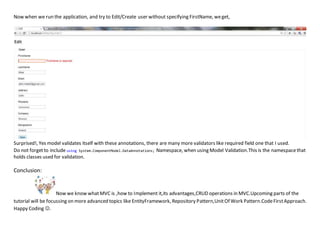
I added a TempData in Edit Action as,
[HttpPost]
public ActionResult Edit(int? id, User userDetails)
{
TempData["TempData Name"] = "Akhil";
…..
And when View redirected to Index Action,](https://image.slidesharecdn.com/bdf29fe1-8a59-4cfe-aa3a-8557fd636b26-150709143934-lva1-app6892/85/LearningMVCWithLINQToSQL-44-320.jpg)
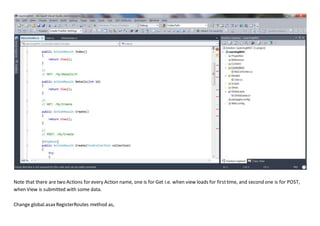
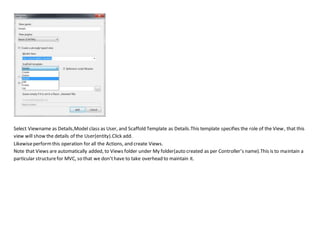
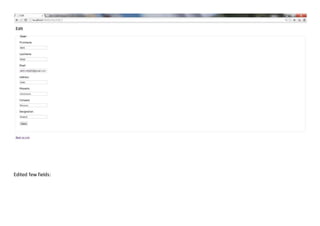
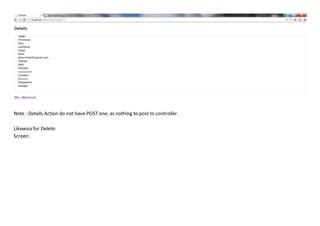
![i.e. I get the TempData value across Actions.
6.Model Validation:
We can have many methods for implementing validation in our Web Application Client Side, Server Side etc…
But MVC provides us a feature with which we can annotate our Model for validation by writing justone/two line of code.
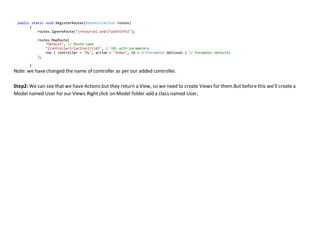
Go to the Model class User.cs, add [Required(ErrorMessage = "FirstName is required")] on the top of FirstName property as,
public int UserId { get; set; }
[Required(ErrorMessage = "FirstName is required")]
public string FirstName { get; set; }
public string LastName { get; set; }
………..](https://image.slidesharecdn.com/bdf29fe1-8a59-4cfe-aa3a-8557fd636b26-150709143934-lva1-app6892/85/LearningMVCWithLINQToSQL-45-320.jpg)

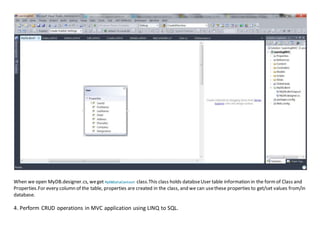
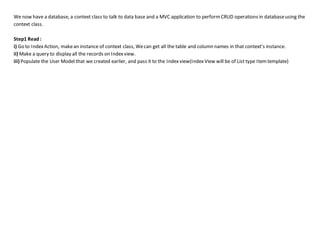
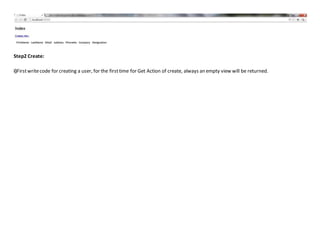
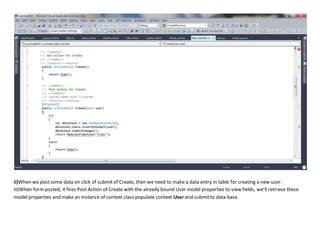
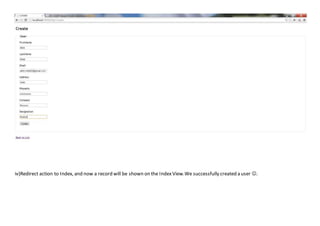
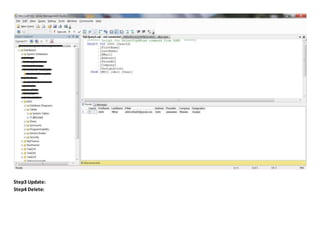
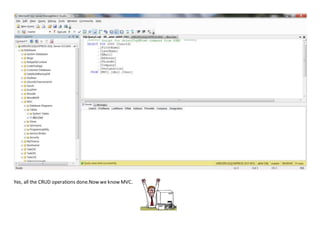
This document discusses creating an MVC application from scratch using LINQ to SQL to perform CRUD operations on a database. It covers: 1. Creating an empty MVC project and adding controllers, views and models 2. Creating a sample database and using LINQ to SQL for communication between the MVC app and database 3. Performing CRUD operations in the MVC app by querying the database and passing data between controllers and views