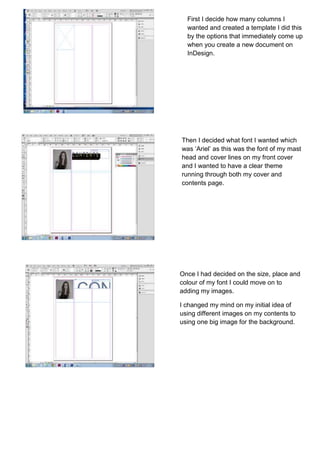
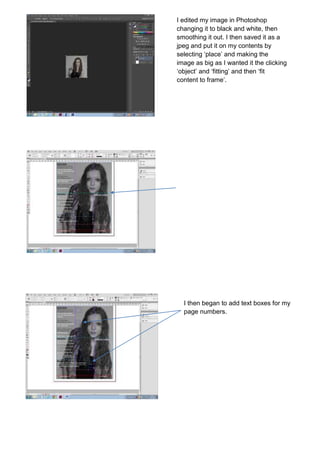
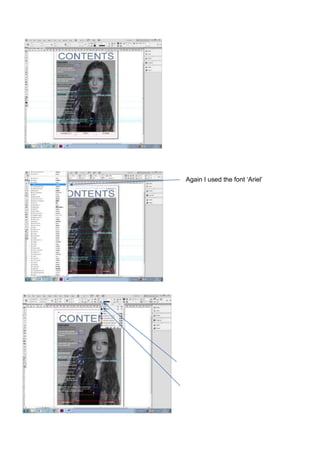
First I decide how many columns I
wanted and created a template I did this
by the options that immediately come up
when you create a new document on
InDesign.
Then I added

Then I decided what font I wanted which
was ‘Ariel’ as this was the font of my mast
head and cover lines on my front cover
and I wanted to have a clear theme
running through both my cover and
contents page.

Once I had decided on the size, place and
colour of my font I could move on to
adding my images.
I changed my mind on my initial idea of
using different images on my contents to
using one big image for the background.
I edited my image in Photoshop
changing it to black and white, then
smoothing it out. I then saved it as a
jpeg and put it on my contents by
selecting ‘place’ and making the
image as big as I wanted it the clicking
‘object’ and ‘fitting’ and then ‘fit
content to frame’.

Once I had positioned my image I
started on my cover lines which I just
wrote straight on to InDesign using
text boxes. I used guide lines to keep
my text boxes in line with each other
these you can just drag down from the
top.

I then began to add text boxes for my
page numbers.
Again for this I used guide lines to
make sure that they were all straight
and in line with each other.

Again I used the font ‘Ariel’

Another aspect I checked before
finishing my work was that the text
boxes weren’t showing up on my final
design. A way to check this is if you
press ‘shift’ and ‘w’ on your keyboard
in sync, InDesign will then come up
with your product as will look. If the
text boxes all you need to do is select
it and then click on the black box on
the top bar, and then select ‘none’
which as a picture of a white box with
a line going through it.

Skills indesign

  • 1.
    First I decidehow many columns I wanted and created a template I did this by the options that immediately come up when you create a new document on InDesign. Then I added Then I decided what font I wanted which was ‘Ariel’ as this was the font of my mast head and cover lines on my front cover and I wanted to have a clear theme running through both my cover and contents page. Once I had decided on the size, place and colour of my font I could move on to adding my images. I changed my mind on my initial idea of using different images on my contents to using one big image for the background.
  • 2.
    I edited myimage in Photoshop changing it to black and white, then smoothing it out. I then saved it as a jpeg and put it on my contents by selecting ‘place’ and making the image as big as I wanted it the clicking ‘object’ and ‘fitting’ and then ‘fit content to frame’. Once I had positioned my image I started on my cover lines which I just wrote straight on to InDesign using text boxes. I used guide lines to keep my text boxes in line with each other these you can just drag down from the top. I then began to add text boxes for my page numbers.
  • 3.
    Again for thisI used guide lines to make sure that they were all straight and in line with each other. Again I used the font ‘Ariel’ Another aspect I checked before finishing my work was that the text boxes weren’t showing up on my final design. A way to check this is if you press ‘shift’ and ‘w’ on your keyboard in sync, InDesign will then come up with your product as will look. If the text boxes all you need to do is select it and then click on the black box on the top bar, and then select ‘none’ which as a picture of a white box with a line going through it.