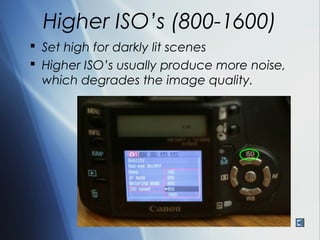
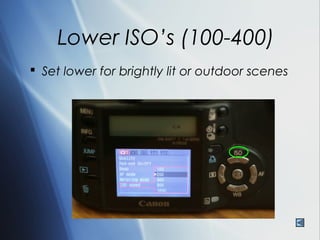
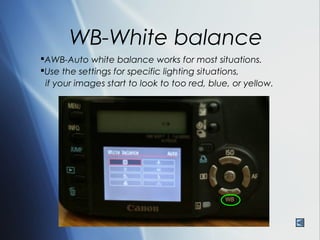
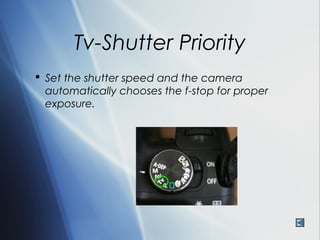
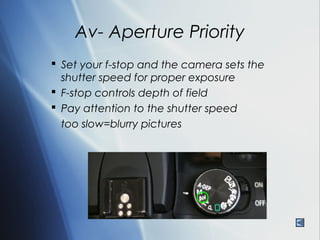
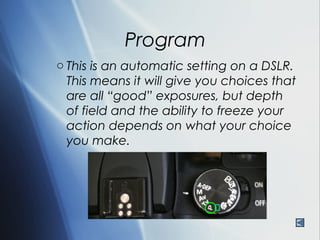
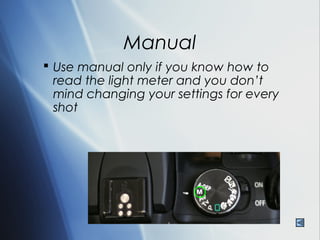
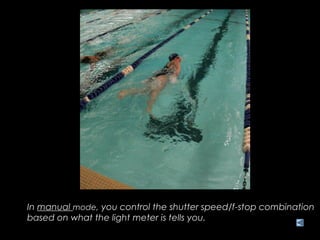
Shooting Digital
SOP-Standard Operating
        Procedure
 Formating memory cards
 ISO
 WB-White balance
Format
Use the camera to format the memory card,
           not your computer
ISO- Sensitivity of sensor/film
 This tells the camera how sensitive the sensor should
  be to light. This setting allows you get decent
  pictures under any lighting situations.
Higher ISO’s (800-1600)
 Set high for darkly lit scenes
 Higher ISO’s usually produce more noise,
  which degrades the image quality.
Lower ISO’s (100-400)
 Set lower for brightly lit or outdoor scenes
WB-White balance
AWB-Auto white balance works for most situations.
Use the settings for specific lighting situations,
 if your images start to look to too red, blue, or yellow.
D-SLR Shooting modes
 Tv- Shutter Priority     P- Program
 Av- Aperture Priority    M- Manual
Tv-Shutter Priority
 Set the shutter speed and the camera
  automatically chooses the f-stop for proper
  exposure.
What shutter speed was used here?
Image Stabilization
 Image stabilizers help you shoot at
  slow shutter speeds, but you still
  may need to stabilize yourself, use
  a monopod, tripod, or lean against
  something.
Av- Aperture Priority
 Set your f-stop and the camera sets the
  shutter speed for proper exposure
 F-stop controls depth of field
 Pay attention to the shutter speed
  too slow=blurry pictures
Program
o This is an automatic setting on a DSLR.
  This means it will give you choices that
  are all “good” exposures, but depth
  of field and the ability to freeze your
  action depends on what your choice
  you make.
In program mode, be aware of your shutter speed/f-stop
combination. When you are shooting action, always choose the
combination with the shutter speed at 1/250 second or faster.
Otherwise, your action will blur like in this example.
Manual
 Use manual only if you know how to
  read the light meter and you don’t
  mind changing your settings for every
  shot
In manual mode, you control the shutter speed/f-stop combination
based on what the light meter is tells you.
Manual is a challenging setting to use, but it might be the only
way to get a good exposure in difficult lighting situations.

Shooting Digital

  • 1.
  • 2.
    SOP-Standard Operating Procedure  Formating memory cards  ISO  WB-White balance
  • 3.
    Format Use the camerato format the memory card, not your computer
  • 4.
    ISO- Sensitivity ofsensor/film  This tells the camera how sensitive the sensor should be to light. This setting allows you get decent pictures under any lighting situations.
  • 5.
    Higher ISO’s (800-1600) Set high for darkly lit scenes  Higher ISO’s usually produce more noise, which degrades the image quality.
  • 6.
    Lower ISO’s (100-400) Set lower for brightly lit or outdoor scenes
  • 7.
    WB-White balance AWB-Auto whitebalance works for most situations. Use the settings for specific lighting situations, if your images start to look to too red, blue, or yellow.
  • 9.
    D-SLR Shooting modes Tv- Shutter Priority  P- Program  Av- Aperture Priority  M- Manual
  • 10.
    Tv-Shutter Priority  Setthe shutter speed and the camera automatically chooses the f-stop for proper exposure.
  • 11.
    What shutter speedwas used here?
  • 14.
    Image Stabilization  Imagestabilizers help you shoot at slow shutter speeds, but you still may need to stabilize yourself, use a monopod, tripod, or lean against something.
  • 15.
    Av- Aperture Priority Set your f-stop and the camera sets the shutter speed for proper exposure  F-stop controls depth of field  Pay attention to the shutter speed too slow=blurry pictures
  • 19.
    Program o This isan automatic setting on a DSLR. This means it will give you choices that are all “good” exposures, but depth of field and the ability to freeze your action depends on what your choice you make.
  • 20.
    In program mode,be aware of your shutter speed/f-stop combination. When you are shooting action, always choose the combination with the shutter speed at 1/250 second or faster. Otherwise, your action will blur like in this example.
  • 21.
    Manual  Use manualonly if you know how to read the light meter and you don’t mind changing your settings for every shot
  • 22.
    In manual mode,you control the shutter speed/f-stop combination based on what the light meter is tells you.
  • 23.
    Manual is achallenging setting to use, but it might be the only way to get a good exposure in difficult lighting situations.