Download to read offline

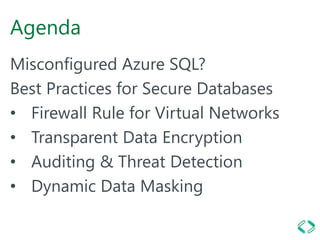

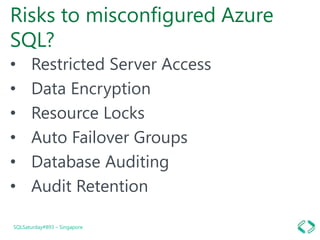

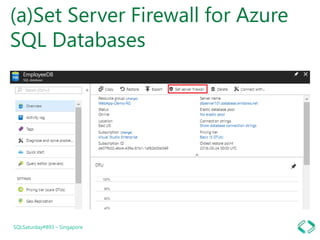

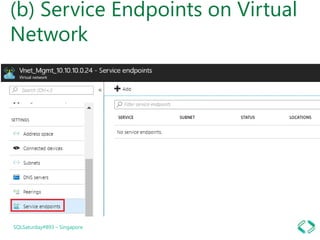
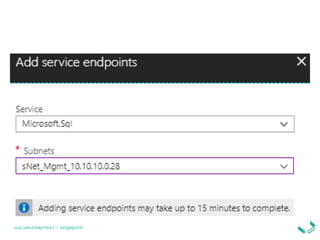
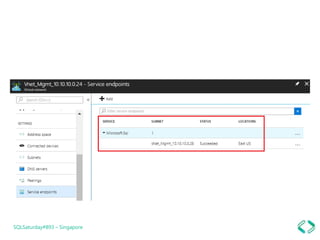

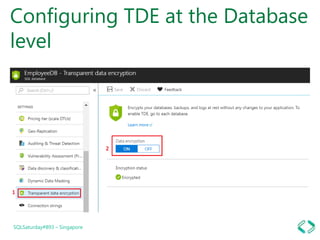


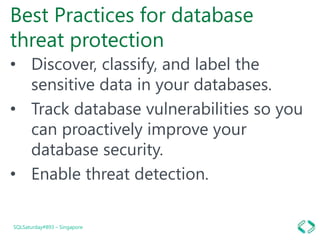
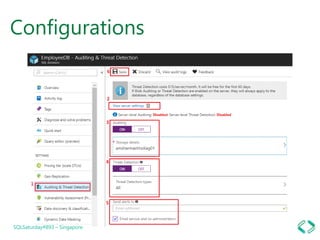
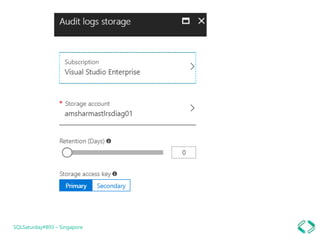
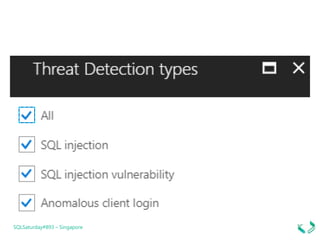
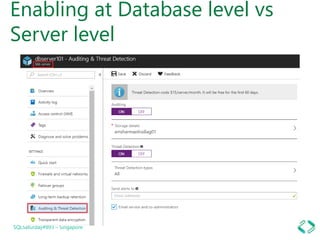

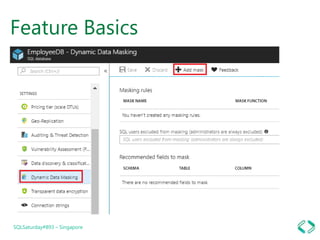
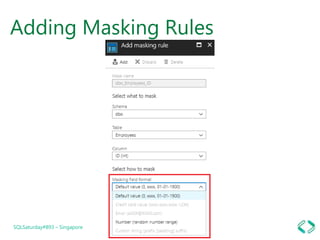


The document discusses best practices for securing data in Azure SQL DB, including: 1. Setting firewall rules for virtual networks to restrict server access. 2. Using transparent data encryption to encrypt data at the cell, column, or row level. 3. Enabling auditing and threat detection to monitor vulnerabilities and detect threats. 4. Implementing dynamic data masking to hide sensitive data from unauthorized users.