Dreamweaver, Photoshop, and Bridge now integrate well for image editing and web workflows. You can:
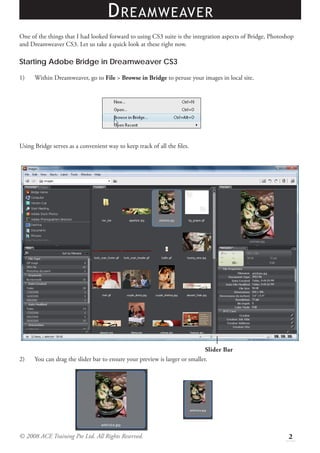
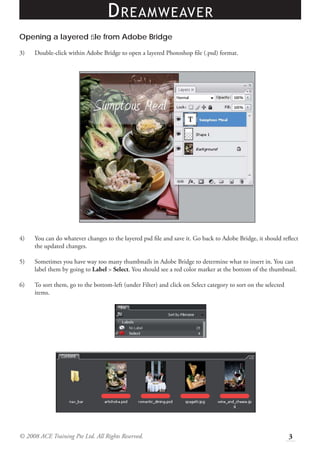
1) Browse images from within Dreamweaver using Bridge. Double-click layered PSD files to edit in Photoshop.
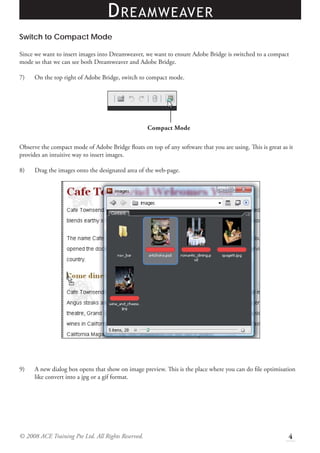
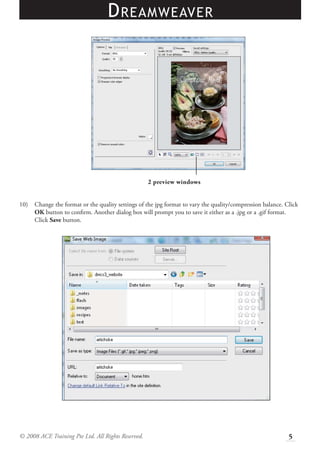
2) Drag images from Bridge's compact mode directly into Dreamweaver. This optimizes the image format during insertion.
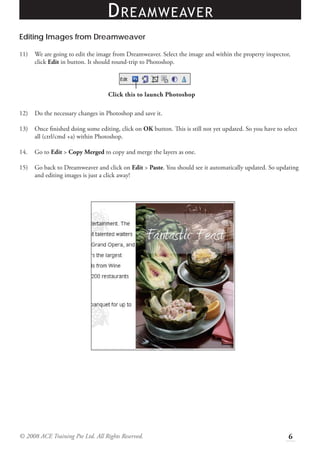
3) Edit inserted images by selecting in Dreamweaver and choosing "Edit in Photoshop." Saved changes are automatically updated back in Dreamweaver.