Unix was first developed in 1969 by four programmers at Bell Labs. It was initially written in assembly language, then converted to C language in 1972-1973. Linux was created in 1991 by Linus Torvaldes as the kernel of an open source operating system. Key principles of Linux include treating everything as a file/directory, using small single purpose programs, and storing all configuration data in text files. This document provides an overview of Linux commands and concepts related to users, groups, permissions, backups, processes and more.

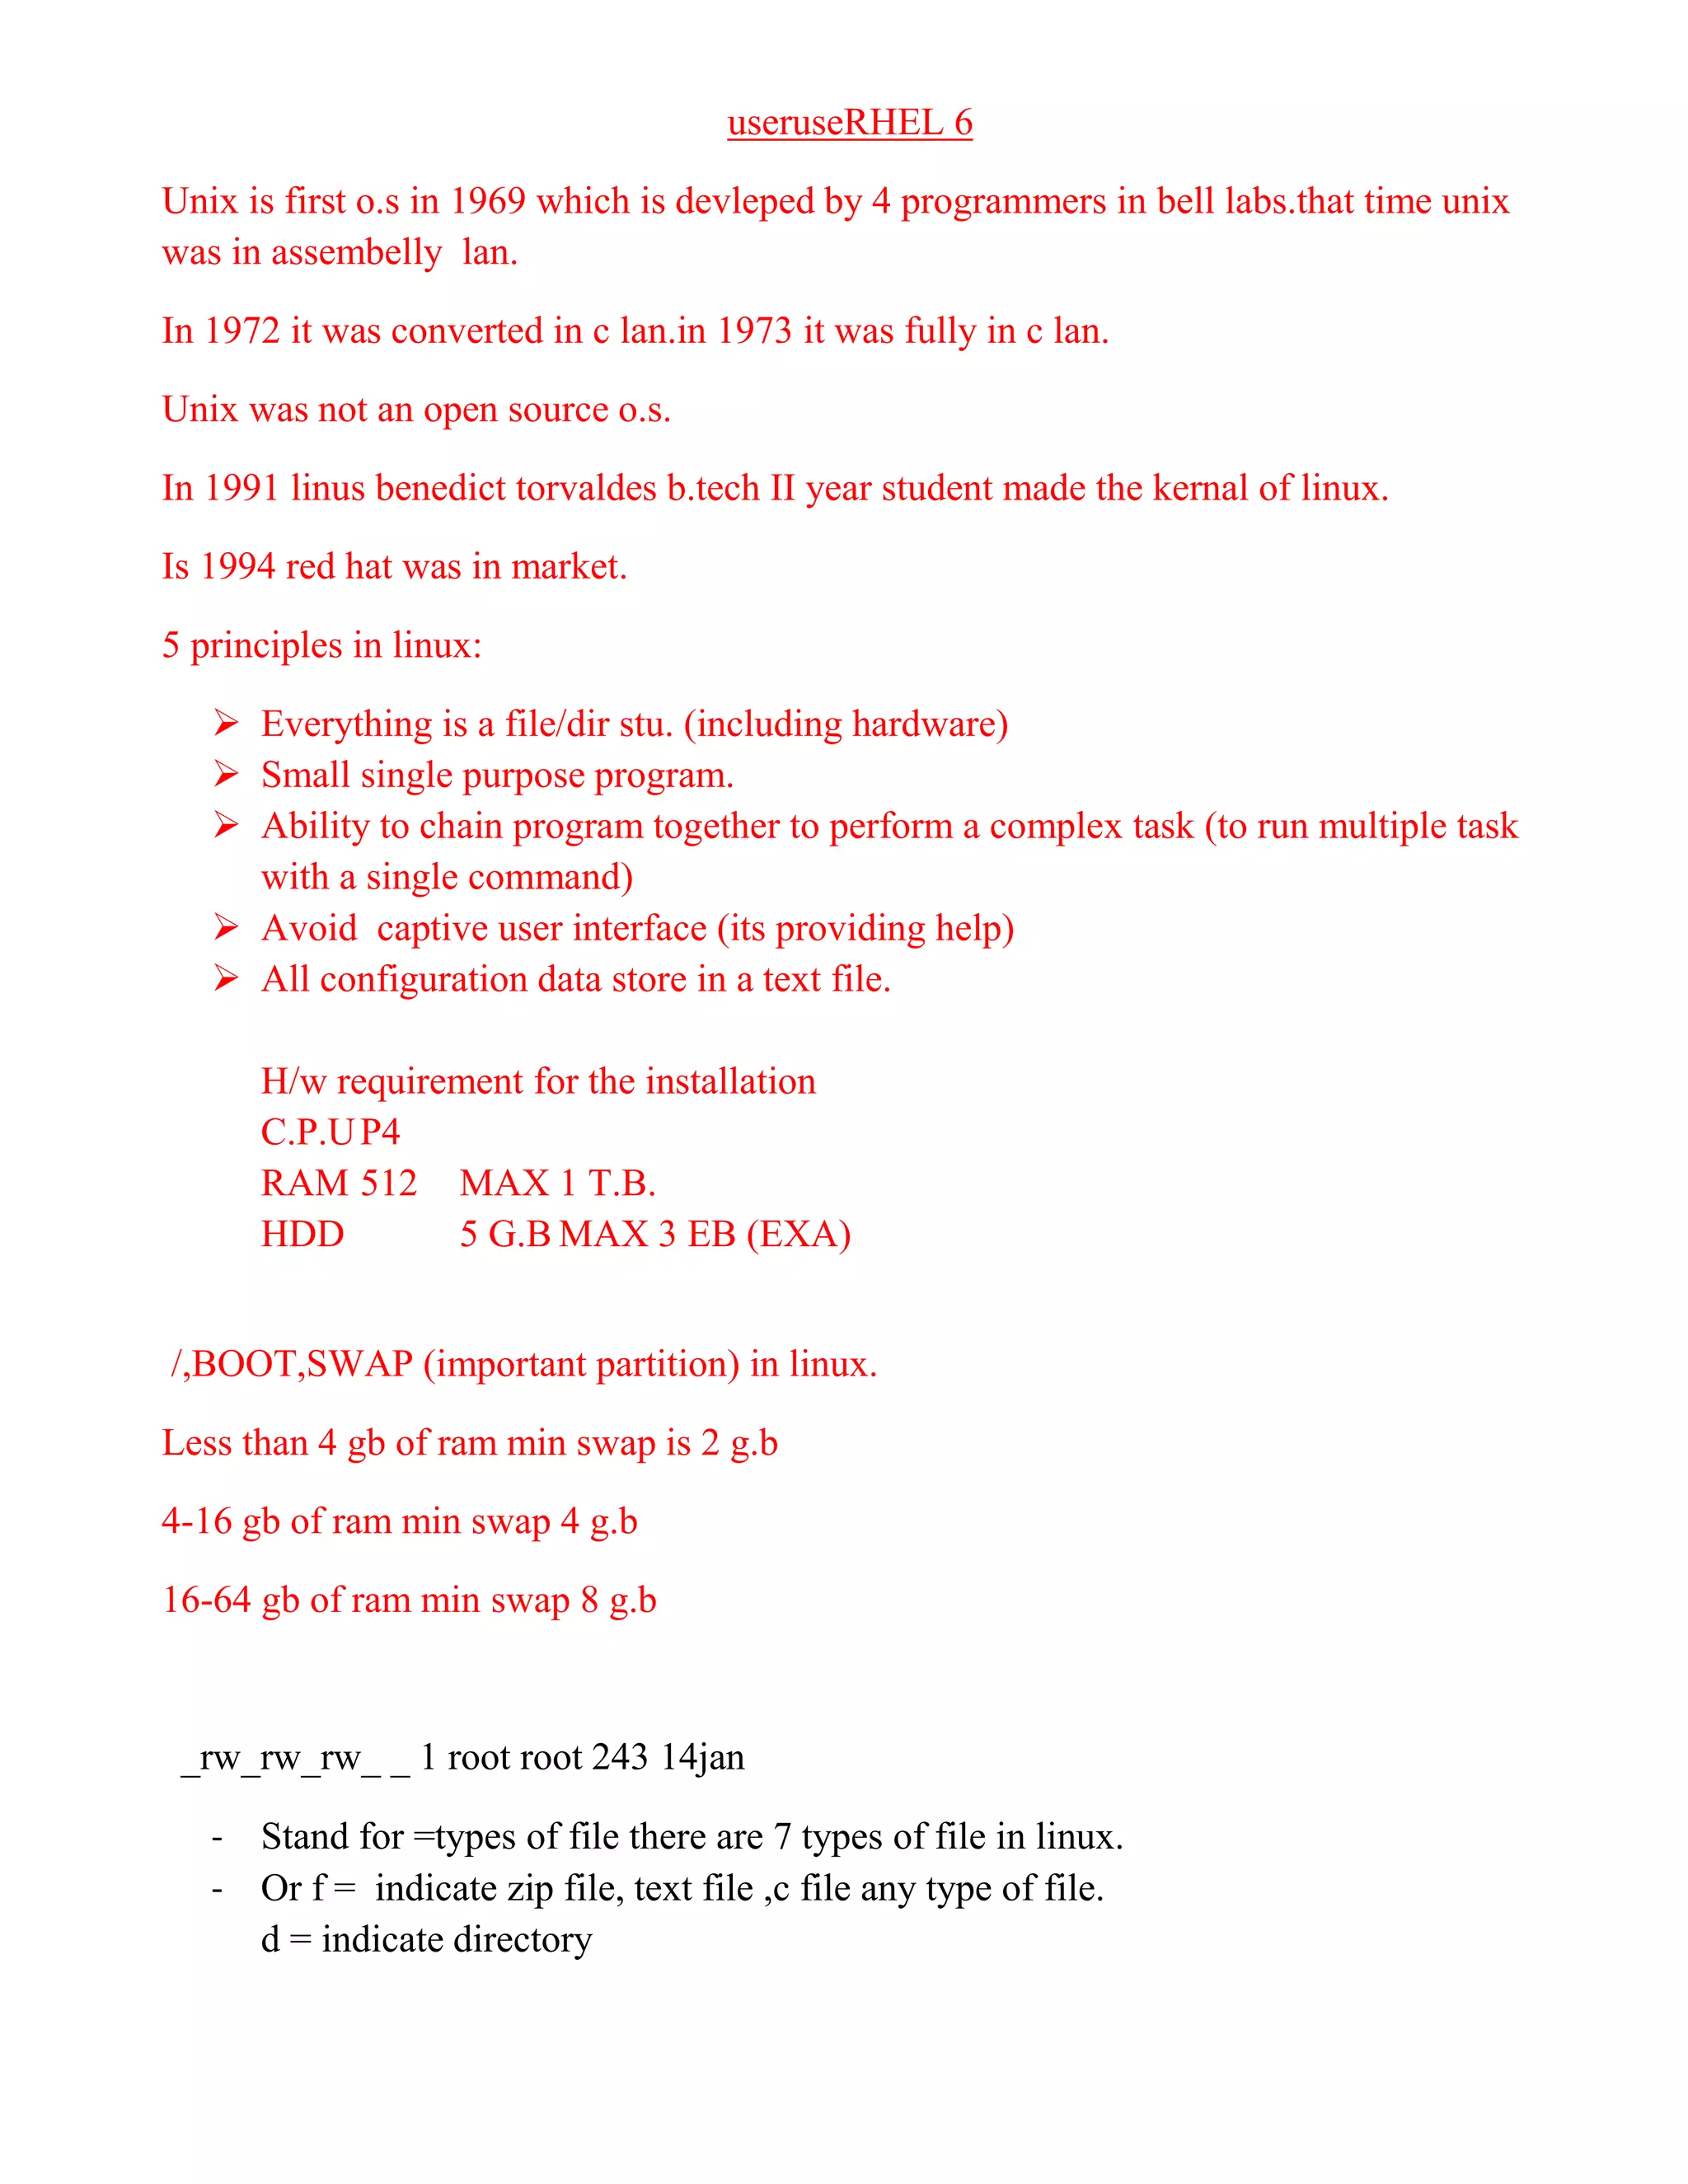
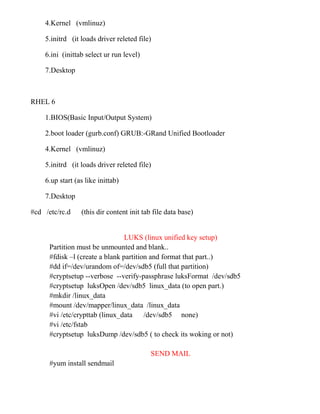
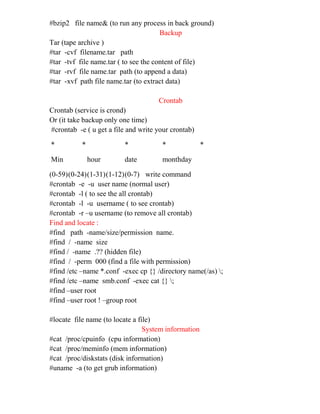
![#vi .bashrc ( to create a alias)
Alias c = ‘clear’
And save the file… and logout …
GROUP
1. Primary group (when we create any user than this group automatic create)(-g
stand for primary group)
2. seconary group (
#groupadd group name ( to add a group)
#usermod -g group name username (to add a user in a group)
#usermod –G group name user name (to add a user in secondary group)
#id user name ( to check user i.d ,u.i.d ,g.i.d)
#groups user name ( to check group name)
#groupmod -n new name old name ( to change the group name)
#groupdel group name (for delete a group)
#chown user name file name ( to chnge owner a file)
#chgrp group name file name (to change group)
#chown :group name file name (to change group)
#who= it display a brief information about user name
#w= full detail with login terminal
#whoami= login name
#who am i= we will get full information login user
#finger=
#pinky= we will get full information login user
#chfn user name ( to fill user detail with contact number)
*PS1=”[jeet@h w]$” ( to change print terminal)
I/O redirection
>= to add content in a file
>> = to append any data in a file
<
|
; = to run multiple command …
&> = take error into a file
2>= to save error in text file
#chage –l asw 2> error (to save error in file)](https://image.slidesharecdn.com/rhel-6-150422021229-conversion-gate01/85/Rhel-6-2-complete-ebook-4-320.jpg)
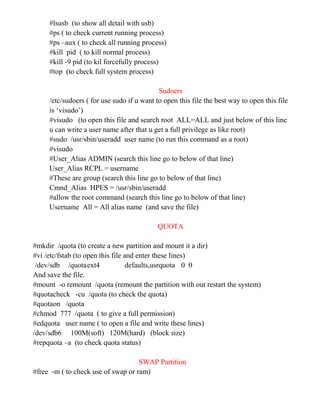

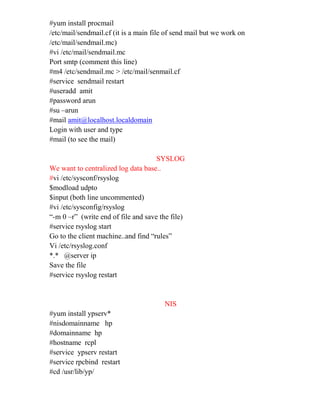
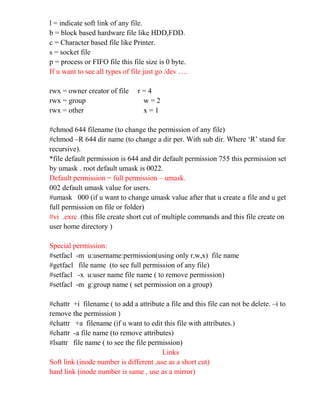
![};
To
} ;(comment all 6 lines and save the file)
#cd /var/named/chroot/var/named
#cp named.localhost hp.com
#vi hp.com (open the file and replace @ with host name like rcpl. Go to end of file
write www A 10.0.0.1 mail A 10.0.0.1 save the file)
#chmod 777 hp.com
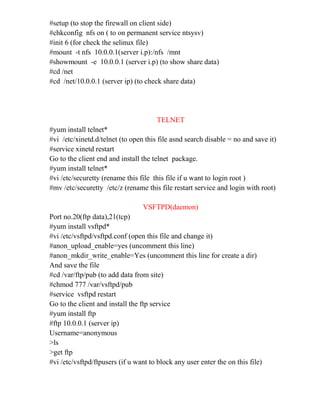
#setup
Go to network settings and put dns ip …
#service named restart
#nslookup www.hp.com
#dig www.hp.com
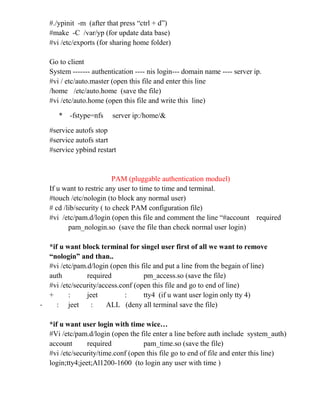
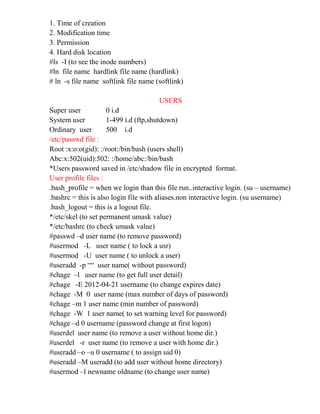
SAMBA (linux to windows sharing)
It is works on 139,137 port number. Smb service is used for data sharing and nmb
service is used for domain envirment.
/var/lib/samba/private/passwd.tbd (it contain smb password).
#yum install samba*
#vi /etc/samba/smb.conf (smb=simple message block)
Go to end of line…
[name which u want to display on client]
Path = /asd (where the data store)
Public = yes (to secure ur data in network)
Writable = yes
Browseable = yes
valid users = put a user name which u want to access the data.
Printable = no
Save the file ……..
#service smb restart
#service nmb restart
#useradd hp
#smbpasswd -a hp
#service smb restart
#service nmb restart
Go to client and access the data….](https://image.slidesharecdn.com/rhel-6-150422021229-conversion-gate01/85/Rhel-6-2-complete-ebook-13-320.jpg)
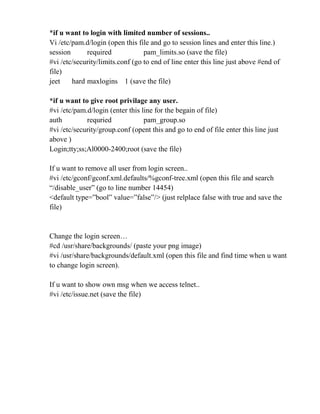
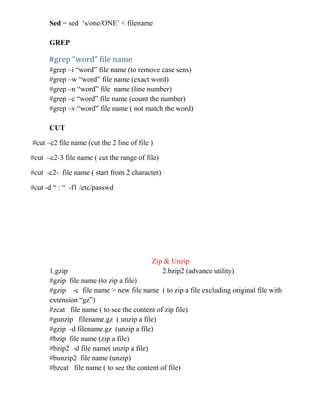
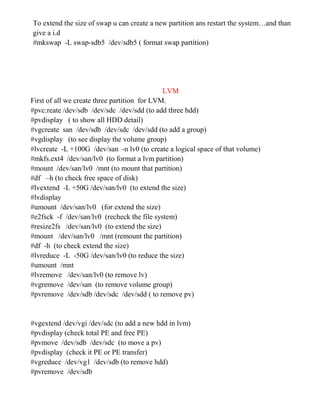
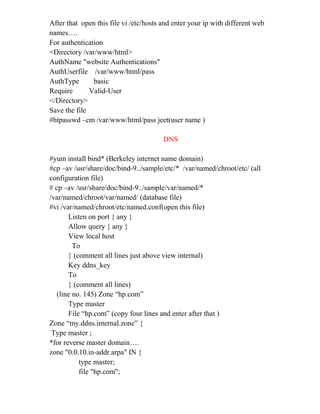
![If u want to access client data then use this…
#smbclient -L 20.0.0.1 –U user name (on client)
#mount -t cifs //client i.p/C$ /mnt -o user=username (cifs= common internet file
system)
Access data without user name or password…
guest account = nobody (uncomment this line)
[sb ke liye]
path = /share
public = yes
writable = yes
browseable = yes
guest ok = yes
guest only = yes
guest account = nobody
SAMBA Centralize login
#vi /etc/samba/smb.conf (open this file)
Workgroup = jeet (domain name)77
Netbios name = jeet 74
Domain master = yes
Domain logons = yes (both of lines un comment)155,156
Logon path = %L (un comment)
Add user script =
Add group script =
Add machine script =
Delete user script =
Delete group script = (all lines un commented)
Os level = 40
Preferred master =yes (un comment)
Netlogon to guest line un comment
[profile] to guest ( to all lines un comment)
Path = /home/%u
Browseable = yes
Writable = yes
Save the file……
#service smb restart
#service nmb restart](https://image.slidesharecdn.com/rhel-6-150422021229-conversion-gate01/85/Rhel-6-2-complete-ebook-14-320.jpg)