Download to read offline


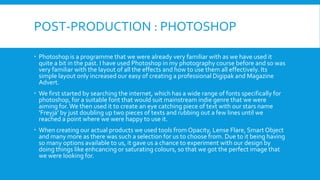
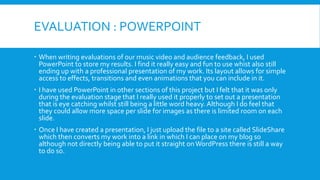
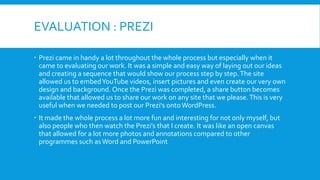

The document discusses the new media technologies used during the different stages of a music video project. WordPress and YouTube were used in the planning stage to blog about progress, listen to song choices, and upload rough cuts. A Sony camera, tripod, and hot light were used to film production footage. Premiere Pro was used to edit the video, adding effects like overlays and color corrections. Photoshop created promotional materials like a digipak and ad, using tools like fonts, opacity, and lens flares. PowerPoint and Prezi were utilized to evaluate the project through presentations, with Prezi allowing embedding of videos and images.