Download as PDF, PPTX

![PiFlash usage
●
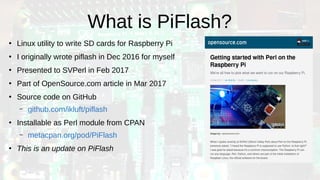
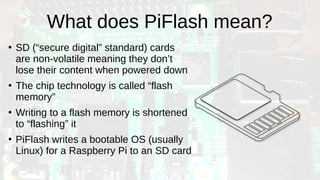
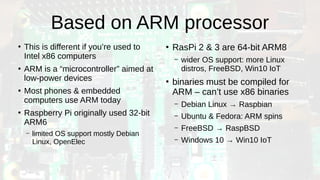
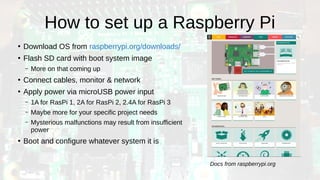
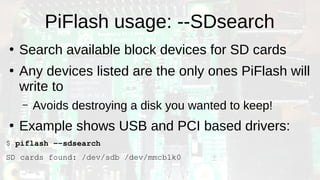
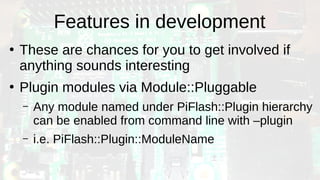
PiFlash is a command-line utility
usage: piflash [--verbose] [--resize] input-file output-device
piflash [--verbose] --SDsearch
piflash --version](https://image.slidesharecdn.com/svperl-piflash-pres-2019-02-07-190208070423/85/PiFlash-Linux-utility-to-flash-SD-cards-for-Raspberry-Pi-computers-15-320.jpg)
![PiFlash usage: writing to an SD
●
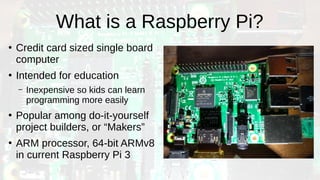
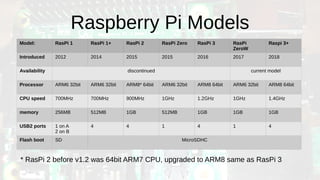
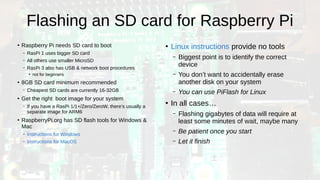
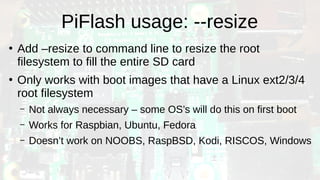
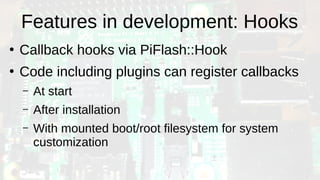
Simplest form is input file and output device
$ piflash --resize 2018-11-13-raspbian-stretch-lite.zip /dev/sdb
requested to flash 2018-11-13-raspbian-stretch-lite.zip to /dev/sdb
output device /dev/sdb will be erased
[sudo] password for user:
verify sudo access
flashing 2018-11-13-raspbian-stretch-lite.zip / 2018-11-13-raspbian-stretch-lite.img ->
/dev/sdb
…
done - it is safe to remove the SD card](https://image.slidesharecdn.com/svperl-piflash-pres-2019-02-07-190208070423/85/PiFlash-Linux-utility-to-flash-SD-cards-for-Raspberry-Pi-computers-18-320.jpg)

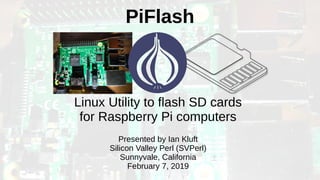
Piflash is a Linux utility designed to write bootable OS images onto SD cards for Raspberry Pi computers, ensuring safety by preventing accidental data loss on other disks. Originally developed in 2016 and presented in 2017, it includes features like automatic input file format detection and future plugin support for enhanced automation. The document also provides an overview of Raspberry Pi models, their specifications, and various operating systems available for installation.