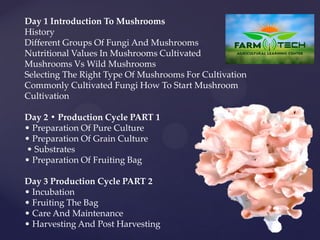
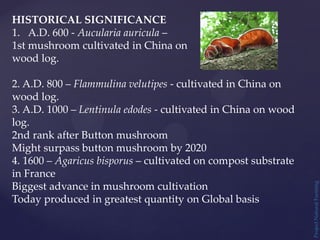
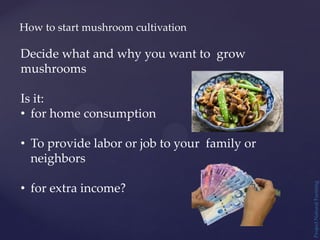
The document provides information about starting mushroom cultivation, including three key days of training:
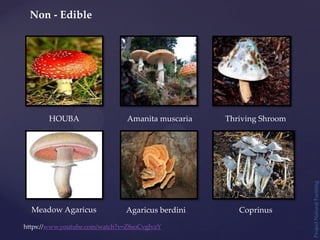
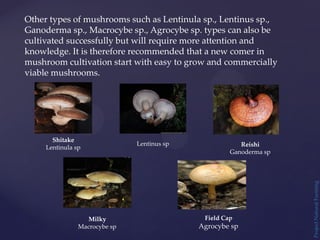
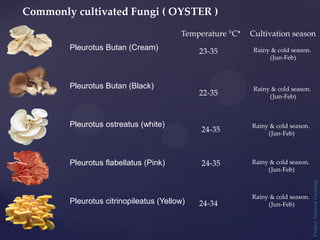
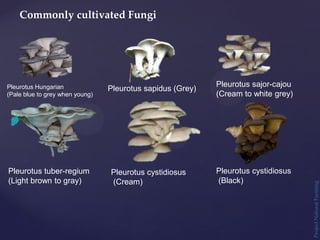
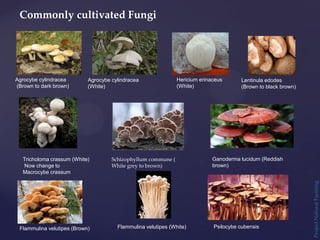
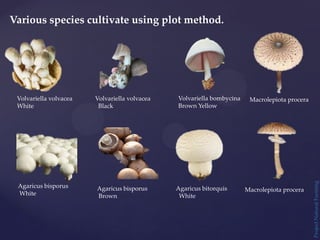
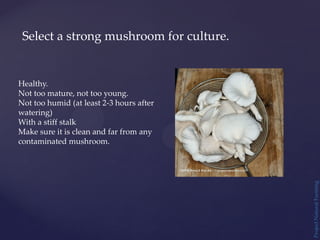
- Day 1 covers the history of mushrooms, types of fungi, nutritional value of cultivated mushrooms, and selecting mushrooms for cultivation.
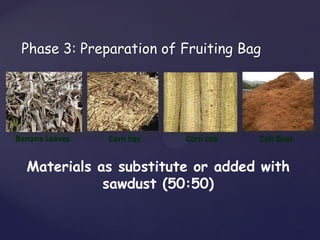
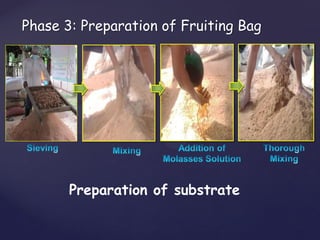
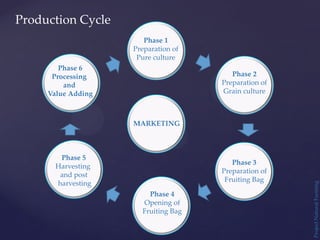
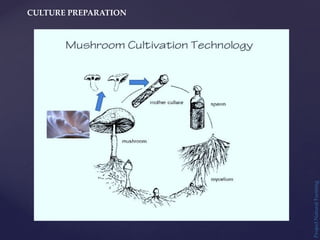
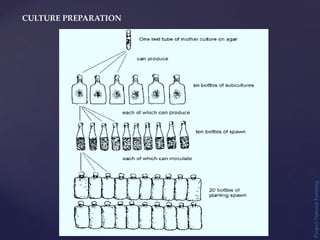
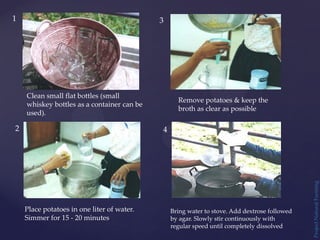
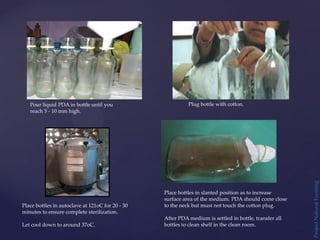
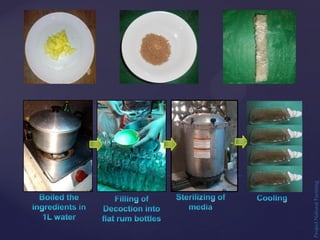
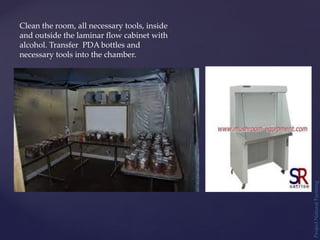
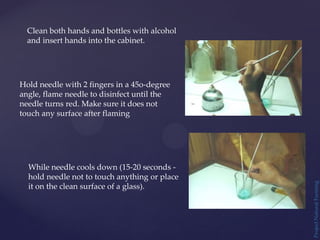
- Day 2 discusses the production cycle, including preparing pure and grain cultures, substrates, and fruiting bags.
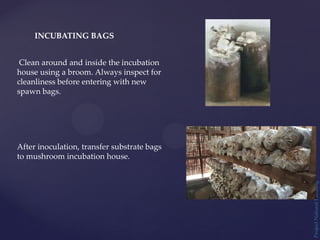
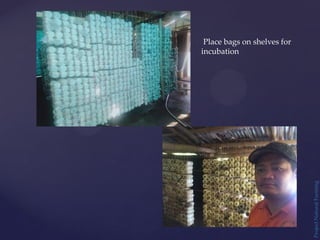
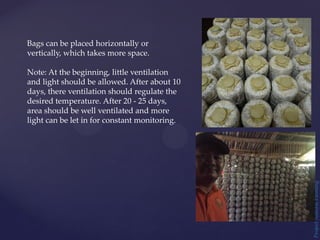
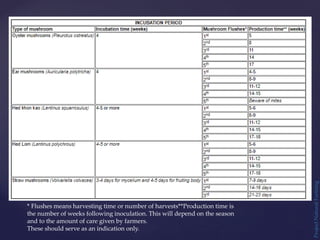
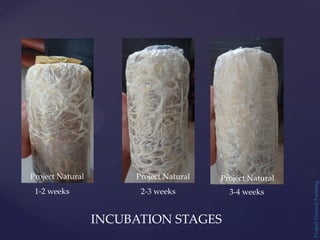
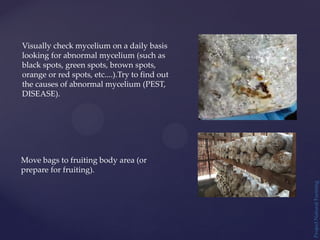
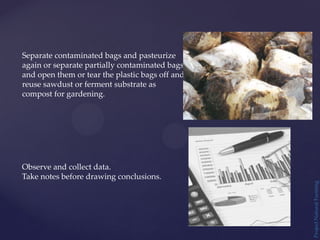
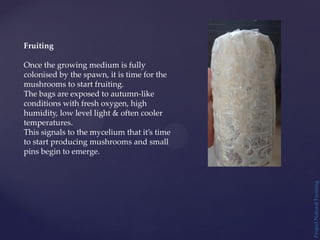
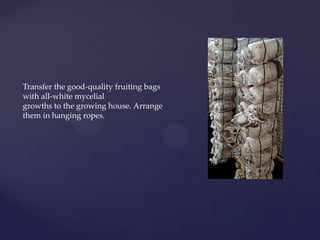
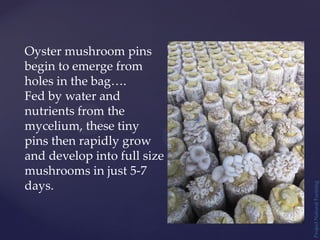
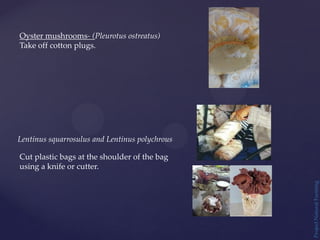
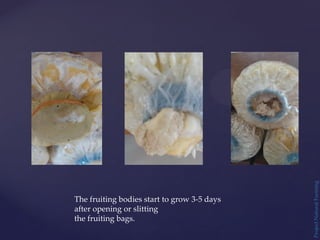
- Day 3 continues the production cycle with incubation, fruiting, care/maintenance, and harvesting.
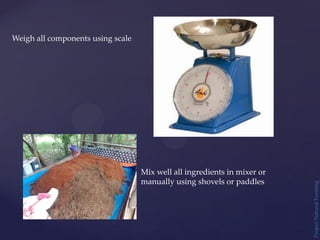
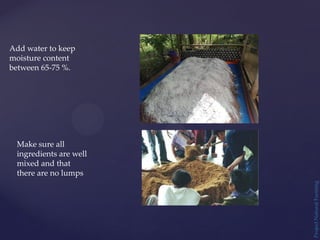
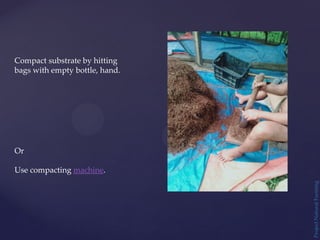
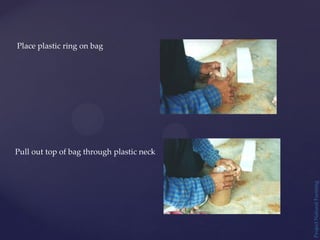
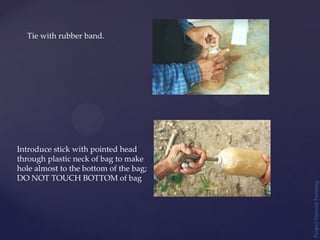
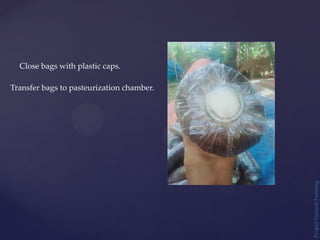
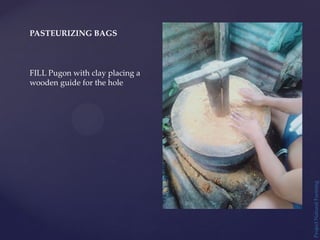
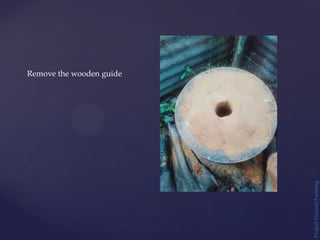
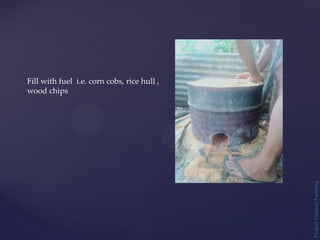
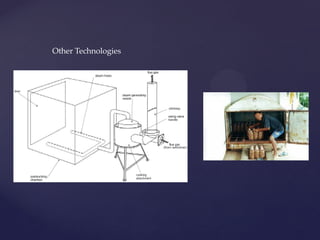
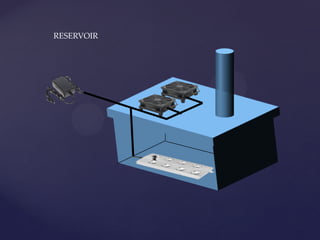
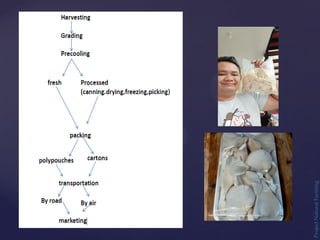
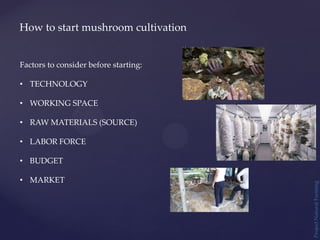
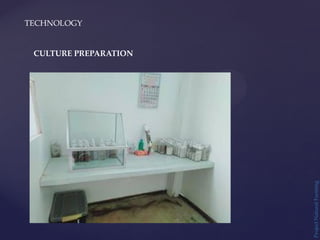
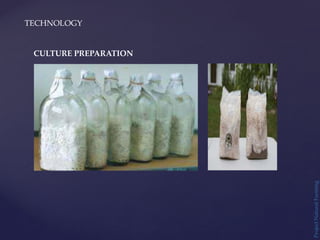
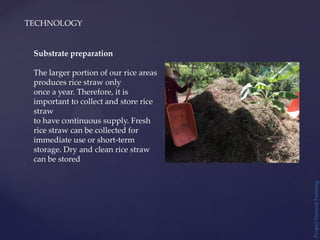
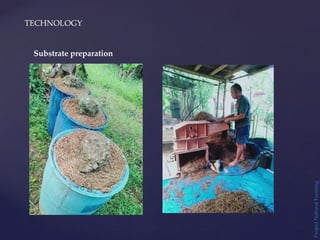
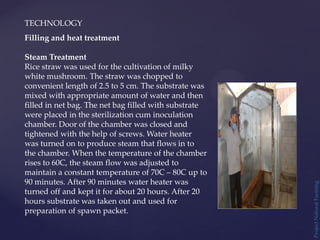
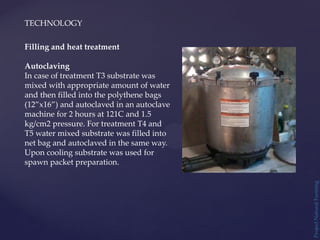
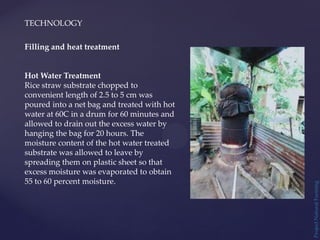
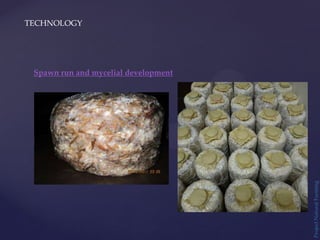
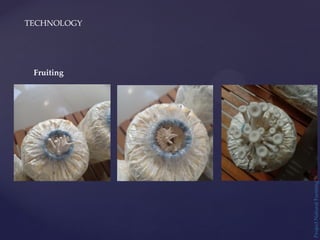
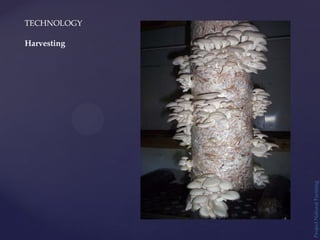
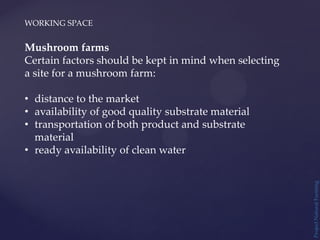
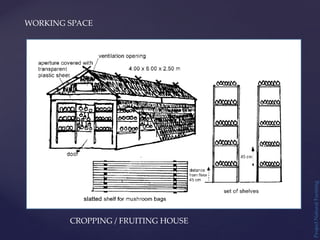
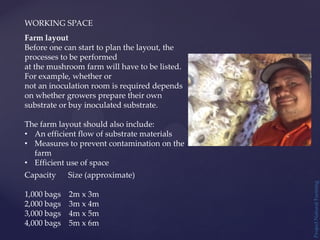
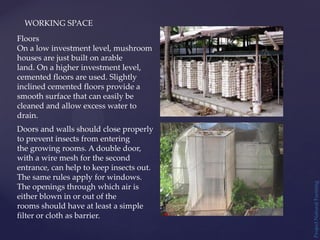
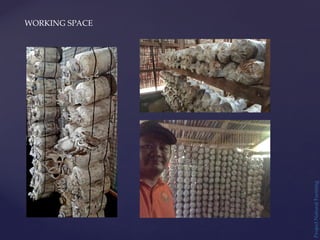
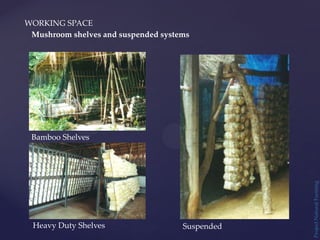
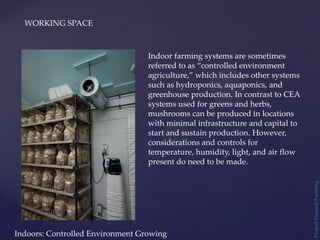
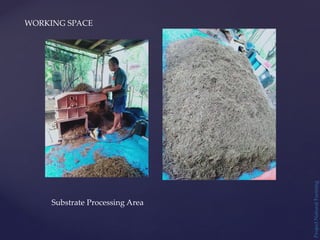
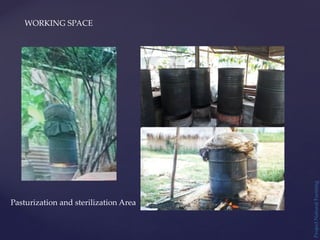
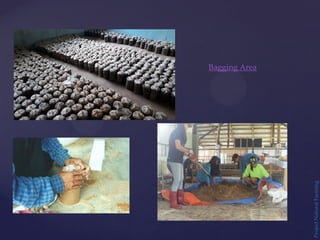
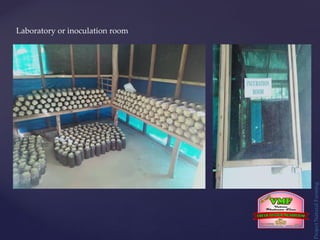
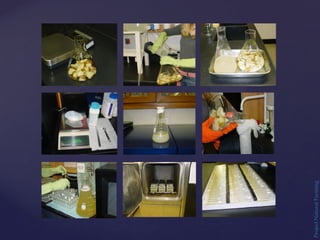
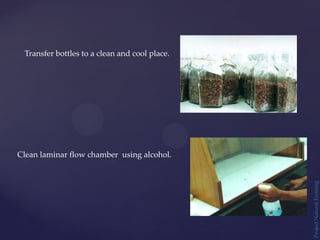
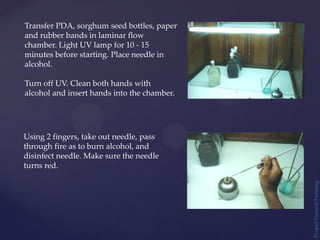
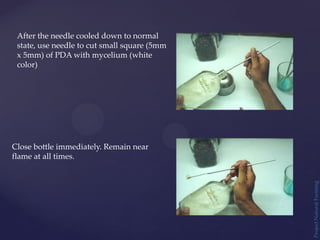
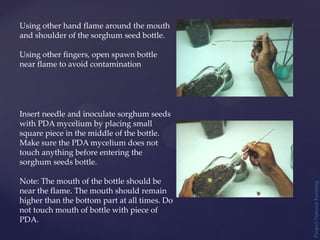
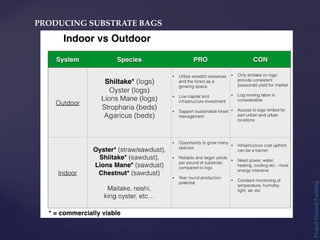
The document then discusses factors to consider such as technology, working space, raw materials, labor, budget, and market before starting a mushroom cultivation business. It provides details on culture preparation, substrate preparation, filling/heat treatment, spawn run, fruiting, and harvesting. Floor plans and


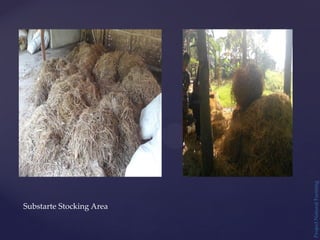


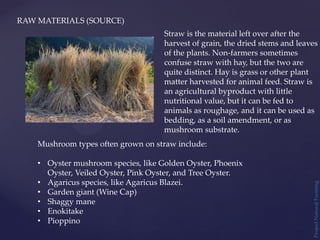
![RAW MATERIALS (SOURCE)
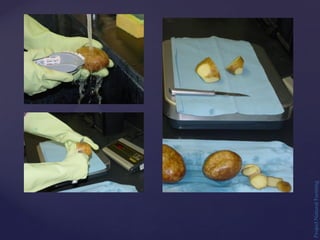
Saw dust or wood-chips—or, better yet,
both—make a good, productive substrate,
but are usually mixed with bran of some
type (grain or soy) for added nutrition[iv].
As with logs, the species of tree the
material came from matters, but many
hardwoods are suitable and material from
different species can be mixed. There are
many different recipes, each with their
advantages and disadvantages for different
crops.
Growers with access to waste sawdust and chips may be able to get material for
free. Otherwise, pellets of compressed hardwood sawdust are available at
reasonable prices. Just soak the pellets in water and they break apart easily.
Mushrooms that do well on sawdust mixes include:
• Reishi
• Lion’s mane
• Shiitaki
• Maitake
• King oyster
Project
Natural
Farming](https://image.slidesharecdn.com/mushprodpresentation-230125142211-dec275c1/85/MUSHPROD-PRESENTATION-pdf-102-320.jpg)