Mobile application development is the process of creating software designed to run on small, wireless devices such as smartphones and tablets. It is similar to web application development but adapted to the unique features of mobile platforms. Mobile apps allow users to access services, perform tasks, or enjoy entertainment directly from their devices, making them an essential part of modern life.
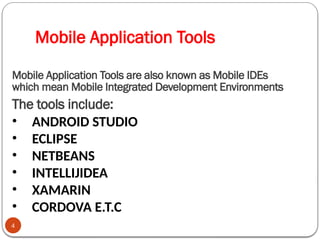
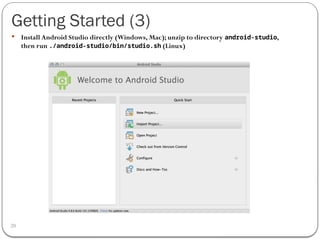
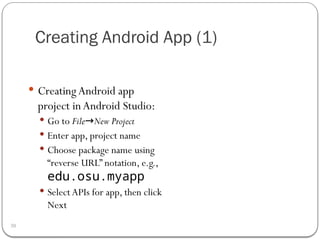
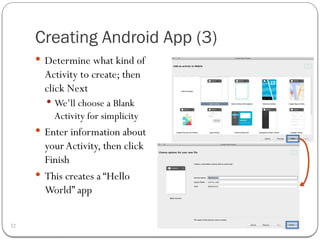
Developers use different tools known as Integrated Development Environments (IDEs), such as Android Studio, Eclipse, or Xamarin, to build these applications. Among mobile operating systems, Android—developed by the Open Handset Alliance led by Google—has become the most widely used worldwide. With billions of mobile users, businesses and organizations increasingly rely on apps to connect with customers and improve services.