Downloaded 129 times


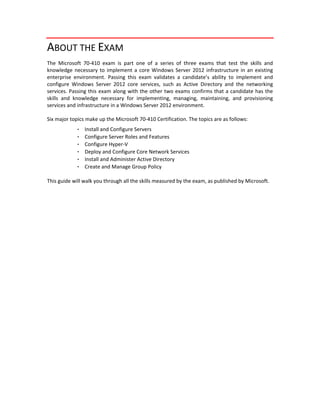
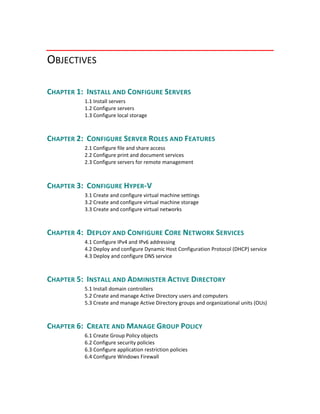


The document provides information about the Microsoft 70-410 exam which tests skills for implementing a Windows Server 2012 infrastructure. It covers six major topics including installing and configuring servers, server roles and features, Hyper-V, network services, Active Directory, and Group Policy. The objectives are organized into chapters that walk through installing servers, configuring server roles, Hyper-V, network services, Active Directory, and Group Policy. It provides details on tasks for each objective like installing different server versions, configuring storage, and deploying roles remotely.