Download to read offline


![About Me
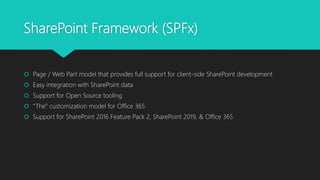
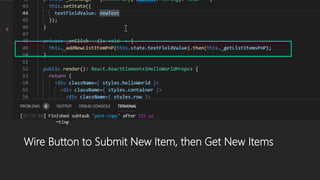
SharePoint Collaboration Director @ SoHo Dragon - NYC
Branding & Developer for SharePoint / Office 365
Focused on the UI side of things
Community Involvement
Speaker [Branding & Front End Development]
NJ SharePoint User Group Organizer
SharePoint Saturday NYC Organizer
NJ & NYC Global Office 365 Dev Bootcamp Organizer 2017
NJ Azure Bootcamp Organizer
SharePoint Saturday NJ Organizer [2013-2014]
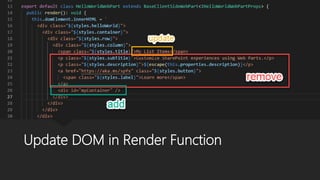
My SharePoint Blog
Git Hub [corp directory controls / o365 sticky footer / bootstrap navigation]
Twitter: @_tomdaly_](https://image.slidesharecdn.com/m365globaldeveloperbootcamp2019-introtospfxversion-200722042857/85/M365-global-developer-bootcamp-2019-Intro-to-SPFx-Version-4-320.jpg)
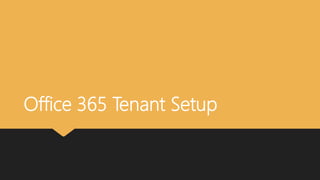
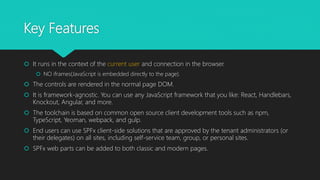
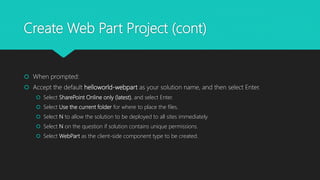
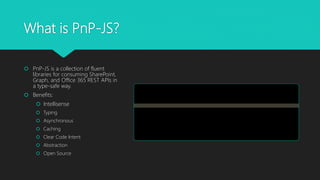
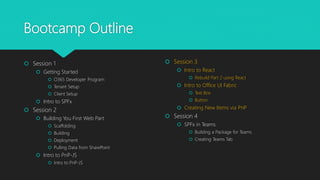
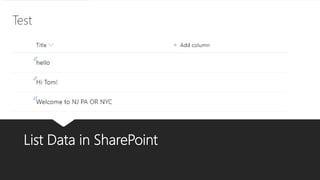
![Office 365 Developer Subscription
Sign up – Online, FREE [Required Live Account]
https://developer.microsoft.com/en-us/office/dev-program
Starting in April 2019, we offer renewable 90-day subscriptions
What's included in the developer subscription?
Office 365 E3 – 25 User License
SharePoint, Teams …. everything else](https://image.slidesharecdn.com/m365globaldeveloperbootcamp2019-introtospfxversion-200722042857/85/M365-global-developer-bootcamp-2019-Intro-to-SPFx-Version-7-320.jpg)
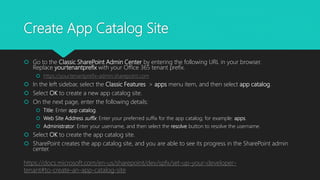

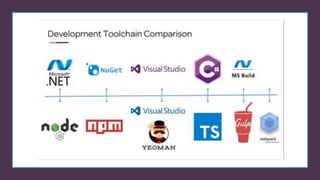
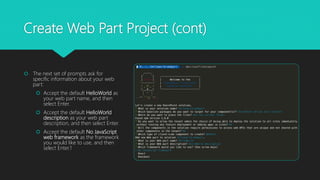
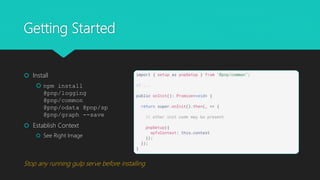
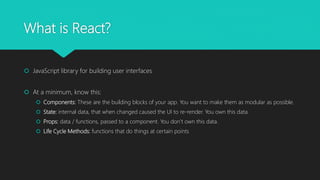
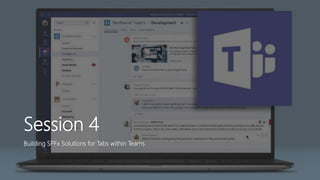
![Webpack
Used to compile JavaScript modules.
Handles dependencies between modules
automatically
Transpiles Code
…takes all your files + dependencies [npm
packages] and creates 1 JavaScript file](https://image.slidesharecdn.com/m365globaldeveloperbootcamp2019-introtospfxversion-200722042857/85/M365-global-developer-bootcamp-2019-Intro-to-SPFx-Version-18-320.jpg)

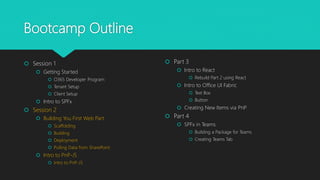


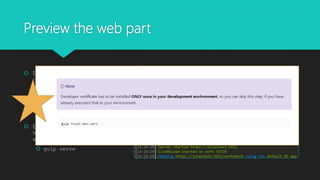

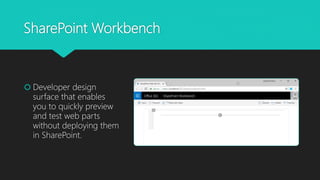

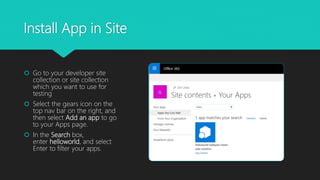

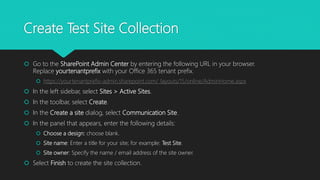
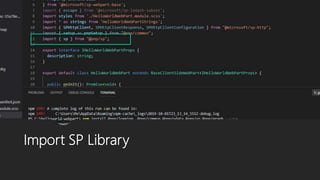
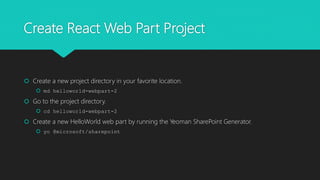
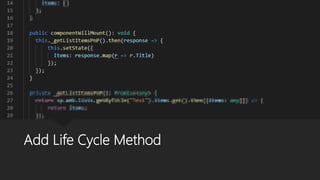
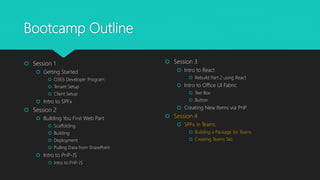
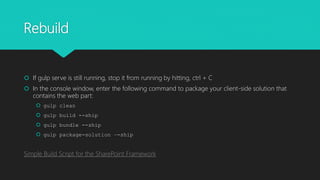
![Live Development
Enter the following command in the console to build and
preview your web part:
gulp serve
On the Page with the webpart add the following to the end of
the url
?loadSPFX=true&debugManifestsFile=https://localhost
:4321/temp/manifests.js
BONUS: use SP-Editor [Chrome Extension] to load debug url](https://image.slidesharecdn.com/m365globaldeveloperbootcamp2019-introtospfxversion-200722042857/85/M365-global-developer-bootcamp-2019-Intro-to-SPFx-Version-48-320.jpg)


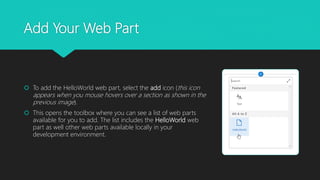
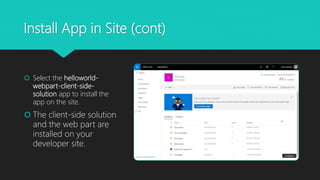
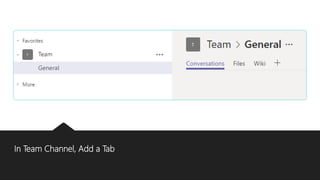
![Teams Folder
Starting with the SharePoint Framework v1.8, scaffolding
will also include additional ./teams folder
Teams folder contains the following two files:
[componentId]_color.png - Default small picture for a
tab
[componentId]_outline.png - Default large picture for
a tab
These images will be used as icons in Microsoft Teams.
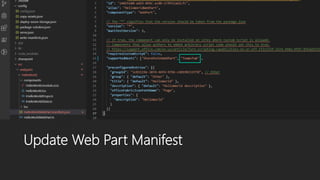
Teams Manifest – Defines the app, by default not there
SharePoint will create it for you!@
https://docs.microsoft.com/en-
us/sharepoint/dev/spfx/web-parts/get-started/using-
web-part-as-ms-teams-tab](https://image.slidesharecdn.com/m365globaldeveloperbootcamp2019-introtospfxversion-200722042857/85/M365-global-developer-bootcamp-2019-Intro-to-SPFx-Version-117-320.jpg)

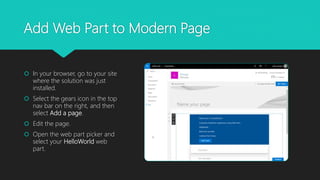
![Voitanos On-Demand Training
The best SPFx training resource – hands down,
always updated, on demand.
~$750 for the Ultimate Package. Worth It!
Taught by Andrew Connell, 15+ year MVP in
SharePoint / Office 365
“Understanding the SPFx Dev Toolchain”
email course [FREE]
Mastering the SharePoint Framework On
Demand](https://image.slidesharecdn.com/m365globaldeveloperbootcamp2019-introtospfxversion-200722042857/85/M365-global-developer-bootcamp-2019-Intro-to-SPFx-Version-134-320.jpg)


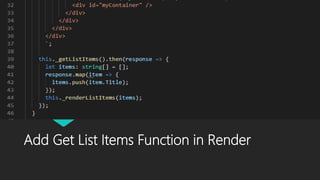
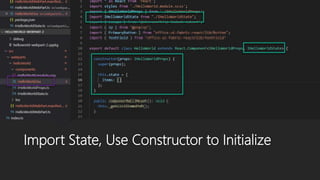
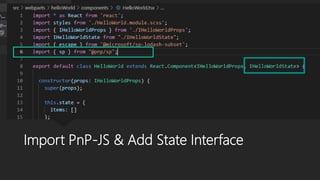
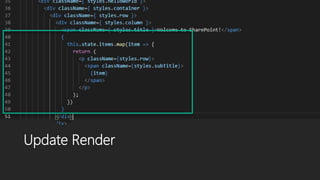
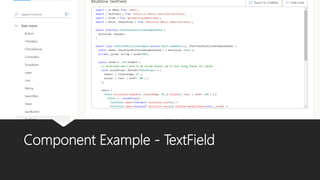
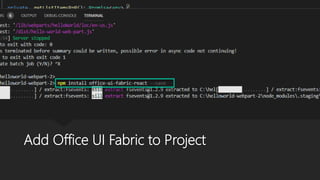
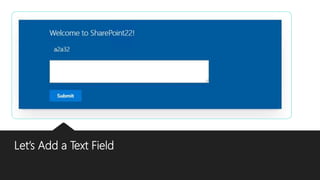
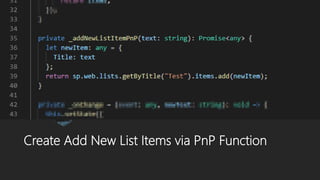
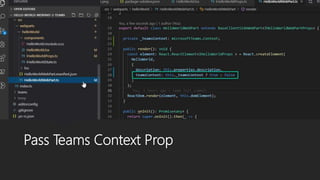
Here are the steps to create a React web part: 1. Scaffold a new React web part project: ``` yo @microsoft/sharepoint ``` 2. When prompted, select the following: - Use the current folder for where to place the files - WebPart as the client-side component type - Select React as the JavaScript framework 3. This will scaffold all the necessary files and setup React in your project. 4. Import React and ReactDOM in your web part file: ```js import * as React from 'react'; import * as ReactDom from 'react-dom'; ``` 5. Create a simple React component:


![[Patel] SPFx: An ISV Insight into latest Microsoft's customization model](https://cdn.slidesharecdn.com/ss_thumbnails/ecs18shaipatelspfxanisvinsight-180618091115-thumbnail.jpg?width=640&height=640&fit=bounds)