Link Sites to Images in a Widget
•Download as KEY, PDF•
0 likes•380 views

Saved to our Moodle Tech Tutorials for our teachers to use in order to link images to sites and embed on the sidebar of their blogs.

Recommended
Recommended
More Related Content
What's hot
What's hot (20)
Similar to Link Sites to Images in a Widget
Similar to Link Sites to Images in a Widget (20)
More from Pam Cranford
More from Pam Cranford (20)
Recently uploaded
Recently uploaded (20)
Link Sites to Images in a Widget
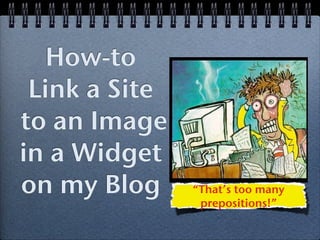
- 1. How-to Link a Site to an Image in a Widget on my Blog “That’s too many prepositions!”
- 2. Open the site to which you would like to be linked. Find and save the image you would like to use as your widget. I save everything in a folder on my desktop. You will need the correct embed code in order to perform this task. I suggest Tinypic.com or Photobucket.com
- 3. Teachers login to either photobucket or tinypic Click Upload now and locate your picture
- 4. Find and select your photo or graphic Once you find it, Double click on it to upload it.
- 5. Double click to open the image
- 6. On the far right side of the page you will see a pop-up box just like this one. Highlight and Copy the entire HTML code
- 7. Now back to YOUR Blog Login and you will be taken to your Blog Dashboard.
- 8. In your Dashboard, click on the triangle to open the options underneath “Appearance” Click on “Widgets”
- 9. Find the “Text” widget in the list of widgets. If you put your mouse over it, you can “grab” it and drag it to the sidebar where you want it to be located. If you have more than one sidebar, you may have to click on the arrow to open the space in a dropdown. Drop the Text Widget where you want it and it will open.
- 10. Enter a title IF YOU WANT IT TO HAVE ONE. Paste the HTML code from Photobucket here in this box. Do not save or close just yet. Open the tab with the website you want to link
- 11. Open the website and copy the URL Now return to the Text Widget one last time.
- 13. Highlight the code that is located ...and paste in the URL from the between the quotations... website between the quotations.
Editor's Notes
- \n
- \n
- \n
- \n
- \n
- \n
- \n
- \n
- \n
- \n
- \n
- \n
- \n