Download to read offline

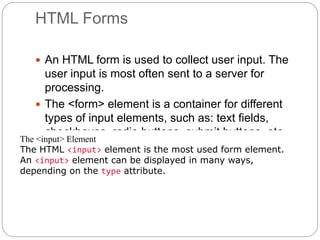


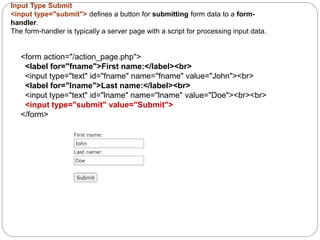


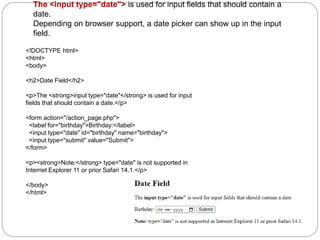
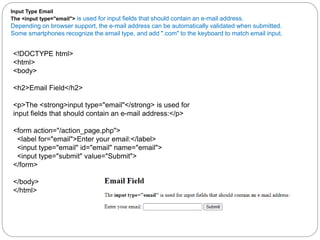


The document discusses various HTML form elements and their uses. It explains how to create input fields for text, passwords, submit buttons, radio buttons, checkboxes, and more. It also covers the <select>, <textarea>, and <file> elements for dropdown menus, multi-line text, and file uploads respectively. Forms are used to collect user input which is often submitted to a server for processing.