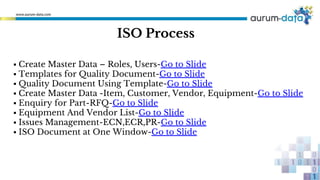
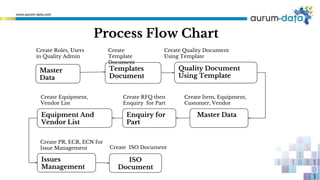
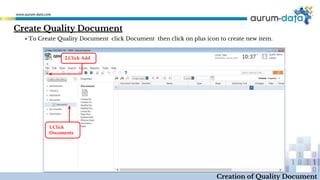
This document outlines the process for creating and managing quality documents using an ISO software system. The key steps include:
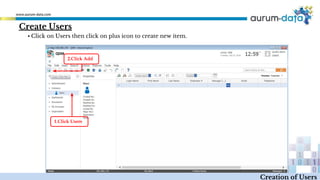
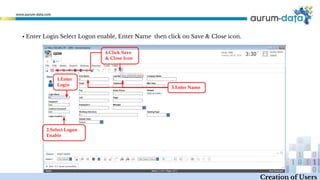
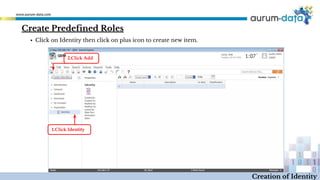
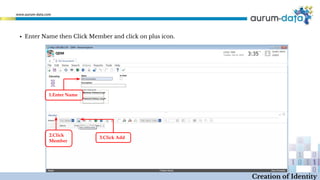
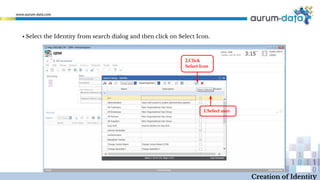
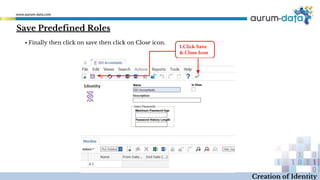
1. Creating master user and role data to control access.
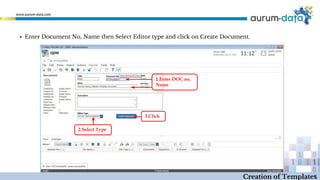
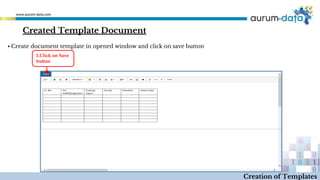
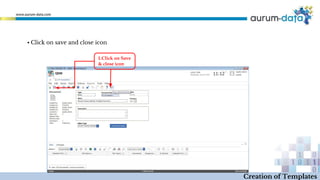
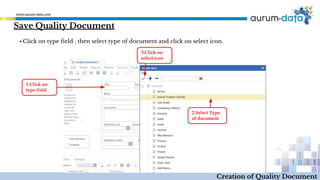
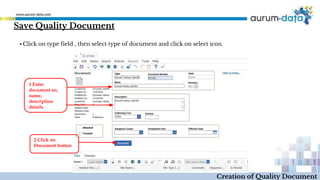
2. Developing document templates to standardize quality documents.
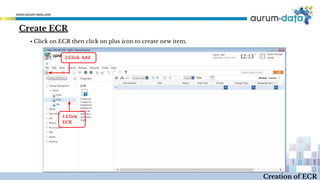
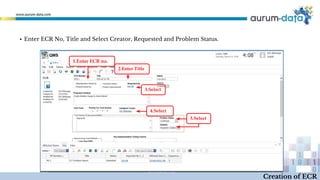
3. Authorizing users to generate quality documents based on the templates.
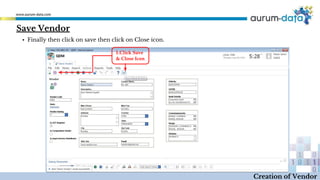
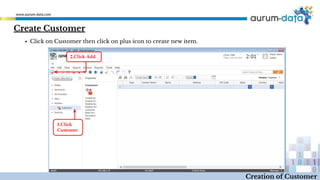
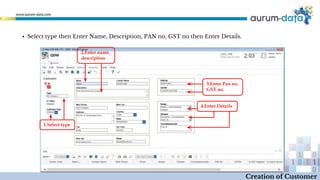
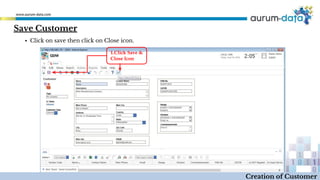
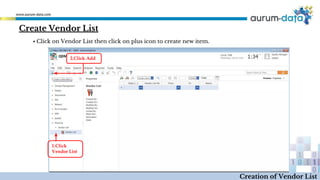
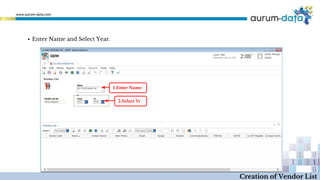
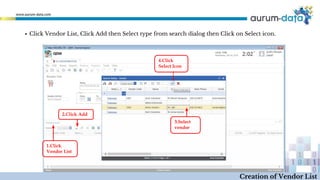
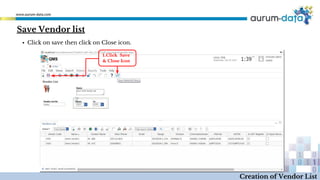
4. Establishing master product, customer and vendor records for reference in documents.
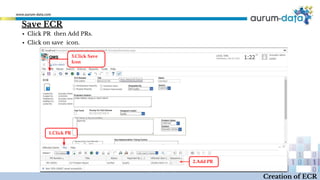
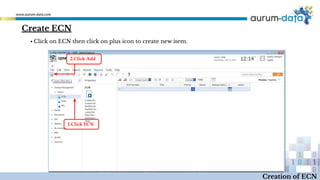
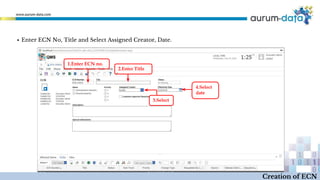
5. Providing issues tracking for changes and non-conformances related to quality documents.
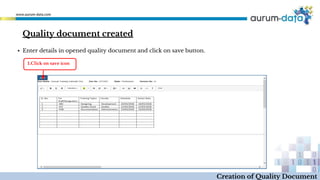
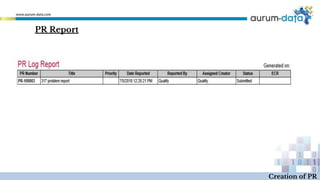
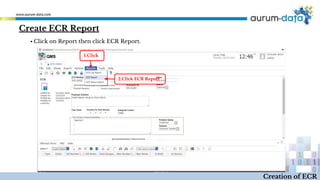
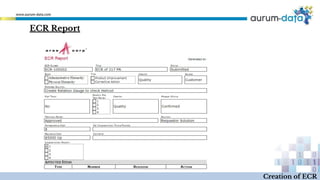
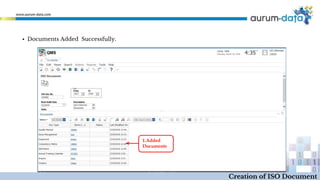
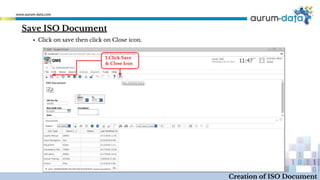
6. Compiling all quality documents into a centralized online system for ISO documentation and auditing.