This document provides instructions for setting up Android Studio and describes the basic structure of an Android project and Java code. It includes the following key points:
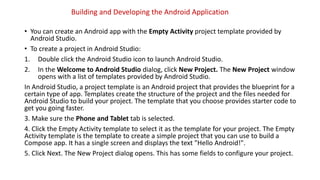
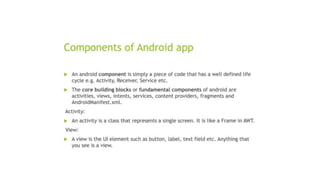
1) It outlines 9 steps for downloading and configuring Android Studio, including downloading the executable, installing it, configuring SDK components, and creating a new project.
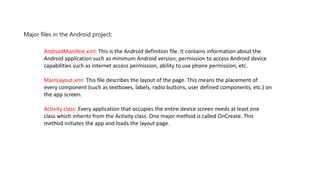
2) It describes the basic folder structure of an Android project, including folders for Java source files, generated files, resources, drawables, layouts and values.
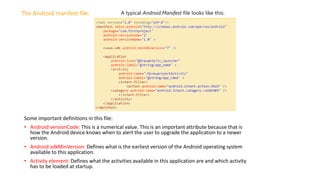
3) It explains some important files in an Android project like the AndroidManifest file, main layout file, and activity class. The activity class inherits from Android activity and contains the onCreate method.


![Setting up Android Studio
Step 1: Head over to https://developer.android.com/studio/#downloads to get the Android Studio
executable or zip file.
Step 2: Click on the Download Android Studio Button.
Step 3: After the downloading has finished, open the file from downloads and run it. It will prompt the
dialog box. Click on next. In the next prompt, it’ll ask for a path for installation. Choose a path and hit next.
Step 4: It will start the installation, and once it is completed, Click on next.
Step 5: Once “Finish” is clicked, it will ask whether the previous settings need to be imported [if the android
studio had been installed earlier], or not. It is better to choose the ‘Don’t import Settings option’. Click
the OK button.
Step 6: This will start the Android Studio. Meanwhile, it will be finding the available SDK components.
Step 7: After it has found the SDK components, it will redirect to the Welcome dialog box. Click on next
Choose Standard and click on Next. Now choose the theme, whether the Light theme or the Dark one. The
light one is called the IntelliJ theme whereas the dark theme is called Dracula. Choose as required. Click on
the Next button.
Step 8: Now it is time to download the SDK components. Click on Finish. Components begin to download let
it complete. The Android Studio has been successfully configured. Now it’s time to launch and build
apps. Click on the Finish button to launch it.
Step 9: Click on Start a new Android Studio project to build a new app.](https://image.slidesharecdn.com/introductiontoandroidandjava-231008165137-139ddef6/85/Introduction-to-Android-and-Java-pptx-14-320.jpg)