1) The document describes the steps to install Red Hat Enterprise Linux 5 using both graphical and text-based installation methods.
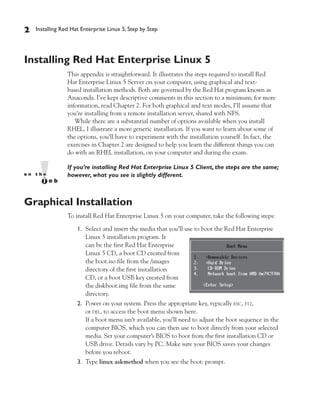
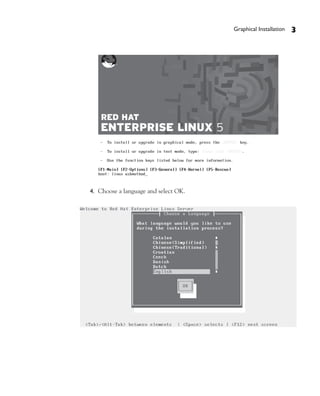
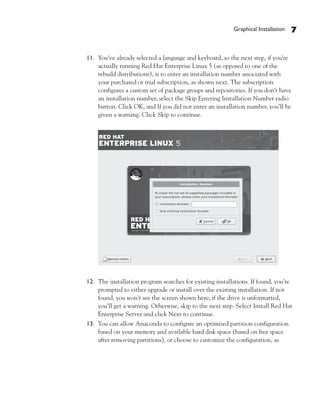
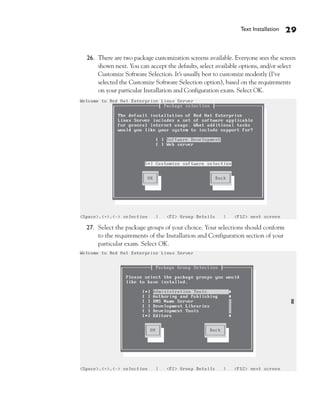
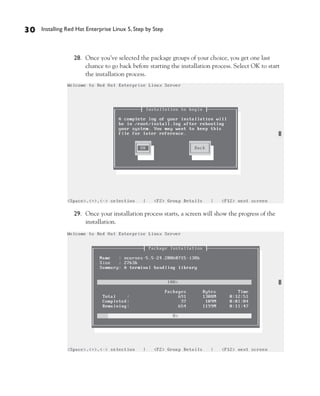
2) The graphical installation process involves 22 steps, beginning with booting from installation media and ending with selecting package groups.
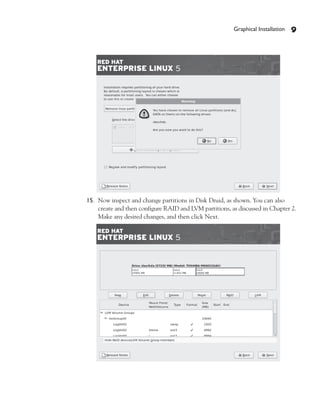
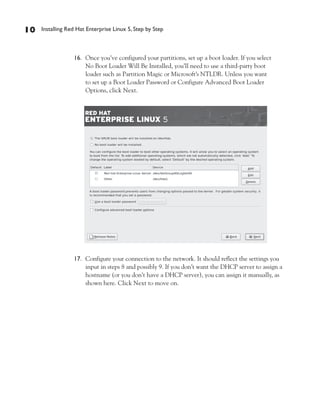
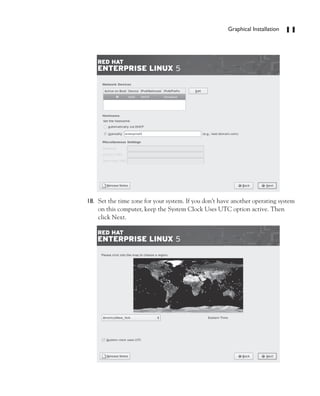
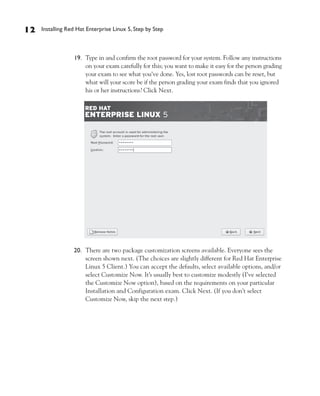
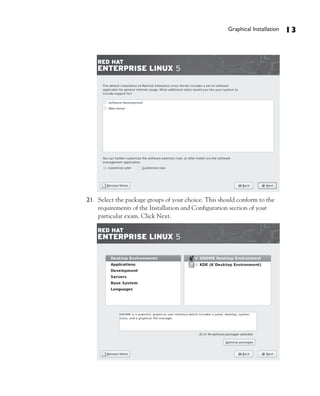
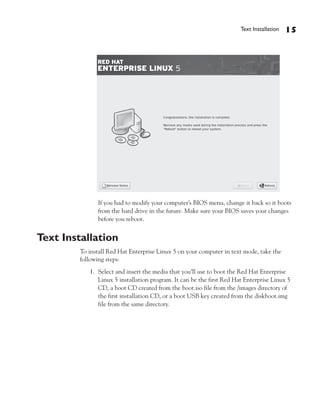
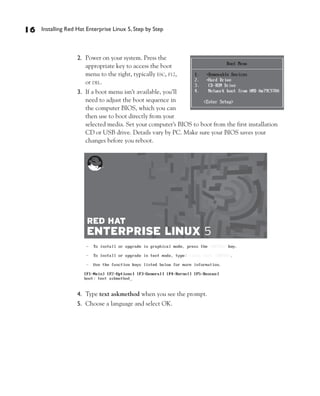
3) Key steps include configuring networking, partitioning disks, setting the root password, and customizing package selections.
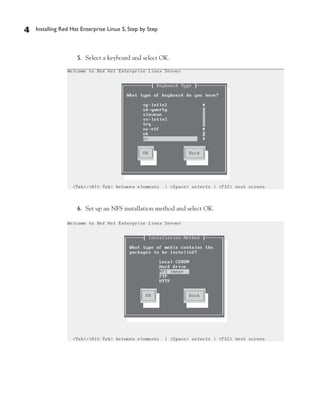
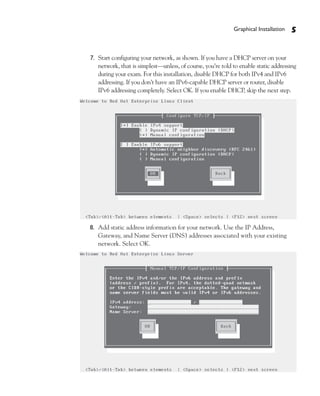
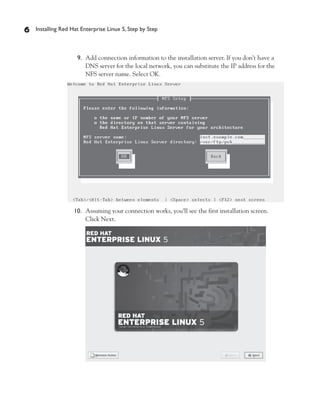


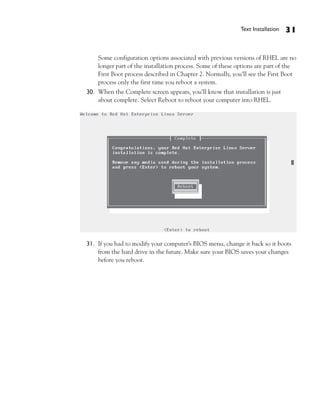


![Installation Guide XBRL Software [Zen Exbace] on Windows XP](https://cdn.slidesharecdn.com/ss_thumbnails/installationguideofzenexbaceonwindowsxp-120407025306-phpapp02-thumbnail.jpg?width=640&height=640&fit=bounds)