Downloaded 158 times


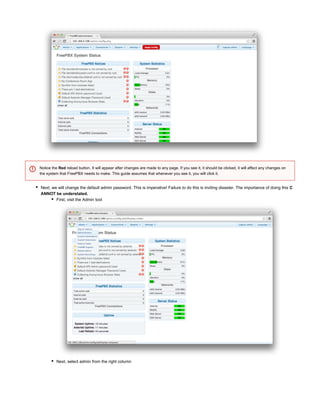
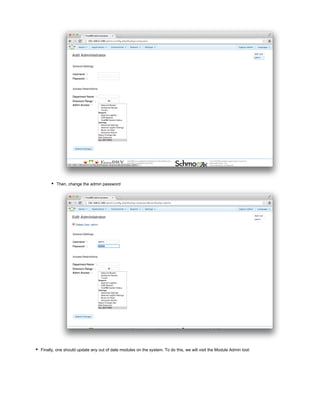

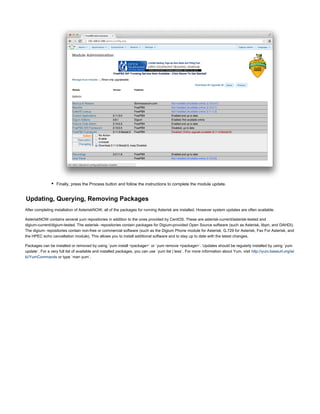

This document provides instructions for installing and configuring AsteriskNOW, an open source PBX system. It describes burning the DVD image, booting from the DVD to start installation, selecting installation options, setting the timezone and passwords, and waiting for installation to complete. It then recommends updating the system after installation and changing the default admin password for security. Finally, it explains how to use the yum package manager to install, update, query, and remove packages on the system.