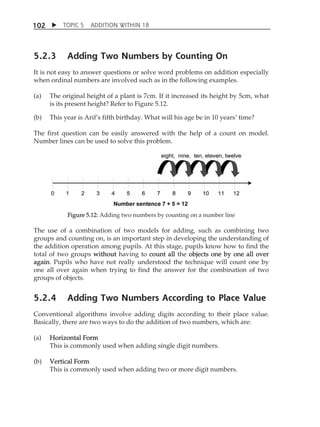
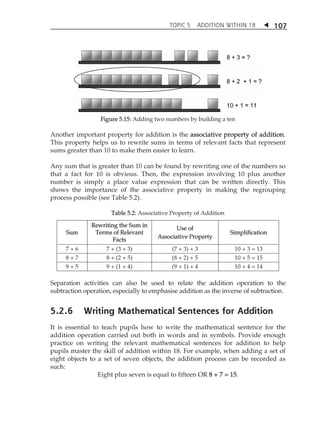
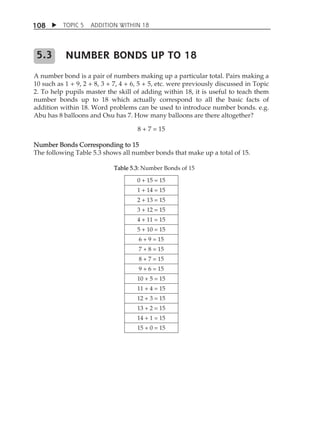
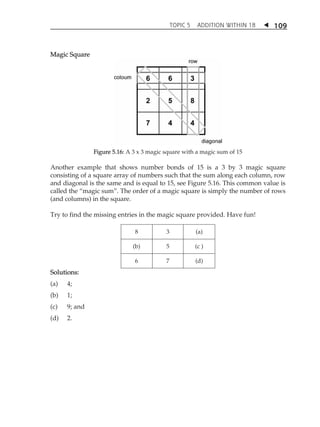
Downloaded 17 times


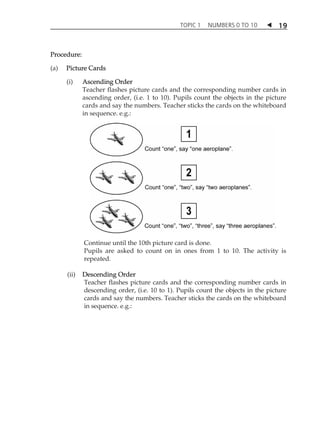
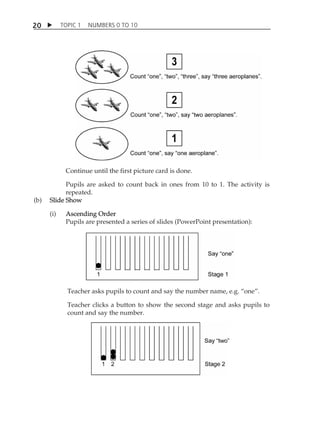


![TOPIC 2 ADDITION WITHIN 10 AND PLACE VALUE
39
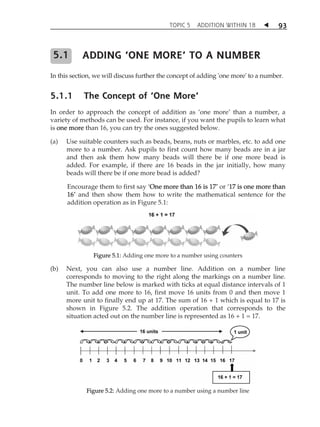
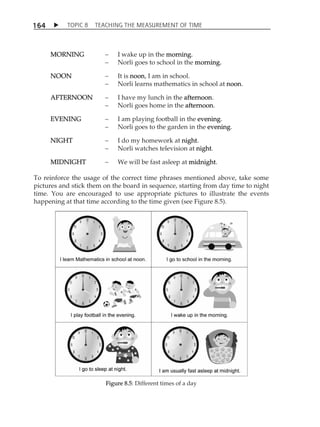
(b) Adding Using Patterns (in Columns)
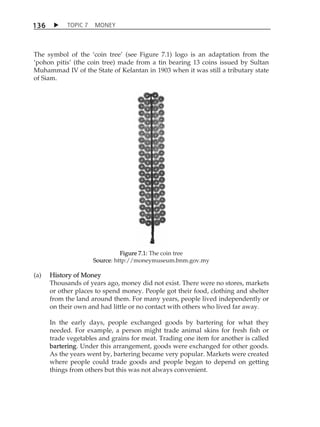
(i) Teacher says: „Let us look at the pictures and try to recognise the
patterns (see Figure 2.15). Discuss with your friends.‰
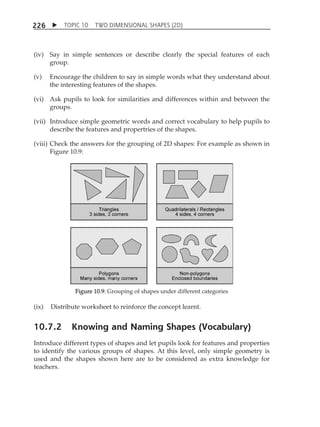
Figure 2.15: Picture cards
(ii) Teacher discusses the patterns with pupils. For example, teacher
shows the third picture [Picture (c)] and tells that it can be divided
into two parts, namely, the top and bottom parts as shown in Figure
2.16:
Figure 2.16: Picture card: Addition using patterns (in columns)
(iii) This is a way of showing how to teach addition using columns by the
inquiry-discovery method. As a conclusion, the teacher explains to
the pupils that arranging the objects in patterns will make it easier to
add them. Using columns to add also makes the addition of large
numbers easier and faster.
(c) Teacher distributes a worksheet on addition using patterns (in rows or in
columns).](https://image.slidesharecdn.com/hbmt1203math-141007191554-conversion-gate01/85/HBMT-1203-Mathematic-39-320.jpg)


This document discusses teaching numbers from 0 to 10. It begins by outlining the learning outcomes, which are to recognize mathematical skills and concepts involving whole numbers from 0 to 10, understand place value and strategies for teaching numbers. It then discusses pre-number concepts like classification, counting, and patterns that form the basis for understanding whole numbers. Two sample teaching activities are described in detail: one on classifying objects by properties, and another on comparing quantities in two sets using terms like "more than" and "less than". The document emphasizes giving students opportunities to interact with objects and develop number sense before learning numerals.


