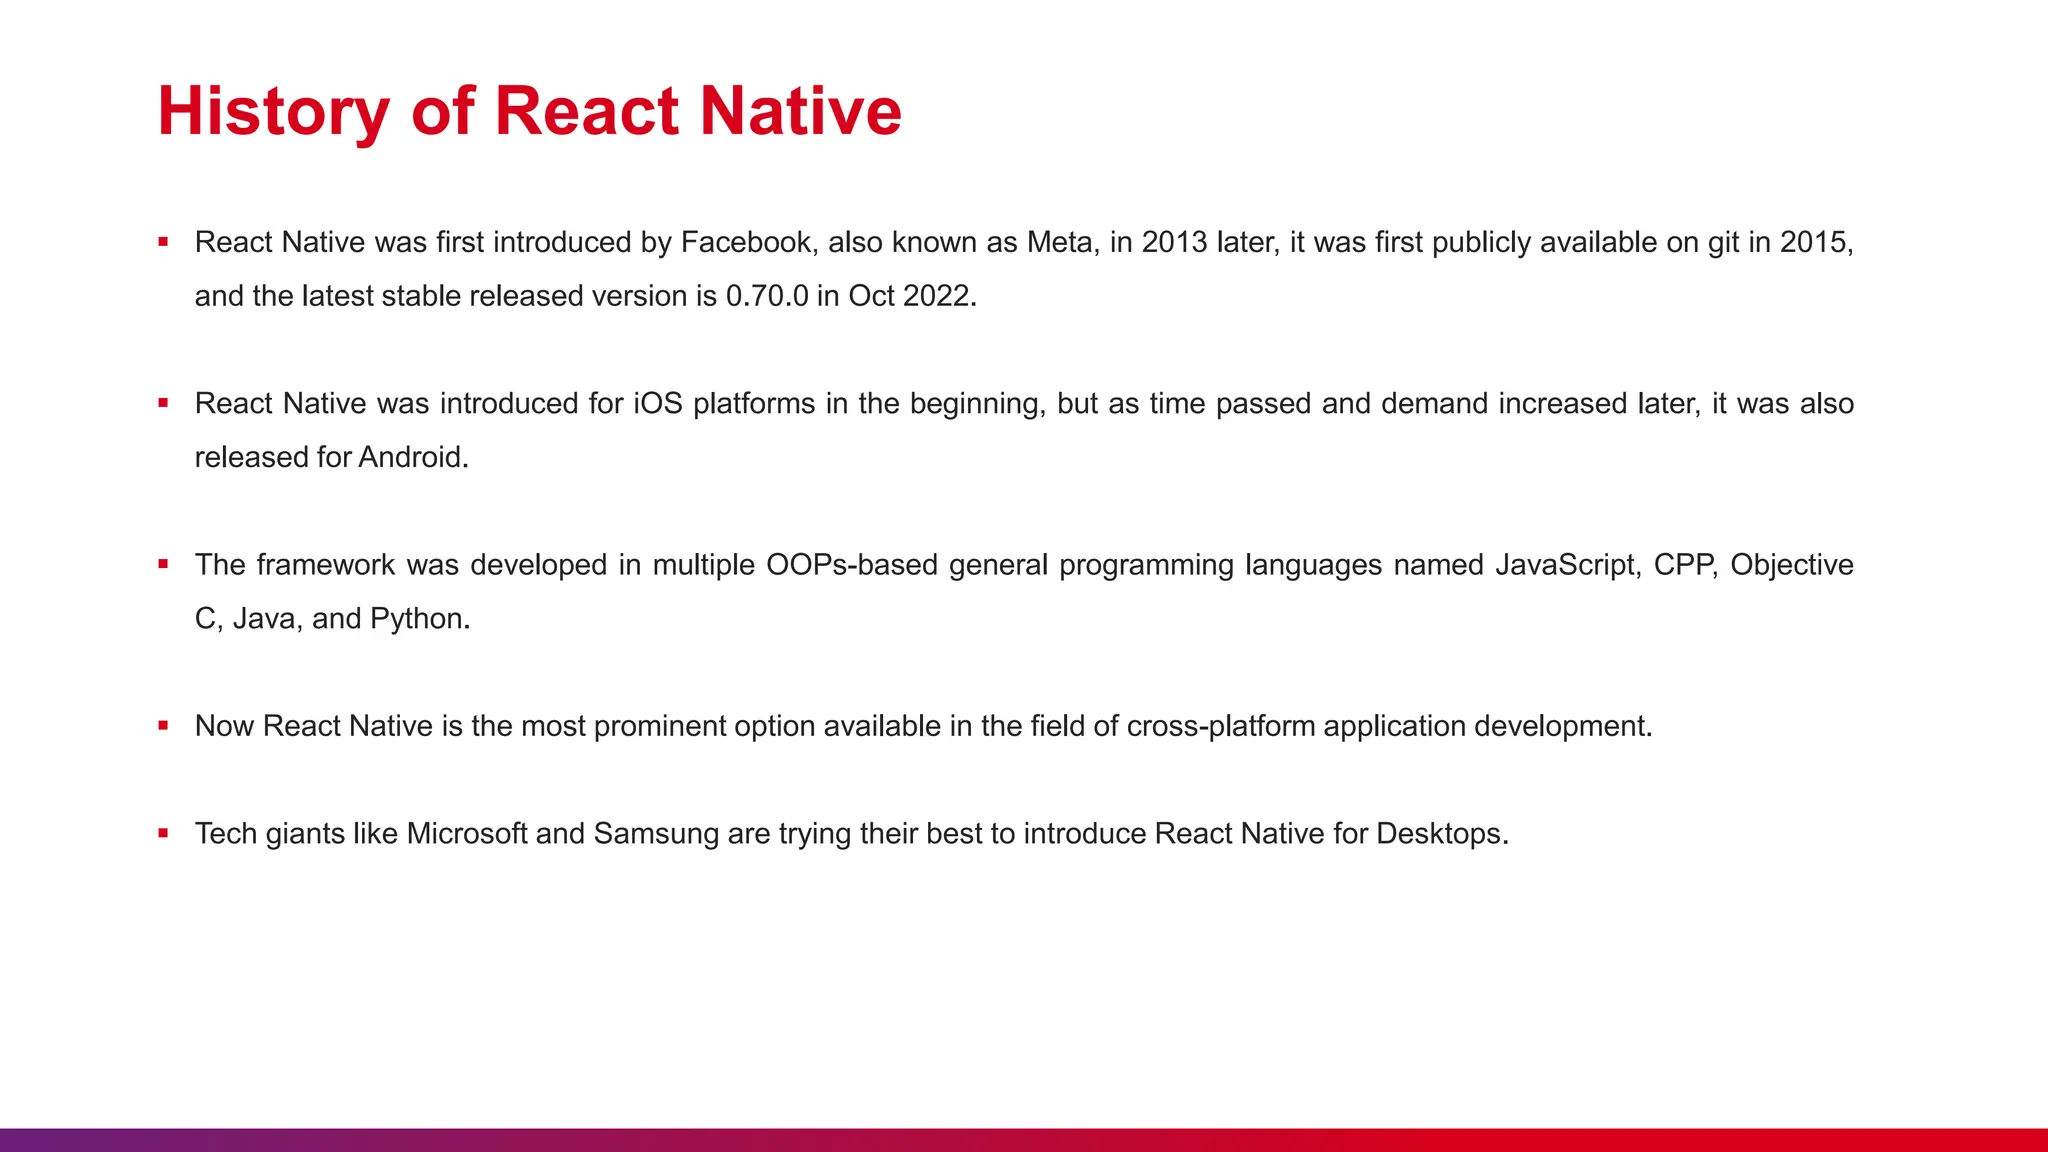
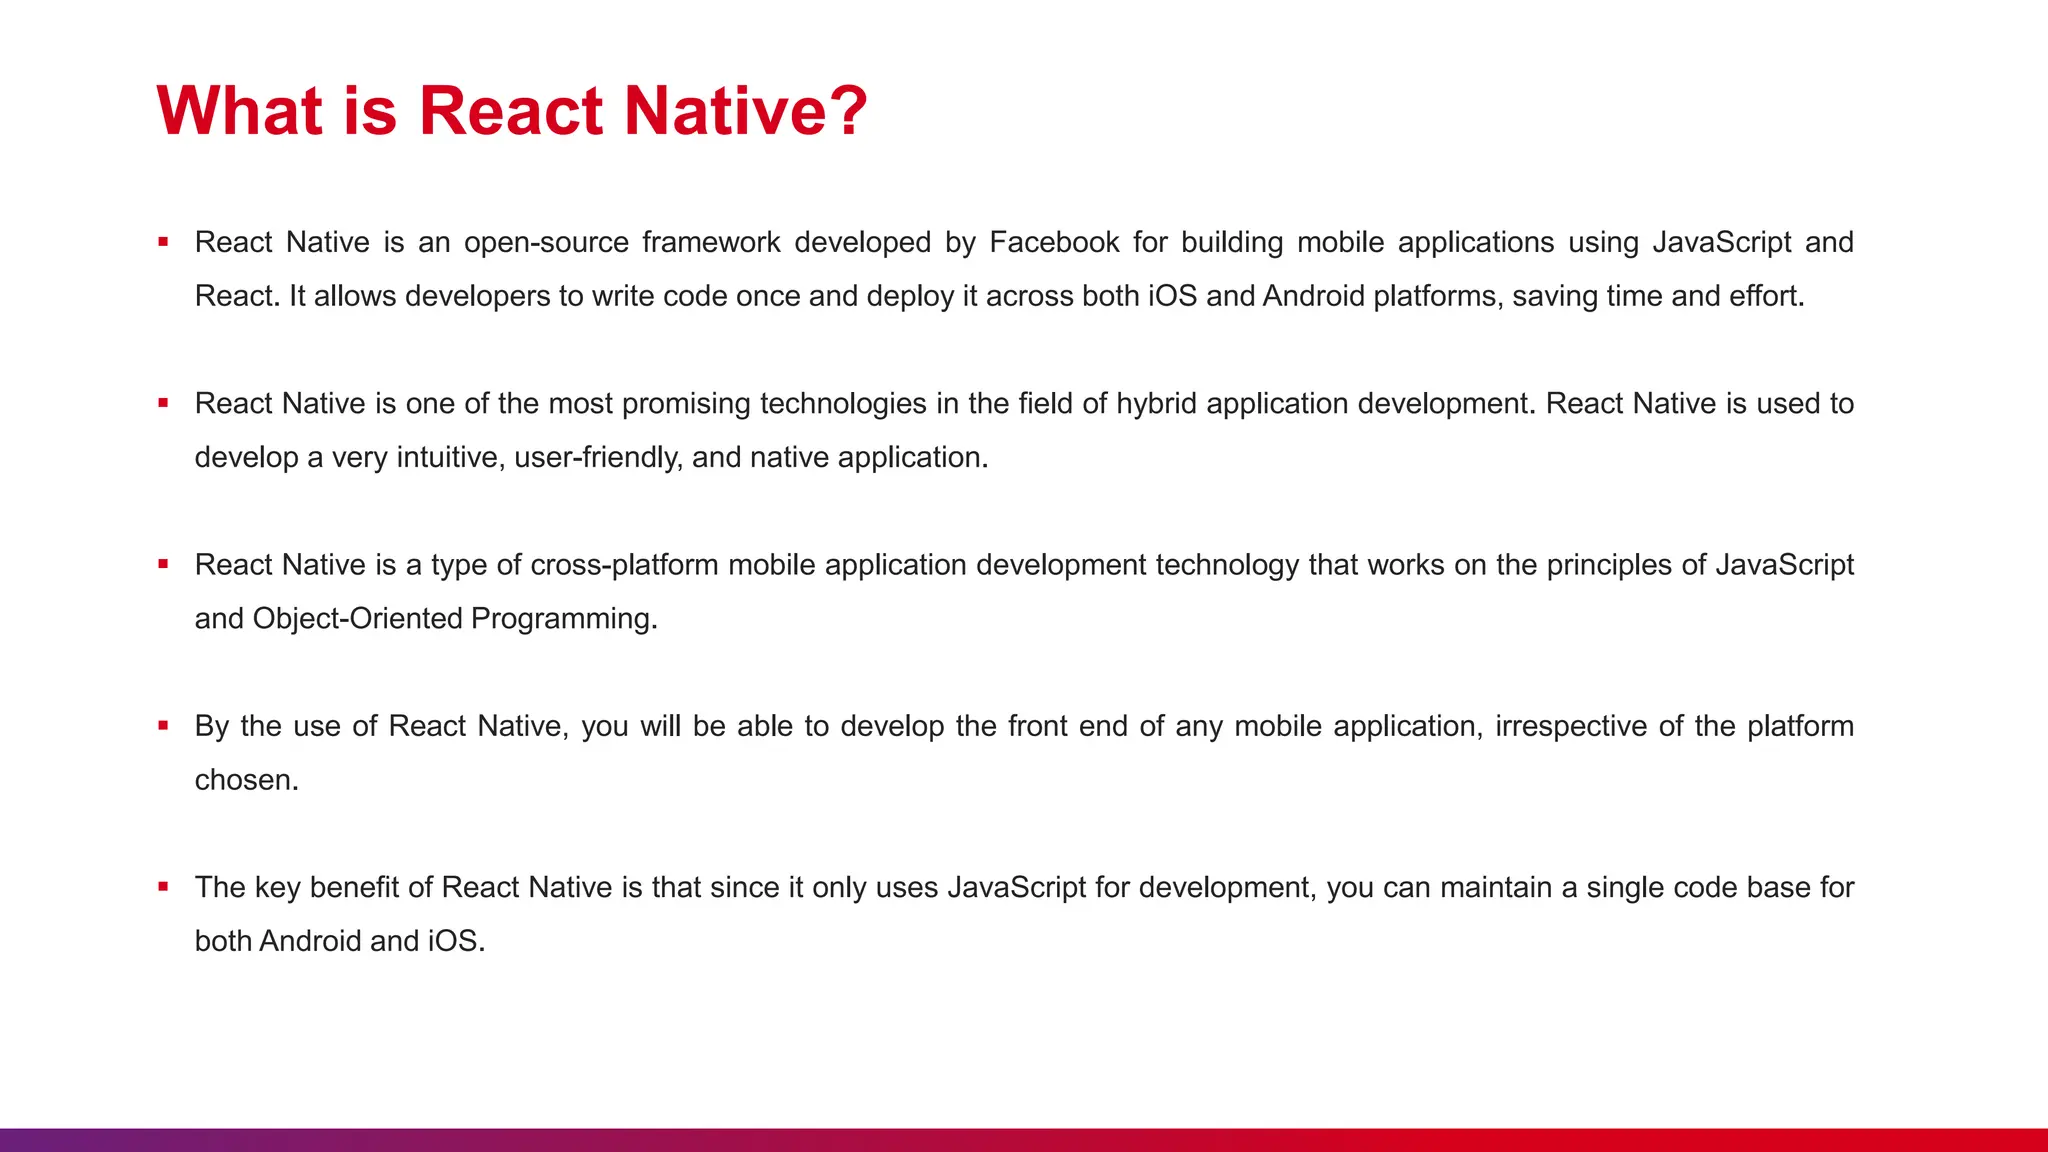
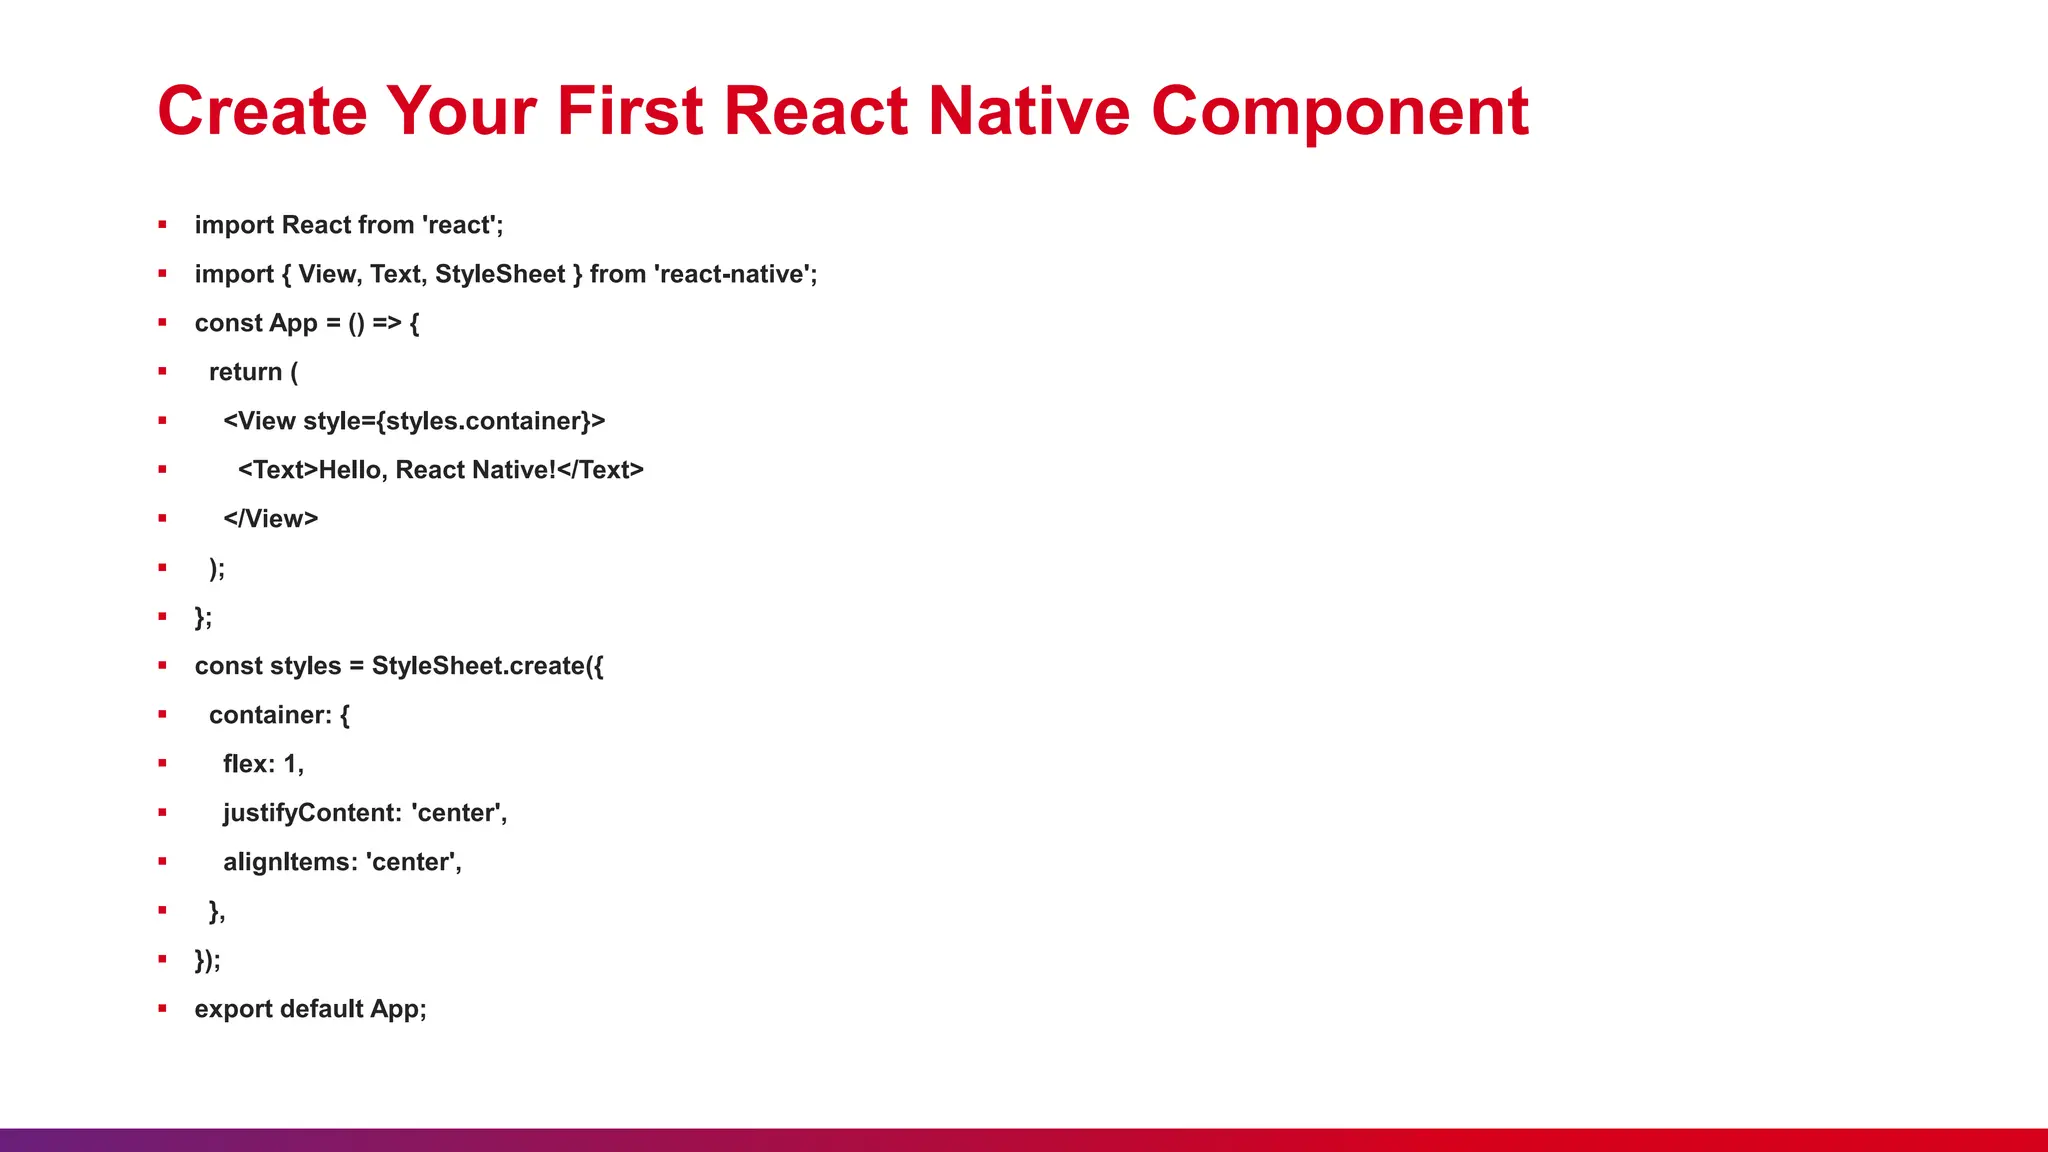
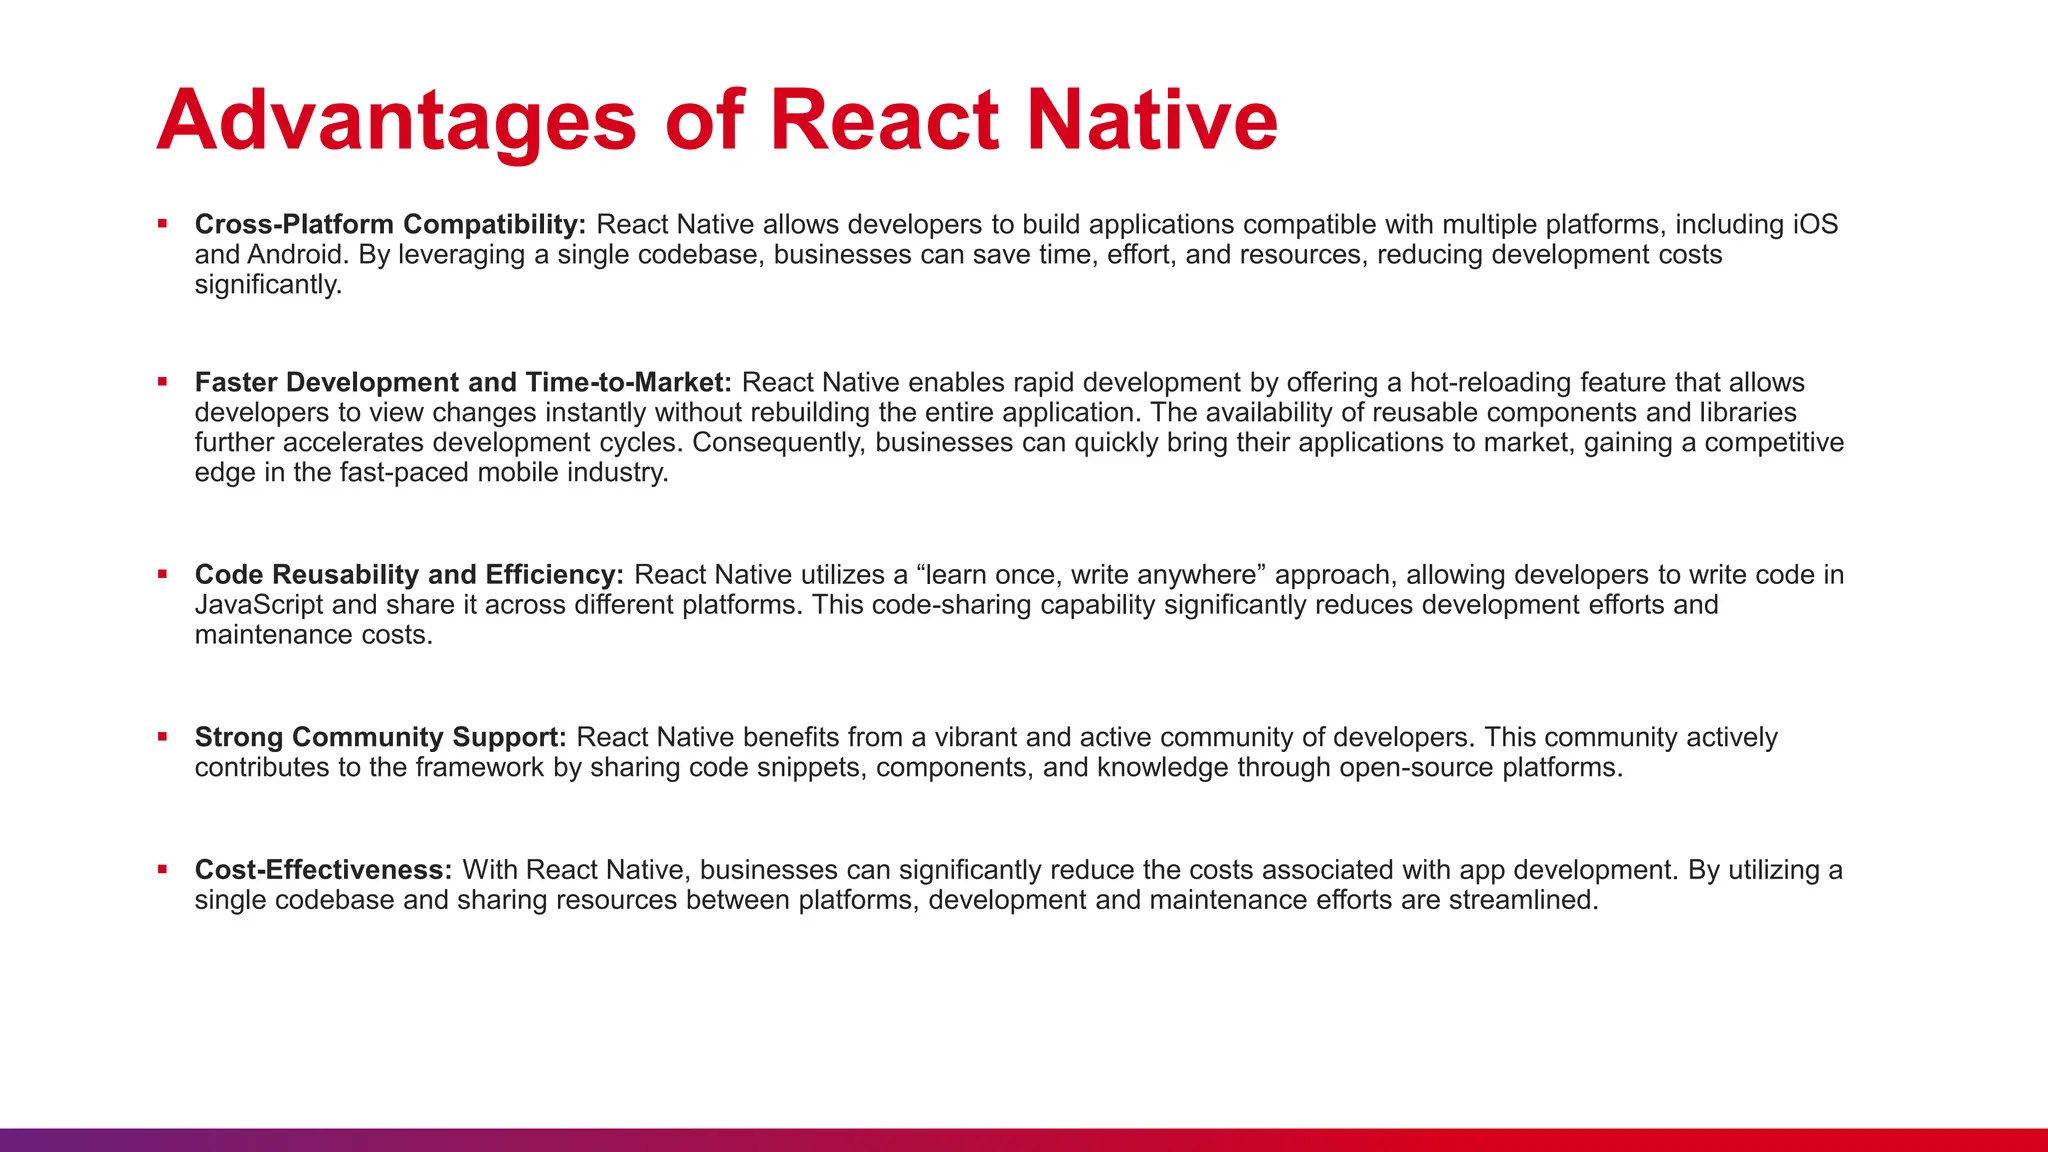
Getting Started with
React Native
Presenter Name: Pushpendra Sharma
Lack of etiquette and manners is a huge turn off.
KnolX Etiquettes
 Punctuality
Join the session 5 minutes prior to the session start time. We start on
time and conclude on time!
 Feedback
Make sure to submit a constructive feedback for all sessions as it is very
helpful for the presenter.
 Silent Mode
Keep your mobile devices in silent mode, feel free to move out of session
in case you need to attend an urgent call.
 Avoid Disturbance
Avoid unwanted chit chat during the session.
1. Introduction
 History of React Native
 What is React Native?
2. React Native vs Native App Development
3. Features of React Native
4. Understanding the Basics of React Native
5. Setting Up Your Development Environment
6. Create Your First React Native Component
7. Advantages of React Native
8. Demo
History of React Native
 React Native was first introduced by Facebook, also known as Meta, in 2013 later, it was first publicly available on git in 2015,
and the latest stable released version is 0.70.0 in Oct 2022.
 React Native was introduced for iOS platforms in the beginning, but as time passed and demand increased later, it was also
released for Android.
 The framework was developed in multiple OOPs-based general programming languages named JavaScript, CPP, Objective
C, Java, and Python.
 Now React Native is the most prominent option available in the field of cross-platform application development.
 Tech giants like Microsoft and Samsung are trying their best to introduce React Native for Desktops.
What is React Native?
 React Native is an open-source framework developed by Facebook for building mobile applications using JavaScript and
React. It allows developers to write code once and deploy it across both iOS and Android platforms, saving time and effort.
 React Native is one of the most promising technologies in the field of hybrid application development. React Native is used to
develop a very intuitive, user-friendly, and native application.
 React Native is a type of cross-platform mobile application development technology that works on the principles of JavaScript
and Object-Oriented Programming.
 By the use of React Native, you will be able to develop the front end of any mobile application, irrespective of the platform
chosen.
 The key benefit of React Native is that since it only uses JavaScript for development, you can maintain a single code base for
both Android and iOS.
React Native vs Native App
Development
React Native vs Native App Development
 React Native based on JavaScript and React library and Cross-platform, allowing for code reuse on iOS and Android.
 React Native offers hot reloading for faster development and Large and active community, with many available components.
 Native app development Uses platform-specific programming languages (e.g. Swift or Objective-C for iOS, Java or Kotlin for
Android).
 Native app development Typically requires separate codebases for iOS and Android.
 In summary, React Native offers faster development and cross-platform compatibility, while Native App Development offers
better performance and platform-specific capabilities. The choice between the two will depend on the specific requirements of
your project.
Features of React Native
 React Native is a well-settled framework that works on JavaScript which happens to be a game changer for many.
 The major reason for React Native’s existence is its rich community support, it is actively maintained and developed by Meta
and many communities, and even many tech giants are up for collaborating. The best example is Microsoft.
 React Native is a hybrid technology which means a single code base is enough for the development of cross-platform mobile
applications.
 React Native is constantly evolving, and stable updates are released after a lot of hard work and background checks, which in
the end, enhances its performance and thus gains the trust of the developers.
 The concept of hot reload is present in React Native. In simple words, hot reload is a button that allows the developers to
reflect the changes made in the code on the output screen immediately after a click.
Understanding the Basics
of React Native
Understanding the Basics of React Native
 In React Native, we use the state for data that will change in the future. The data or details about the component are stored in
the state. It establishes how the component will render and behave.
 Properties are abbreviated as “props.” Different parameters, referred to as props, can be used to alter the components at the
time of creation. Data is transferred across containers by way of props, which are transmitted from one to the next.
 An essential part of React Native for creating a user interface is the view; it is a container that enables style, touch handling,
flexbox layout, and accessibility controls.
 In React Native, the style is used to define how components should be visually rendered. Styles in React Native are similar to
CSS stylesheets, but they use JavaScript objects instead of CSS syntax. The style object can include properties such as
backgroundColor, color, fontSize, margin, padding, and many more.
Setting Up Your
Development Environment
Setting Up Your Development Environment
 Before diving into React Native development, we'll need to set up our development environment. Here's a step-by-step guide:
 Install Node.js: React Native requires Node.js, so head over to the Node.js website and download the latest version.
 Install Expo CLI: Expo is a set of tools and services for building React Native applications. Install Expo CLI globally by running
the following command in your terminal:
 npm install -g expo-cli
 Create a New Project: Once Expo CLI is installed, create a new React Native project by running: expo init MyFirstApp
 Navigate to our Project: Move into your project directory: cd MyFirstApp
 Start the Development Server: Launch the development server by running: npm start
 Open the Expo Go app on your iOS or Android device and scan the QR code displayed in the terminal. You should see your
app running on your device!
Create Your First React
Native Component
Create Your First React Native Component
 import React from 'react';
 import { View, Text, StyleSheet } from 'react-native';
 const App = () => {
 return (
 <View style={styles.container}>
 <Text>Hello, React Native!</Text>
 </View>
 );
 };
 const styles = StyleSheet.create({
 container: {
 flex: 1,
 justifyContent: 'center',
 alignItems: 'center',
 },
 });
 export default App;
Advantages of React Native
 Cross-Platform Compatibility: React Native allows developers to build applications compatible with multiple platforms, including iOS
and Android. By leveraging a single codebase, businesses can save time, effort, and resources, reducing development costs
significantly.
 Faster Development and Time-to-Market: React Native enables rapid development by offering a hot-reloading feature that allows
developers to view changes instantly without rebuilding the entire application. The availability of reusable components and libraries
further accelerates development cycles. Consequently, businesses can quickly bring their applications to market, gaining a competitive
edge in the fast-paced mobile industry.
 Code Reusability and Efficiency: React Native utilizes a “learn once, write anywhere” approach, allowing developers to write code in
JavaScript and share it across different platforms. This code-sharing capability significantly reduces development efforts and
maintenance costs.
 Strong Community Support: React Native benefits from a vibrant and active community of developers. This community actively
contributes to the framework by sharing code snippets, components, and knowledge through open-source platforms.
 Cost-Effectiveness: With React Native, businesses can significantly reduce the costs associated with app development. By utilizing a
single codebase and sharing resources between platforms, development and maintenance efforts are streamlined.
Demo
Getting Started With React Native Presntation

Getting Started With React Native Presntation

  • 1.
    Getting Started with ReactNative Presenter Name: Pushpendra Sharma
  • 2.
    Lack of etiquetteand manners is a huge turn off. KnolX Etiquettes  Punctuality Join the session 5 minutes prior to the session start time. We start on time and conclude on time!  Feedback Make sure to submit a constructive feedback for all sessions as it is very helpful for the presenter.  Silent Mode Keep your mobile devices in silent mode, feel free to move out of session in case you need to attend an urgent call.  Avoid Disturbance Avoid unwanted chit chat during the session.
  • 3.
    1. Introduction  Historyof React Native  What is React Native? 2. React Native vs Native App Development 3. Features of React Native 4. Understanding the Basics of React Native 5. Setting Up Your Development Environment 6. Create Your First React Native Component 7. Advantages of React Native 8. Demo
  • 5.
    History of ReactNative  React Native was first introduced by Facebook, also known as Meta, in 2013 later, it was first publicly available on git in 2015, and the latest stable released version is 0.70.0 in Oct 2022.  React Native was introduced for iOS platforms in the beginning, but as time passed and demand increased later, it was also released for Android.  The framework was developed in multiple OOPs-based general programming languages named JavaScript, CPP, Objective C, Java, and Python.  Now React Native is the most prominent option available in the field of cross-platform application development.  Tech giants like Microsoft and Samsung are trying their best to introduce React Native for Desktops.
  • 6.
    What is ReactNative?  React Native is an open-source framework developed by Facebook for building mobile applications using JavaScript and React. It allows developers to write code once and deploy it across both iOS and Android platforms, saving time and effort.  React Native is one of the most promising technologies in the field of hybrid application development. React Native is used to develop a very intuitive, user-friendly, and native application.  React Native is a type of cross-platform mobile application development technology that works on the principles of JavaScript and Object-Oriented Programming.  By the use of React Native, you will be able to develop the front end of any mobile application, irrespective of the platform chosen.  The key benefit of React Native is that since it only uses JavaScript for development, you can maintain a single code base for both Android and iOS.
  • 7.
    React Native vsNative App Development
  • 8.
    React Native vsNative App Development  React Native based on JavaScript and React library and Cross-platform, allowing for code reuse on iOS and Android.  React Native offers hot reloading for faster development and Large and active community, with many available components.  Native app development Uses platform-specific programming languages (e.g. Swift or Objective-C for iOS, Java or Kotlin for Android).  Native app development Typically requires separate codebases for iOS and Android.  In summary, React Native offers faster development and cross-platform compatibility, while Native App Development offers better performance and platform-specific capabilities. The choice between the two will depend on the specific requirements of your project.
  • 9.
  • 10.
    Features of ReactNative  React Native is a well-settled framework that works on JavaScript which happens to be a game changer for many.  The major reason for React Native’s existence is its rich community support, it is actively maintained and developed by Meta and many communities, and even many tech giants are up for collaborating. The best example is Microsoft.  React Native is a hybrid technology which means a single code base is enough for the development of cross-platform mobile applications.  React Native is constantly evolving, and stable updates are released after a lot of hard work and background checks, which in the end, enhances its performance and thus gains the trust of the developers.  The concept of hot reload is present in React Native. In simple words, hot reload is a button that allows the developers to reflect the changes made in the code on the output screen immediately after a click.
  • 11.
  • 12.
    Understanding the Basicsof React Native  In React Native, we use the state for data that will change in the future. The data or details about the component are stored in the state. It establishes how the component will render and behave.  Properties are abbreviated as “props.” Different parameters, referred to as props, can be used to alter the components at the time of creation. Data is transferred across containers by way of props, which are transmitted from one to the next.  An essential part of React Native for creating a user interface is the view; it is a container that enables style, touch handling, flexbox layout, and accessibility controls.  In React Native, the style is used to define how components should be visually rendered. Styles in React Native are similar to CSS stylesheets, but they use JavaScript objects instead of CSS syntax. The style object can include properties such as backgroundColor, color, fontSize, margin, padding, and many more.
  • 13.
  • 14.
    Setting Up YourDevelopment Environment  Before diving into React Native development, we'll need to set up our development environment. Here's a step-by-step guide:  Install Node.js: React Native requires Node.js, so head over to the Node.js website and download the latest version.  Install Expo CLI: Expo is a set of tools and services for building React Native applications. Install Expo CLI globally by running the following command in your terminal:  npm install -g expo-cli  Create a New Project: Once Expo CLI is installed, create a new React Native project by running: expo init MyFirstApp  Navigate to our Project: Move into your project directory: cd MyFirstApp  Start the Development Server: Launch the development server by running: npm start  Open the Expo Go app on your iOS or Android device and scan the QR code displayed in the terminal. You should see your app running on your device!
  • 15.
    Create Your FirstReact Native Component
  • 16.
    Create Your FirstReact Native Component  import React from 'react';  import { View, Text, StyleSheet } from 'react-native';  const App = () => {  return (  <View style={styles.container}>  <Text>Hello, React Native!</Text>  </View>  );  };  const styles = StyleSheet.create({  container: {  flex: 1,  justifyContent: 'center',  alignItems: 'center',  },  });  export default App;
  • 17.
  • 18.
    Advantages of ReactNative  Cross-Platform Compatibility: React Native allows developers to build applications compatible with multiple platforms, including iOS and Android. By leveraging a single codebase, businesses can save time, effort, and resources, reducing development costs significantly.  Faster Development and Time-to-Market: React Native enables rapid development by offering a hot-reloading feature that allows developers to view changes instantly without rebuilding the entire application. The availability of reusable components and libraries further accelerates development cycles. Consequently, businesses can quickly bring their applications to market, gaining a competitive edge in the fast-paced mobile industry.  Code Reusability and Efficiency: React Native utilizes a “learn once, write anywhere” approach, allowing developers to write code in JavaScript and share it across different platforms. This code-sharing capability significantly reduces development efforts and maintenance costs.  Strong Community Support: React Native benefits from a vibrant and active community of developers. This community actively contributes to the framework by sharing code snippets, components, and knowledge through open-source platforms.  Cost-Effectiveness: With React Native, businesses can significantly reduce the costs associated with app development. By utilizing a single codebase and sharing resources between platforms, development and maintenance efforts are streamlined.
  • 19.