Download as PDF, PPTX


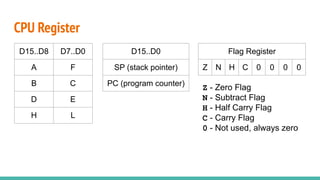

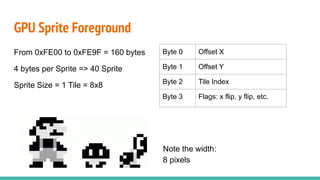
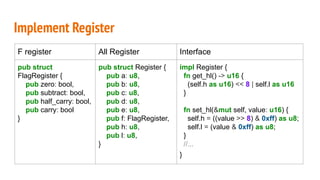
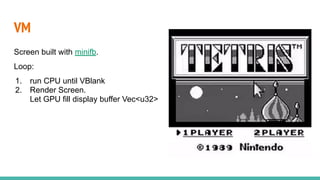
![Implement Gpu
Sprite Gpu Render
struct Sprite {
tile_idx: u8,
x: isize,
y: isize,
// flag...
}
struct Gpu {
sprite: [Sprite:40]
vram: Vec<u8>,
oam: Vec<u8>,
//...
}
impl Device for Gpu {
//...
fn build_background(&mut self, buffer: &mut
Vec<u32>) {
for row in 0..HEIGHT {
for col in 0..WIDTH {
let tile_addr = row * 32 + col;
let tile_idx = self.vram[tile_addr];
let pixels = self.get_tile(tile_idx);
buffer.splice(start..end, pixels.iter()...);](https://image.slidesharecdn.com/gameboyemulatorinrustandwebassembly-210814140459/85/Gameboy-emulator-in-rust-and-web-assembly-19-320.jpg)

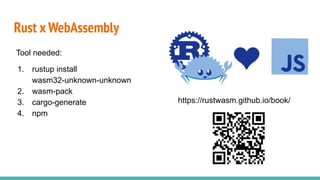
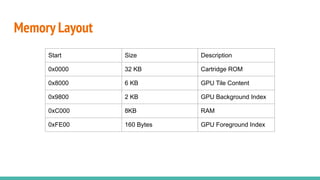
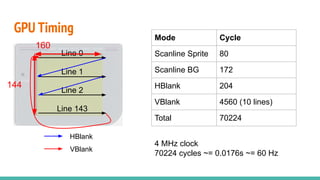
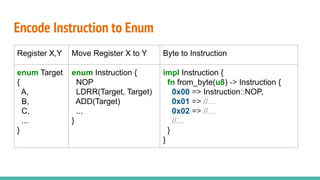
![Expose Interface to Javascript
Magic Word
#[wasm_bindgen]](https://image.slidesharecdn.com/gameboyemulatorinrustandwebassembly-210814140459/85/Gameboy-emulator-in-rust-and-web-assembly-24-320.jpg)
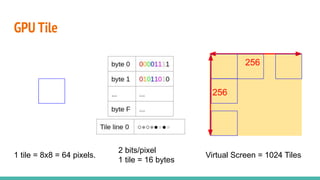
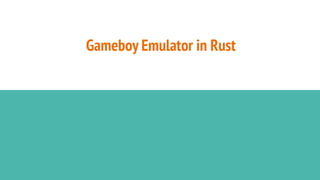
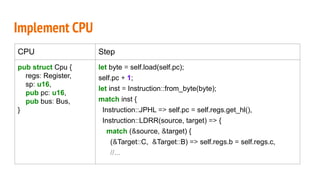
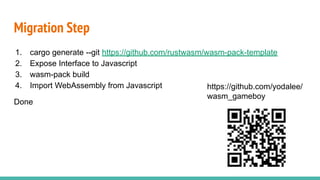
![wasm_bindgen
// rust
#[wasm_bindgen]
pub struct Gameboy {
cartridge: Vec<u8>,
vm: Option<Vm>
}
// javascript
import Gameboy from "wasmgb"
Gameboy.new()](https://image.slidesharecdn.com/gameboyemulatorinrustandwebassembly-210814140459/85/Gameboy-emulator-in-rust-and-web-assembly-25-320.jpg)
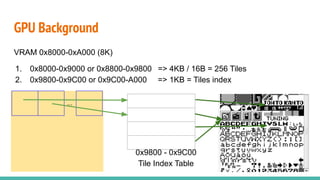
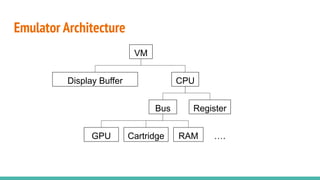
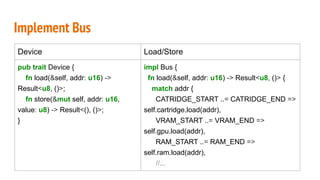
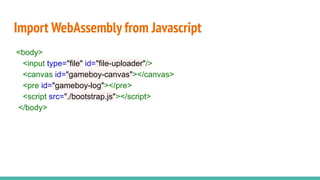
![wasm_bindgen
// rust
#[wasm_bindgen]
impl Gameboy {
pub fn get_buffer(&self) -> *const u32 {
self.vm.buffer.as_ptr()
}
}
// javascript
import memory from "wasmgb_bg"
const buffer = gameboy.get_buffer();
const pixels = new
Uint32Array(memory.buffer, buffer,
width*height);](https://image.slidesharecdn.com/gameboyemulatorinrustandwebassembly-210814140459/85/Gameboy-emulator-in-rust-and-web-assembly-26-320.jpg)
![Import WebAssembly from Javascript
reader.onload = function() {
const cartridge = gameboy.get_cartridge();
var bytes = new Uint8Array(reader.result);
const m_cartridge = new Uint8Array(memory.buffer, cartridge, 0x8000);
// set cartridge
for (let idx = 0; idx < 0x8000; idx++) {
m_cartridge[idx] = bytes[idx];
}
gameboy.set_cartridge();](https://image.slidesharecdn.com/gameboyemulatorinrustandwebassembly-210814140459/85/Gameboy-emulator-in-rust-and-web-assembly-28-320.jpg)
![Import WebAssembly from Javascript
const renderLoop = () => {
drawPixels();
gameboy.step();
}
const drawPixels = () => {
const buffer = gameboy.get_buffer();
const pixels = new Uint32Array(memory.buffer, buffer, width * height);
for (let row = 0; row < height; row++) {
for (let col = 0; col < width; col++) {
if (pixels[row * width + col] == WHITE) { //...](https://image.slidesharecdn.com/gameboyemulatorinrustandwebassembly-210814140459/85/Gameboy-emulator-in-rust-and-web-assembly-29-320.jpg)


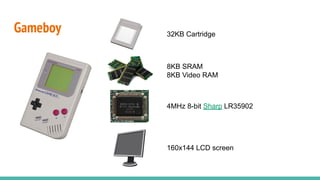
The document outlines the process of building a Game Boy emulator using Rust and WebAssembly, detailing the internal architecture of the Game Boy and the implementation steps in Rust. It covers the emulator's components, such as the CPU, memory layout, and GPU, as well as instructions for migrating the Rust code to WebAssembly. The conclusion emphasizes the learning experience gained from building the emulator and the potential for future feature enhancements.