Download as KEY, PPTX

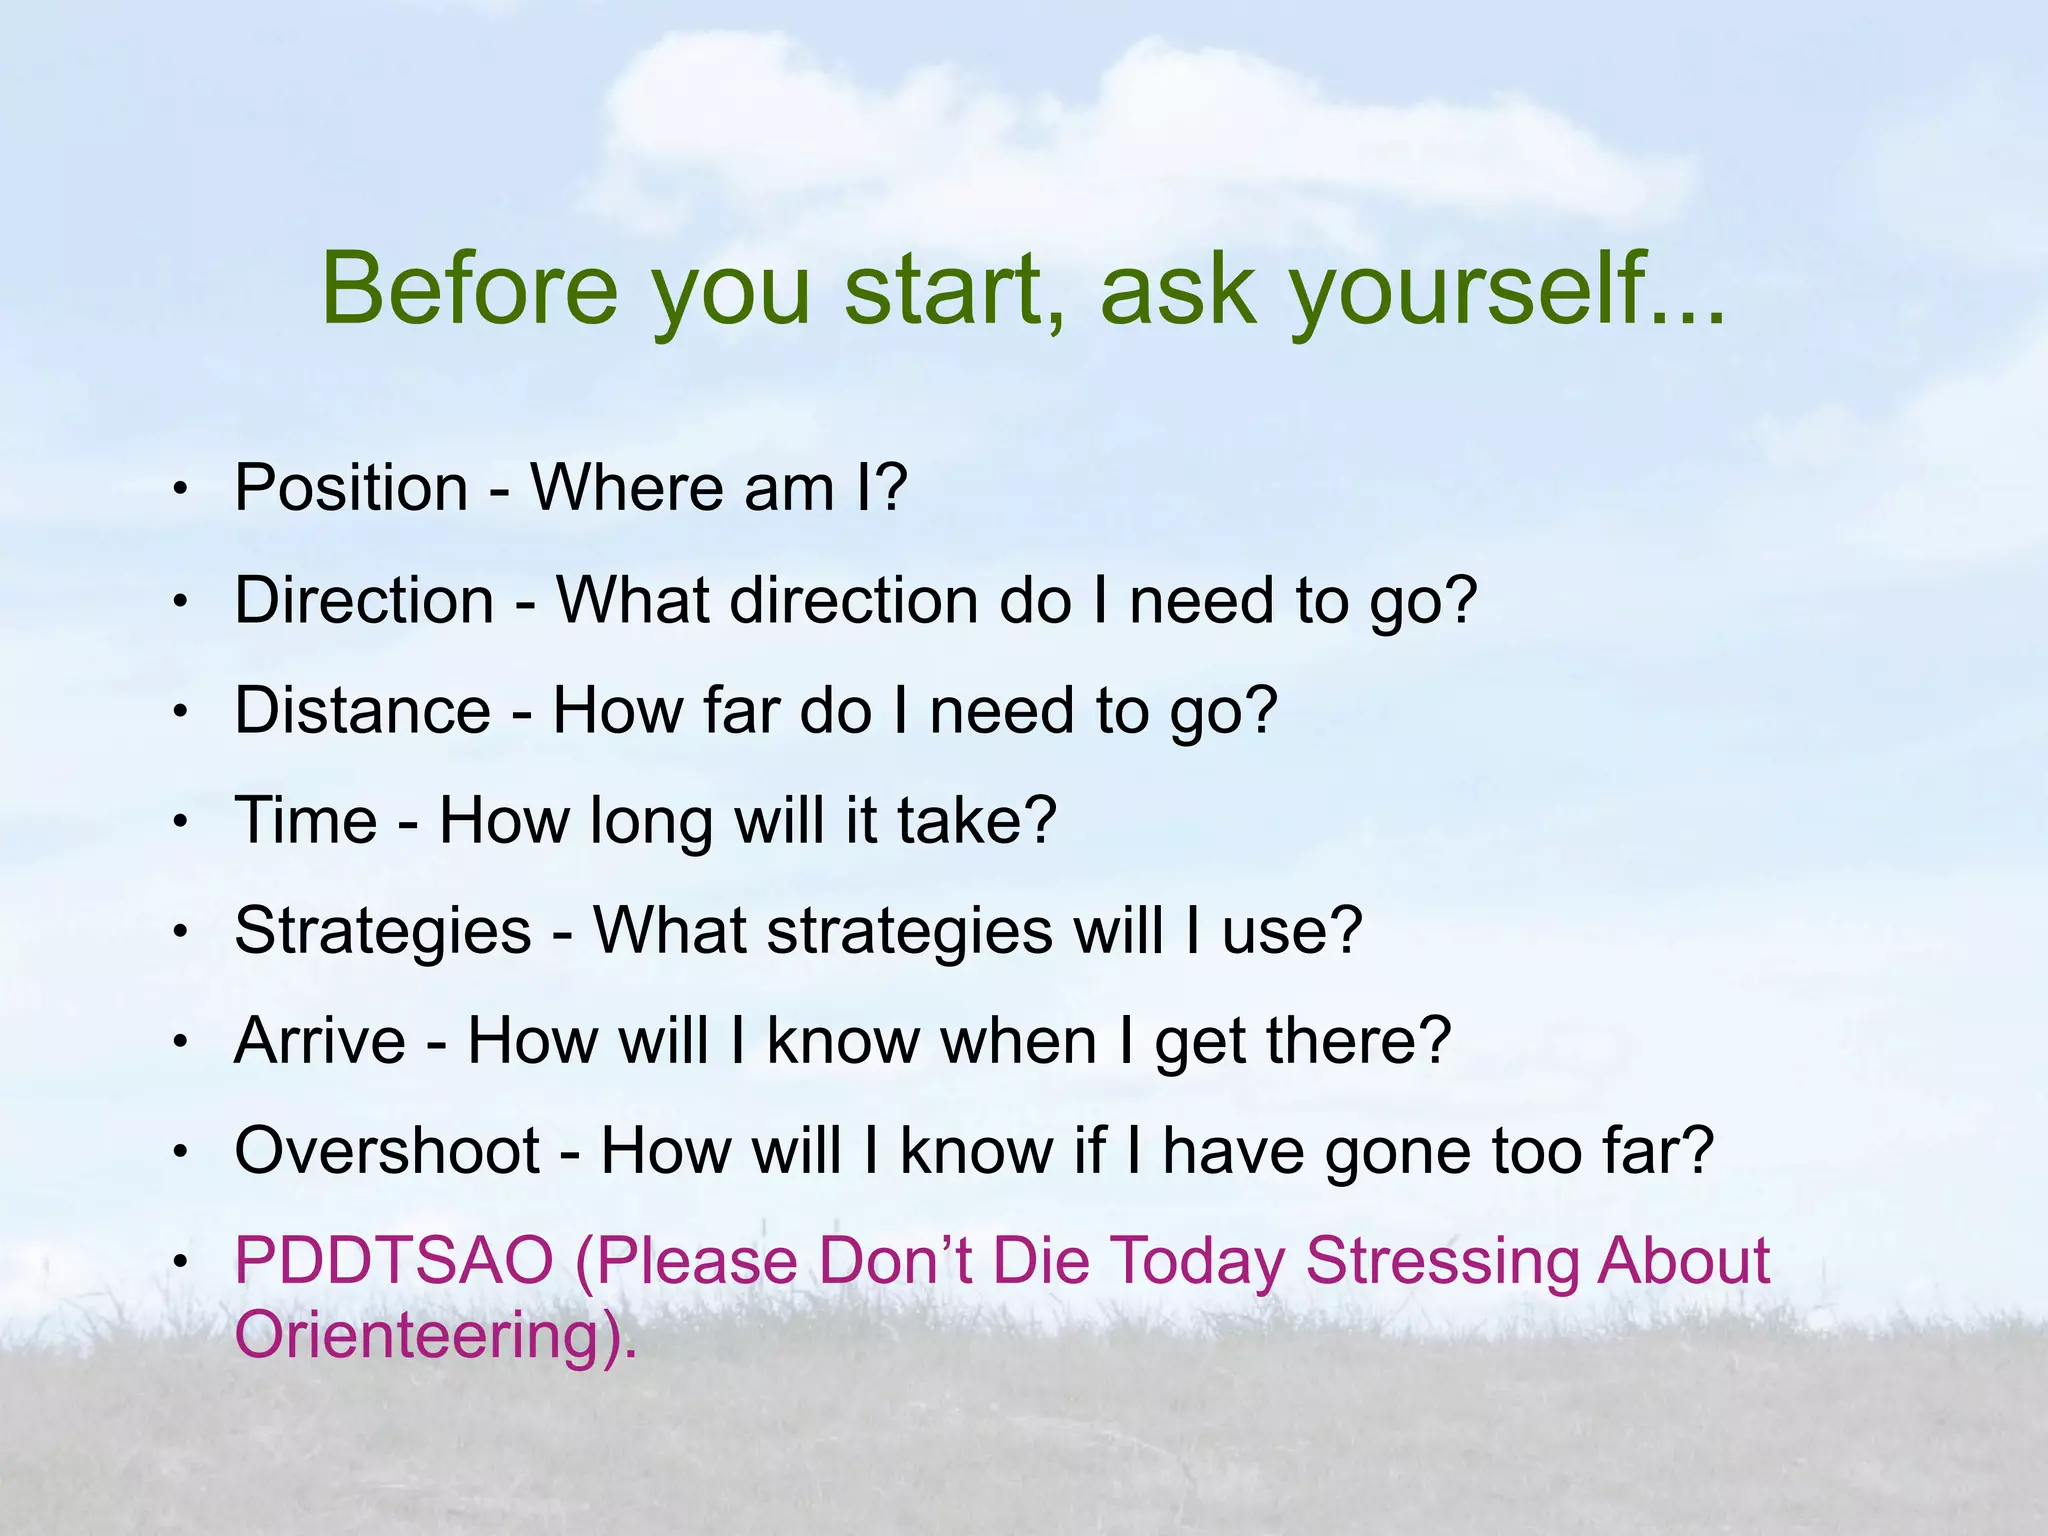
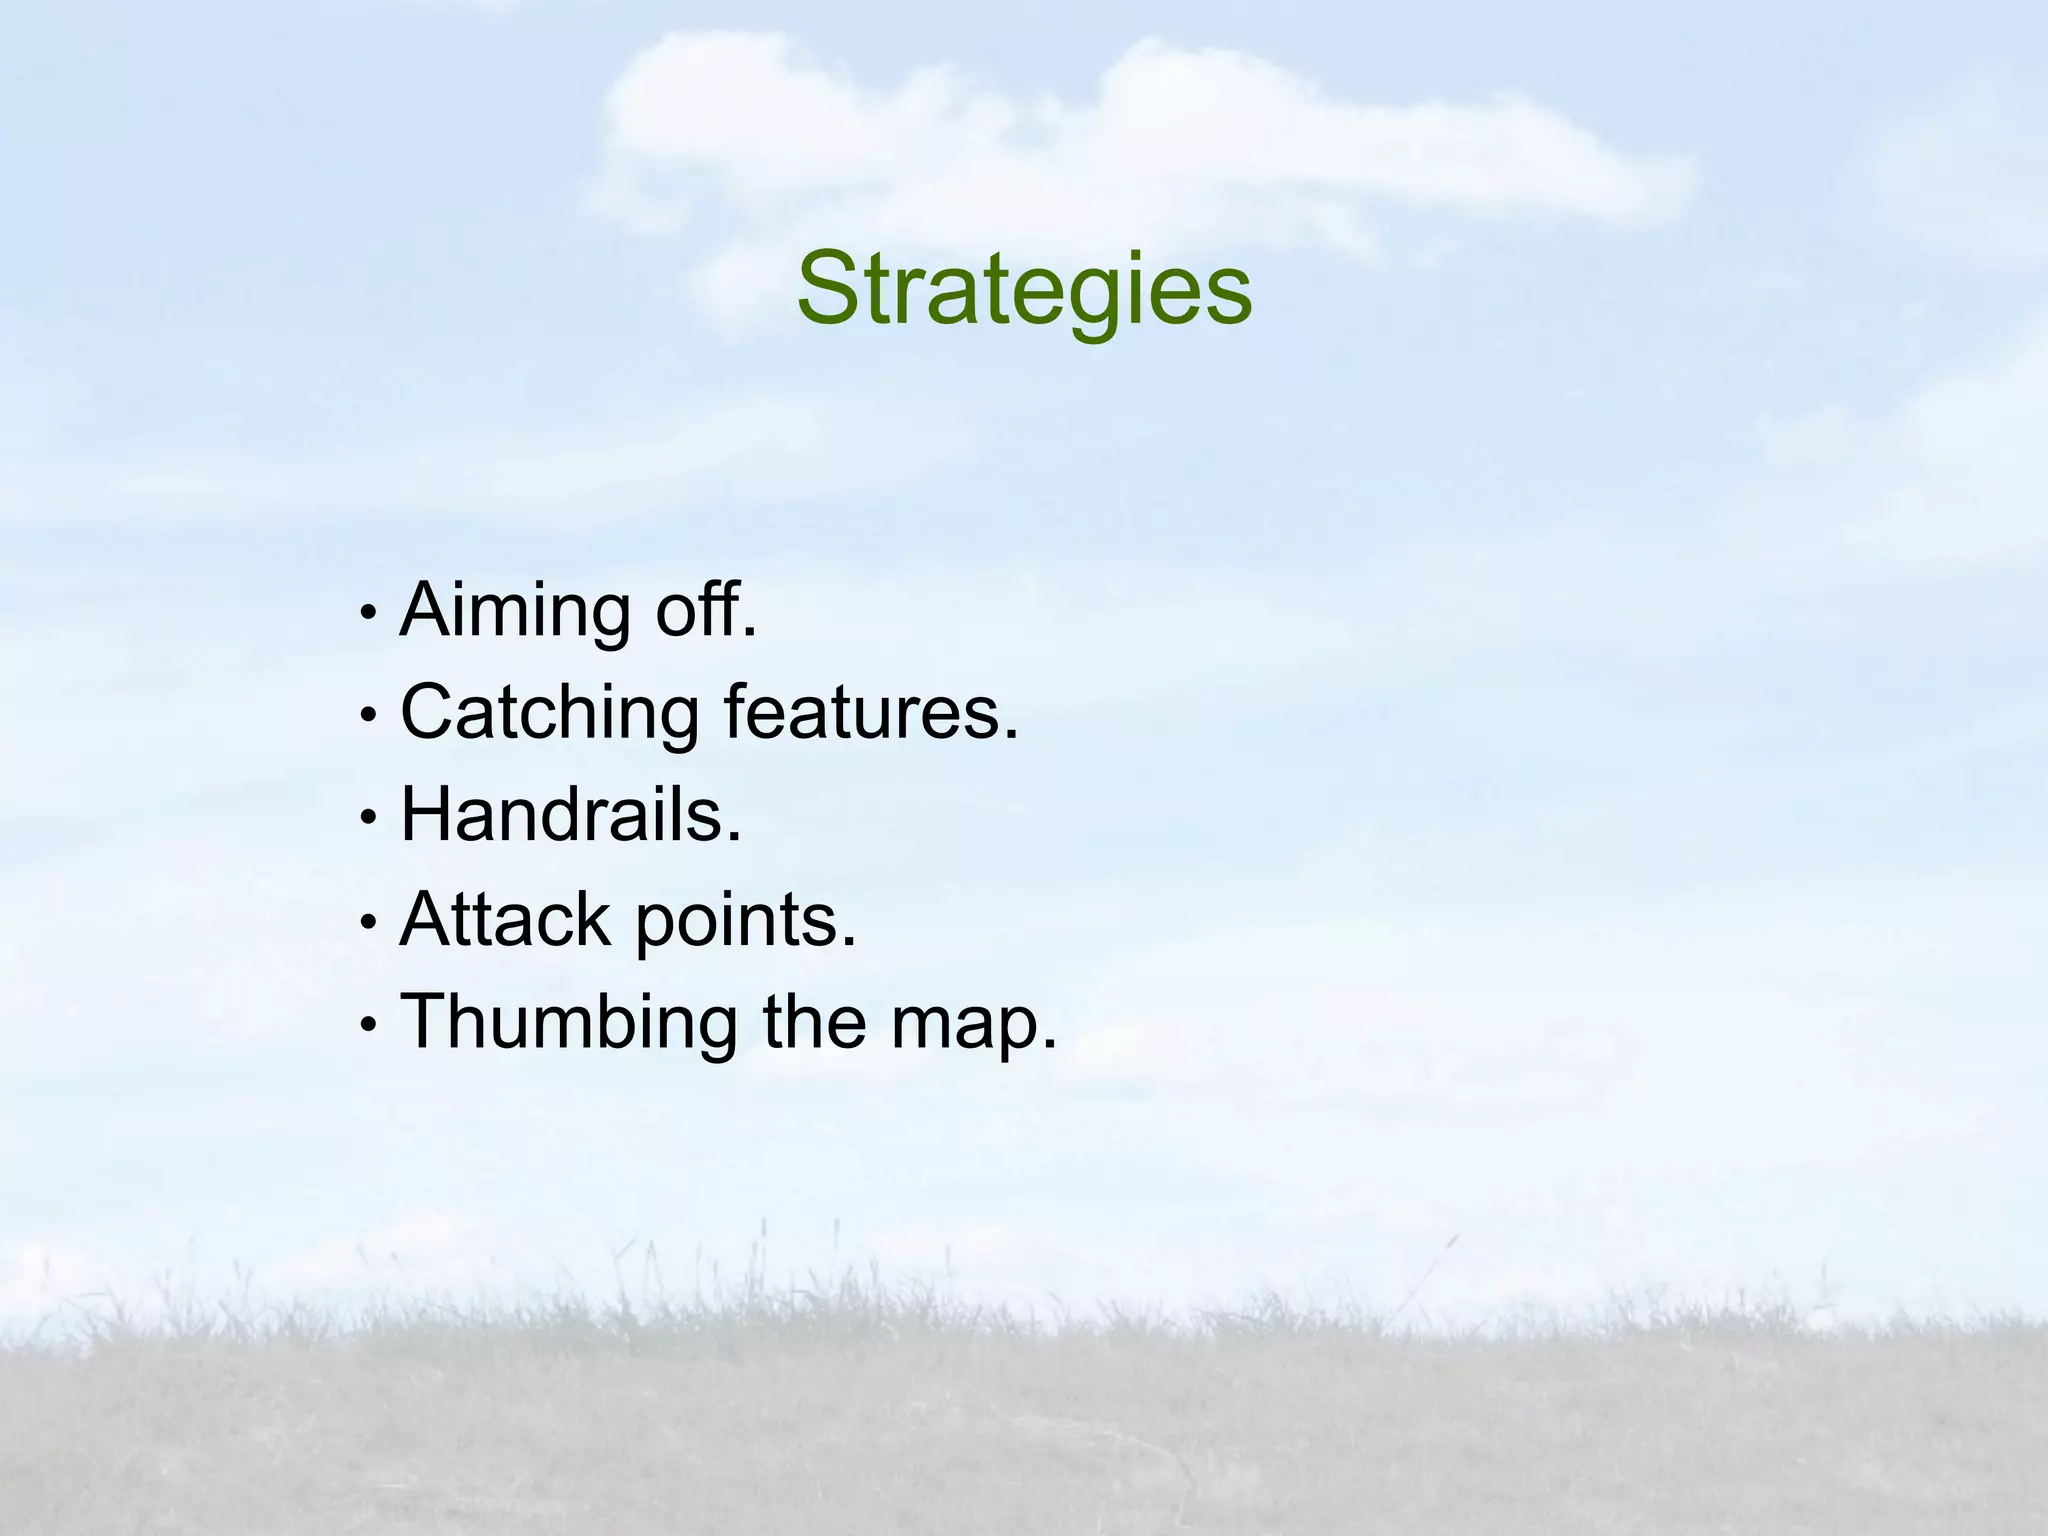
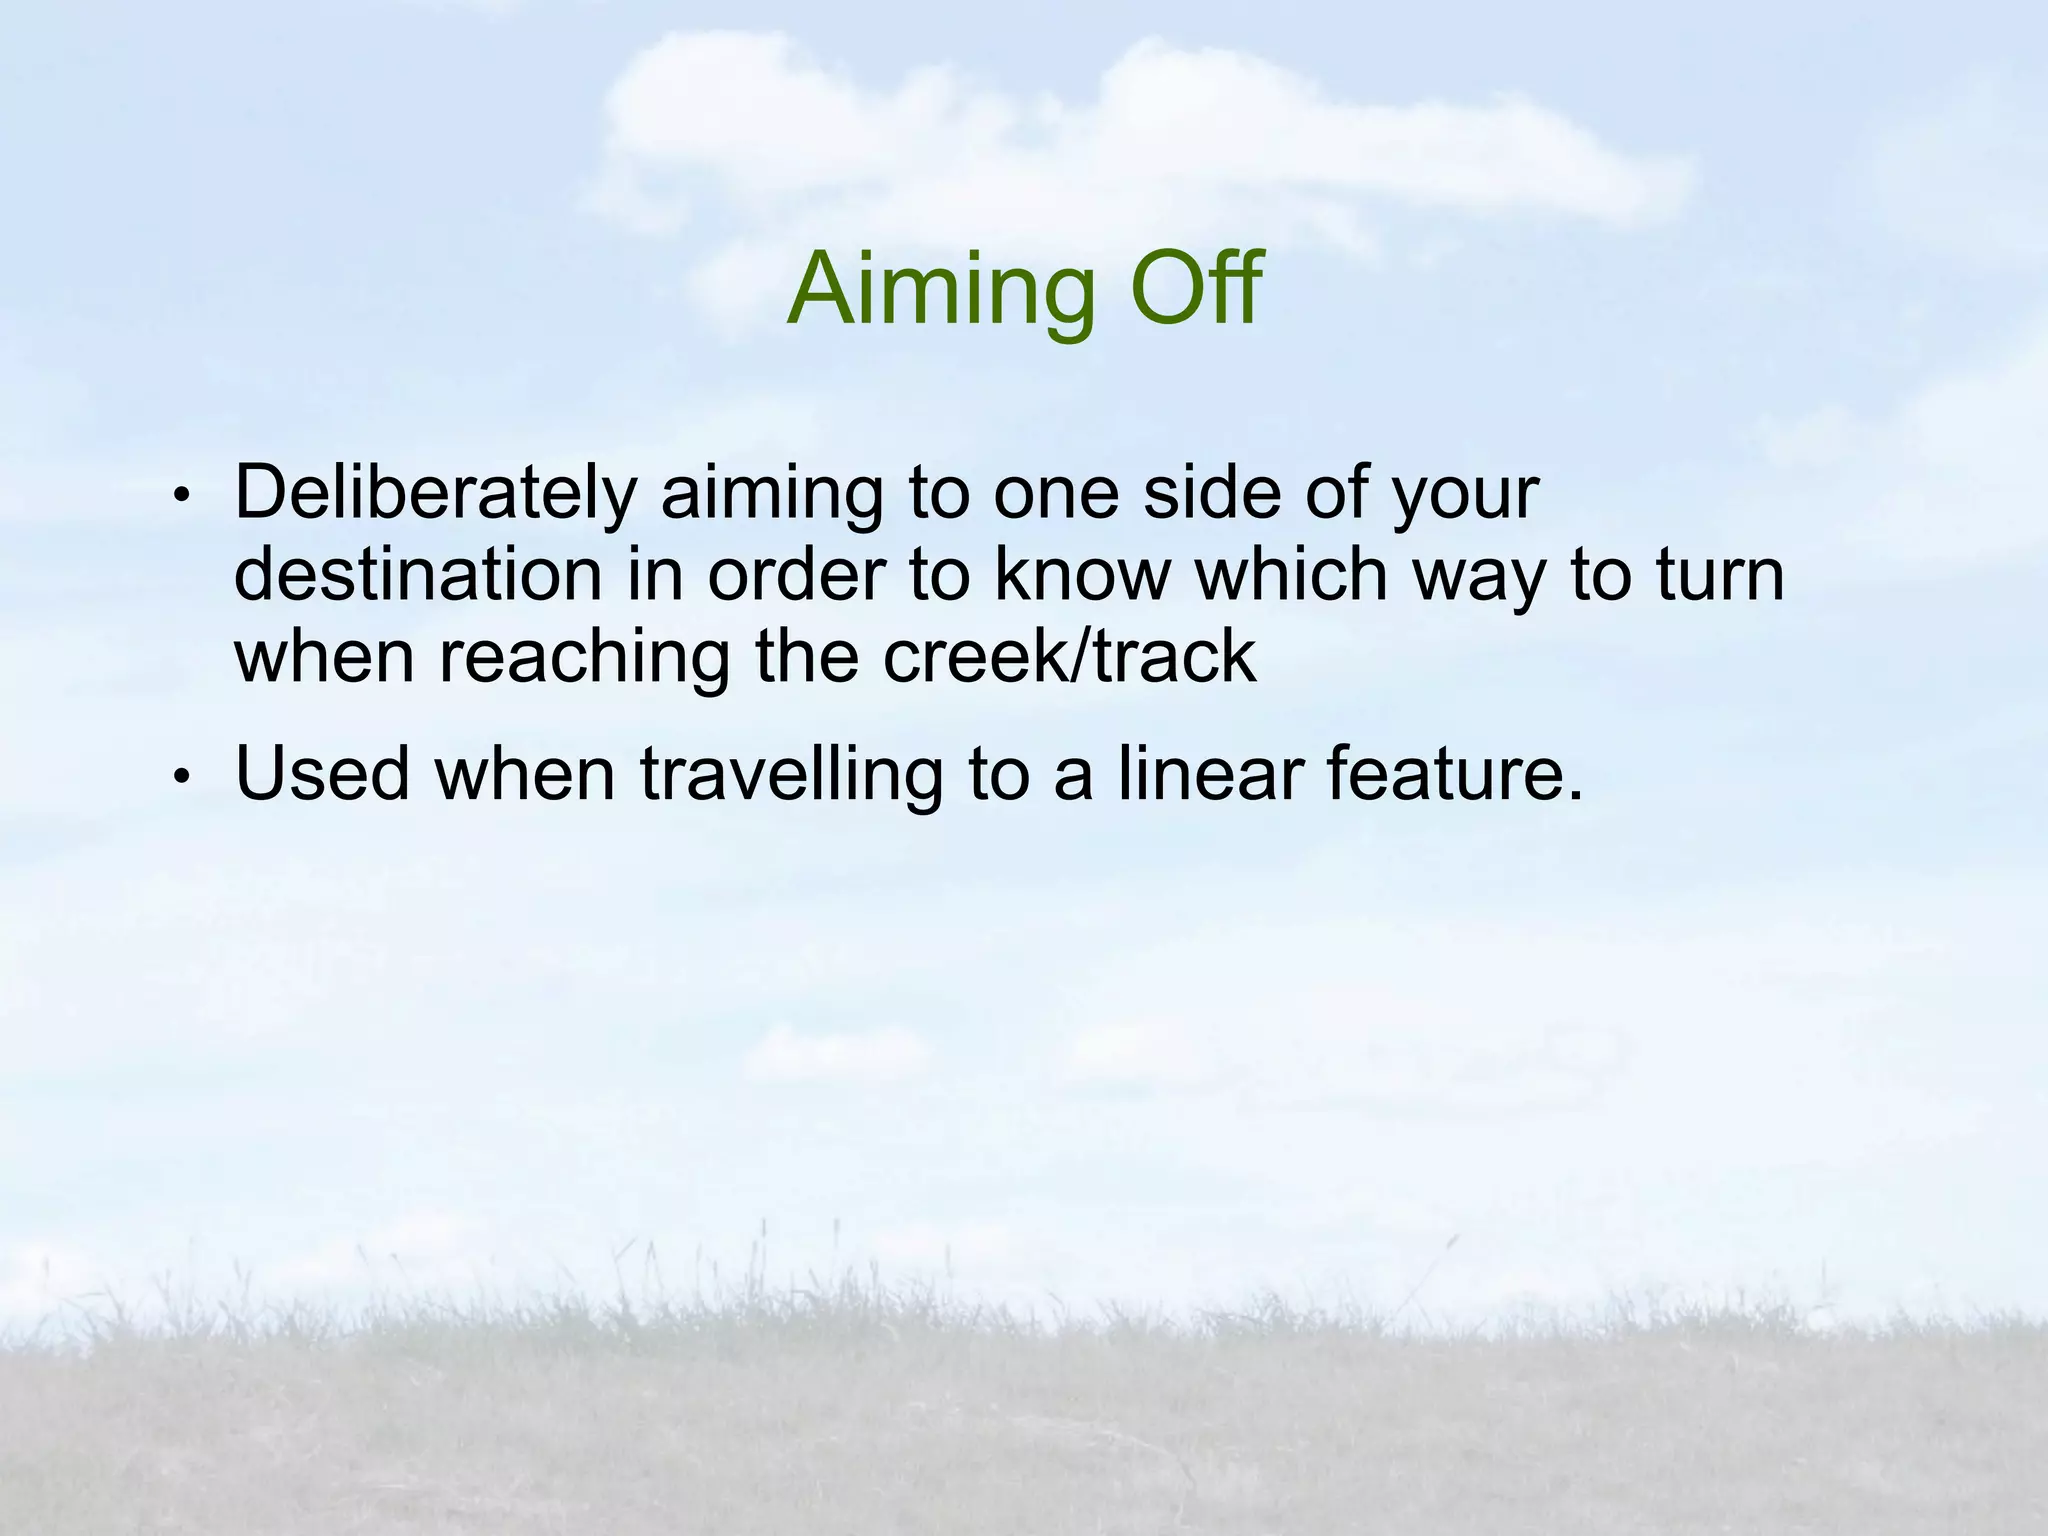
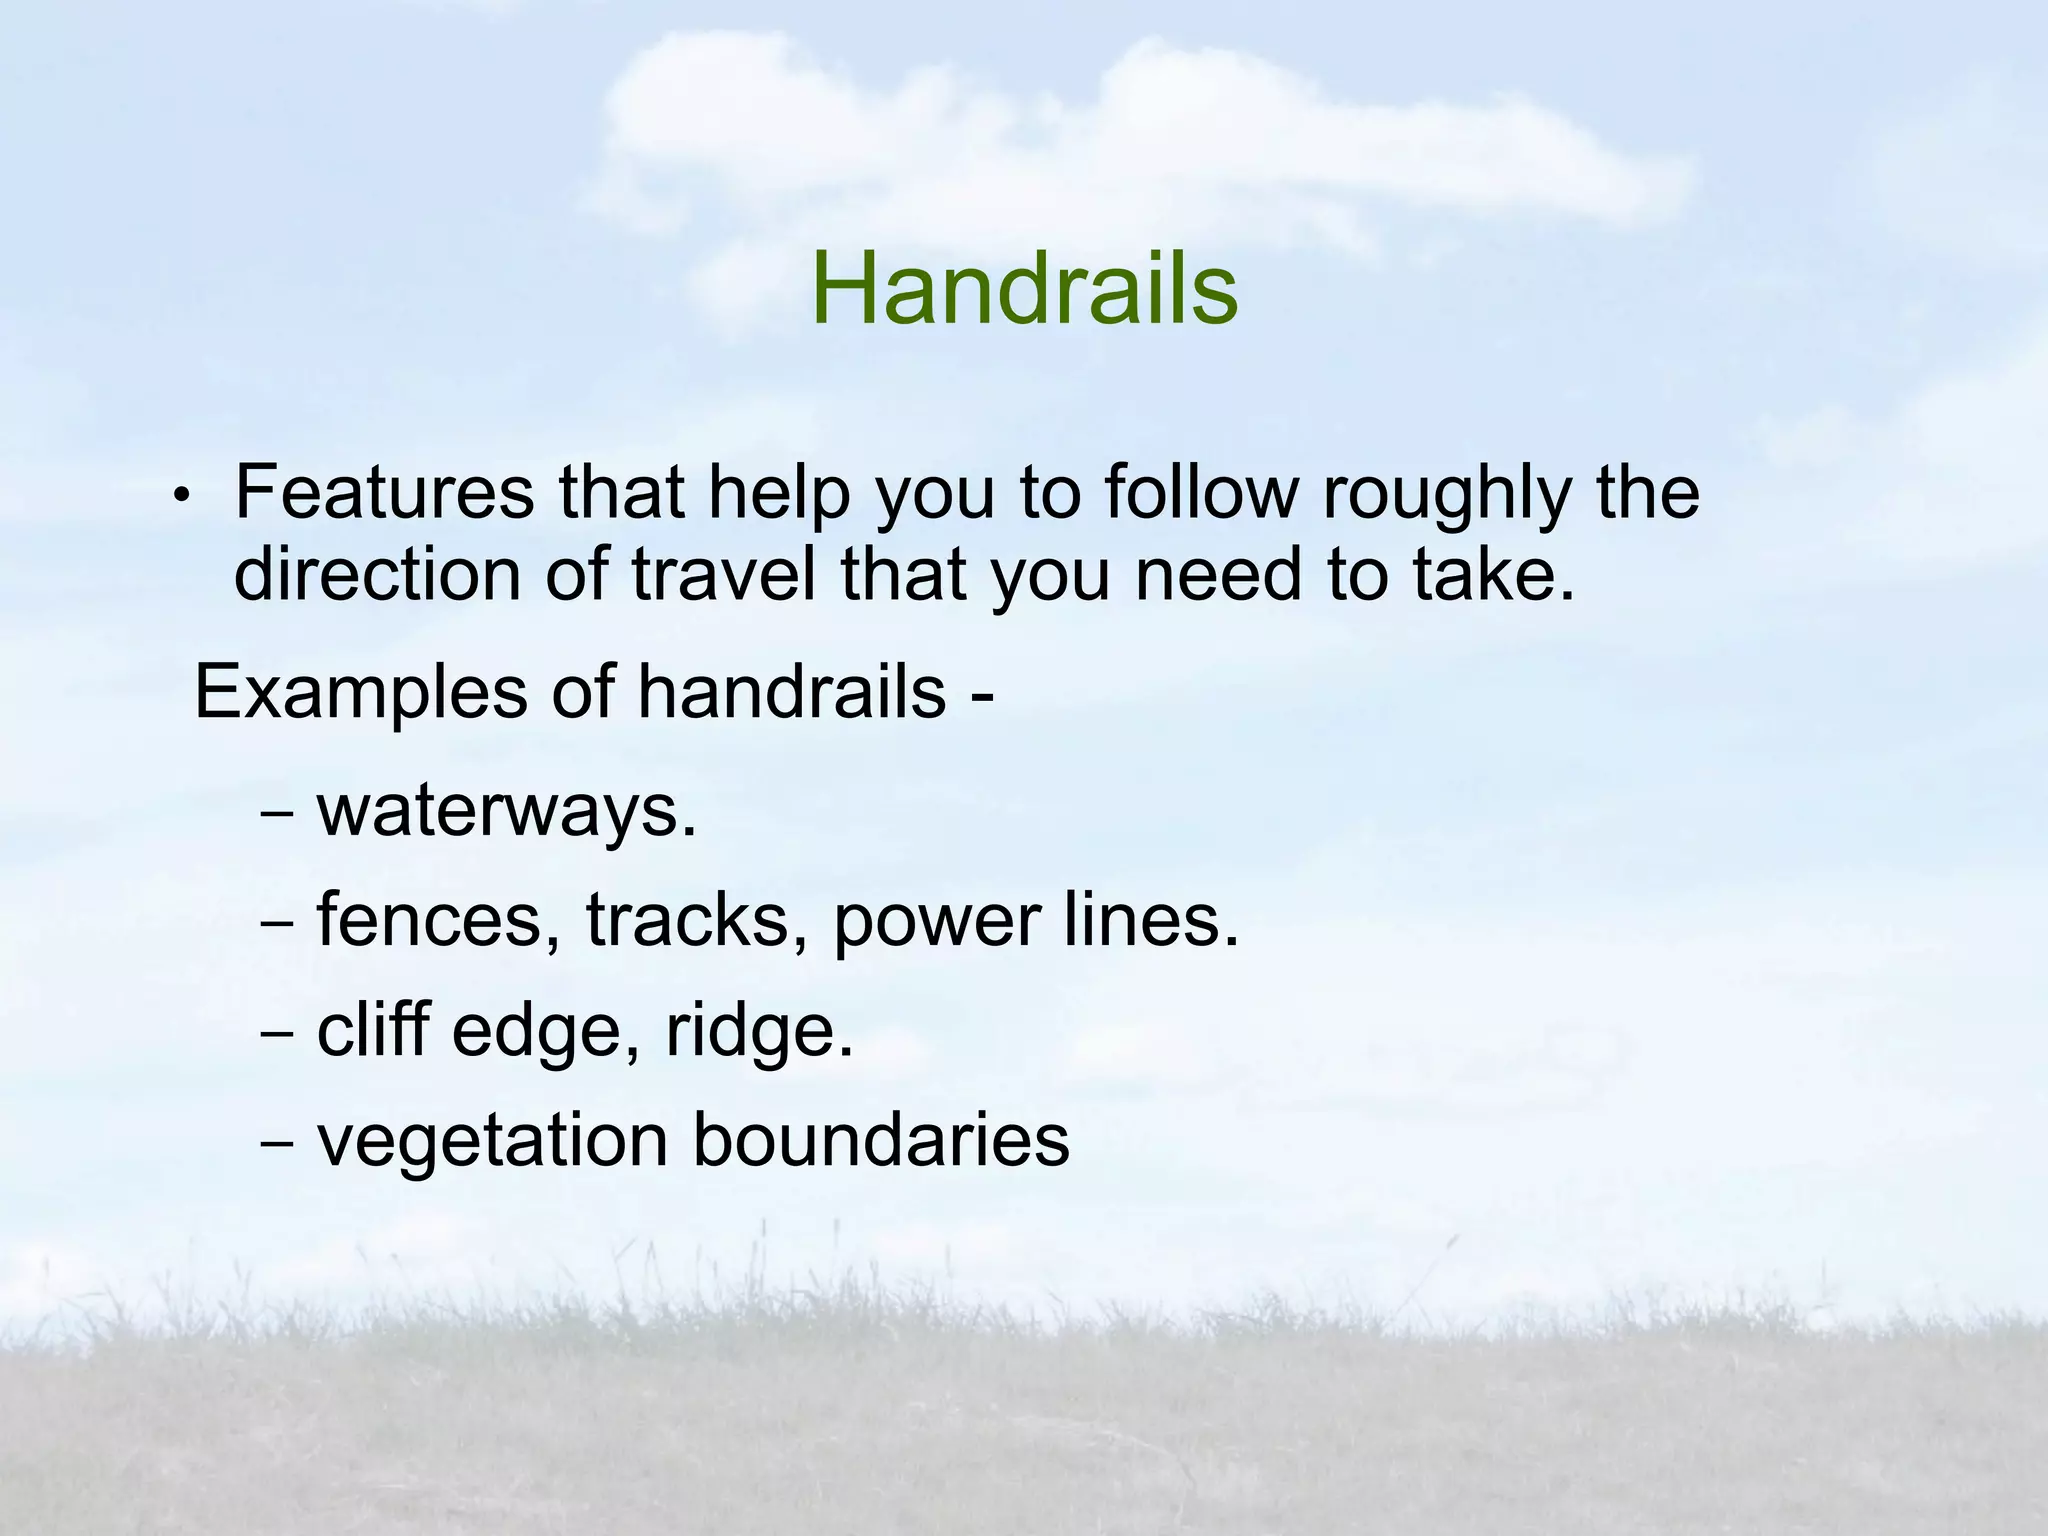


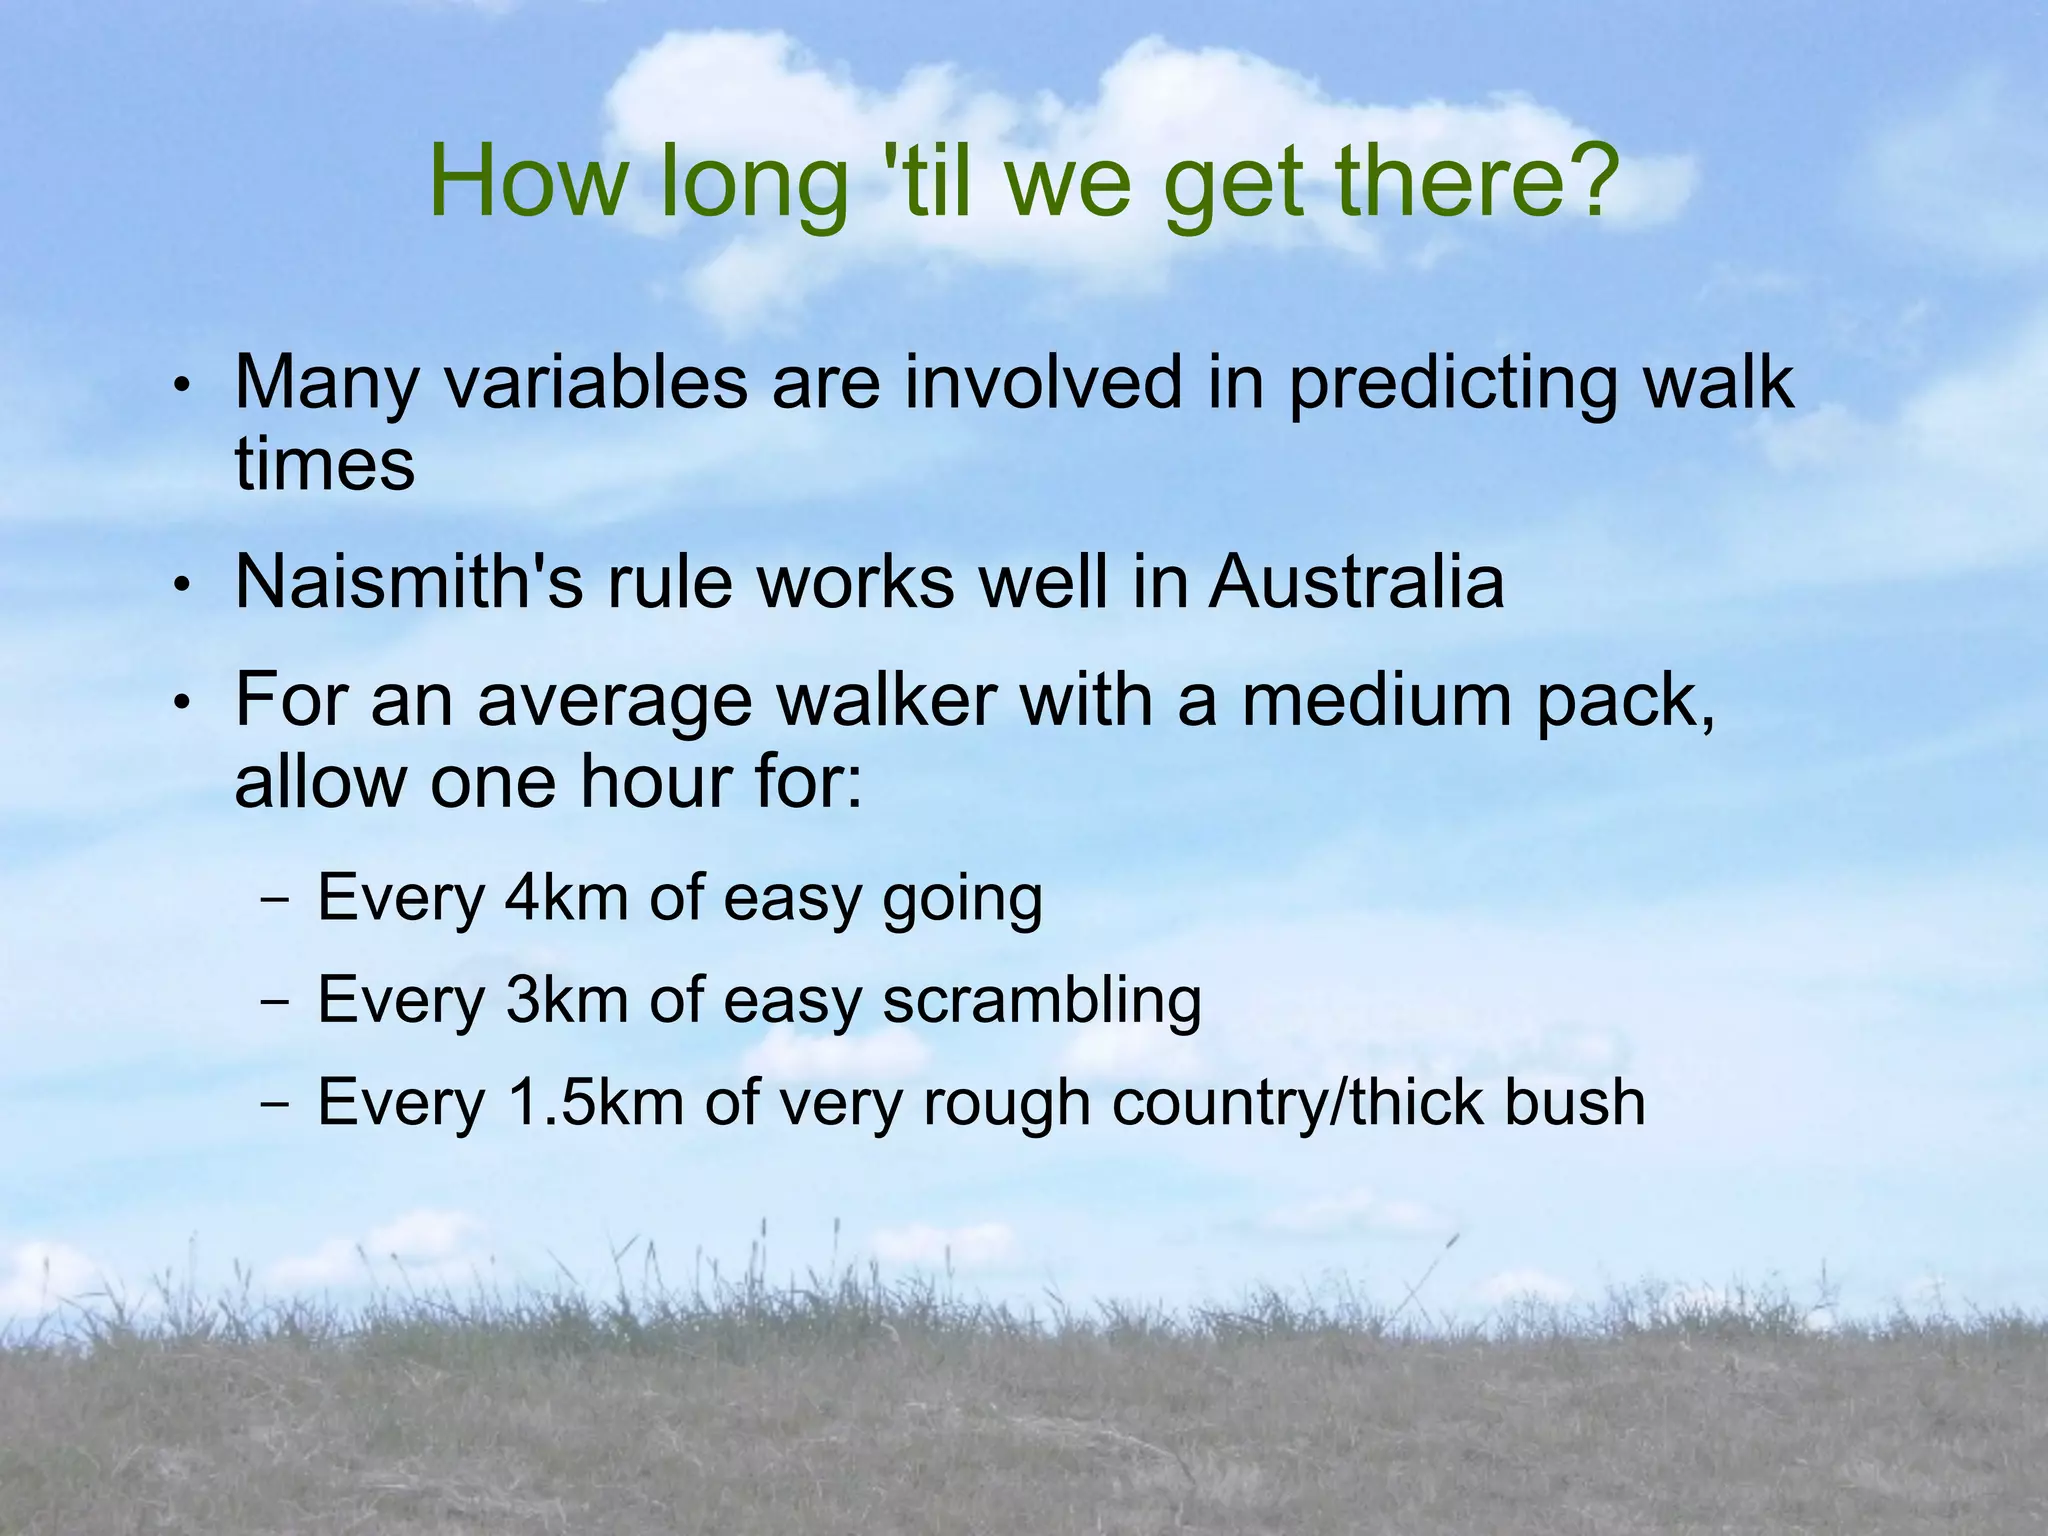
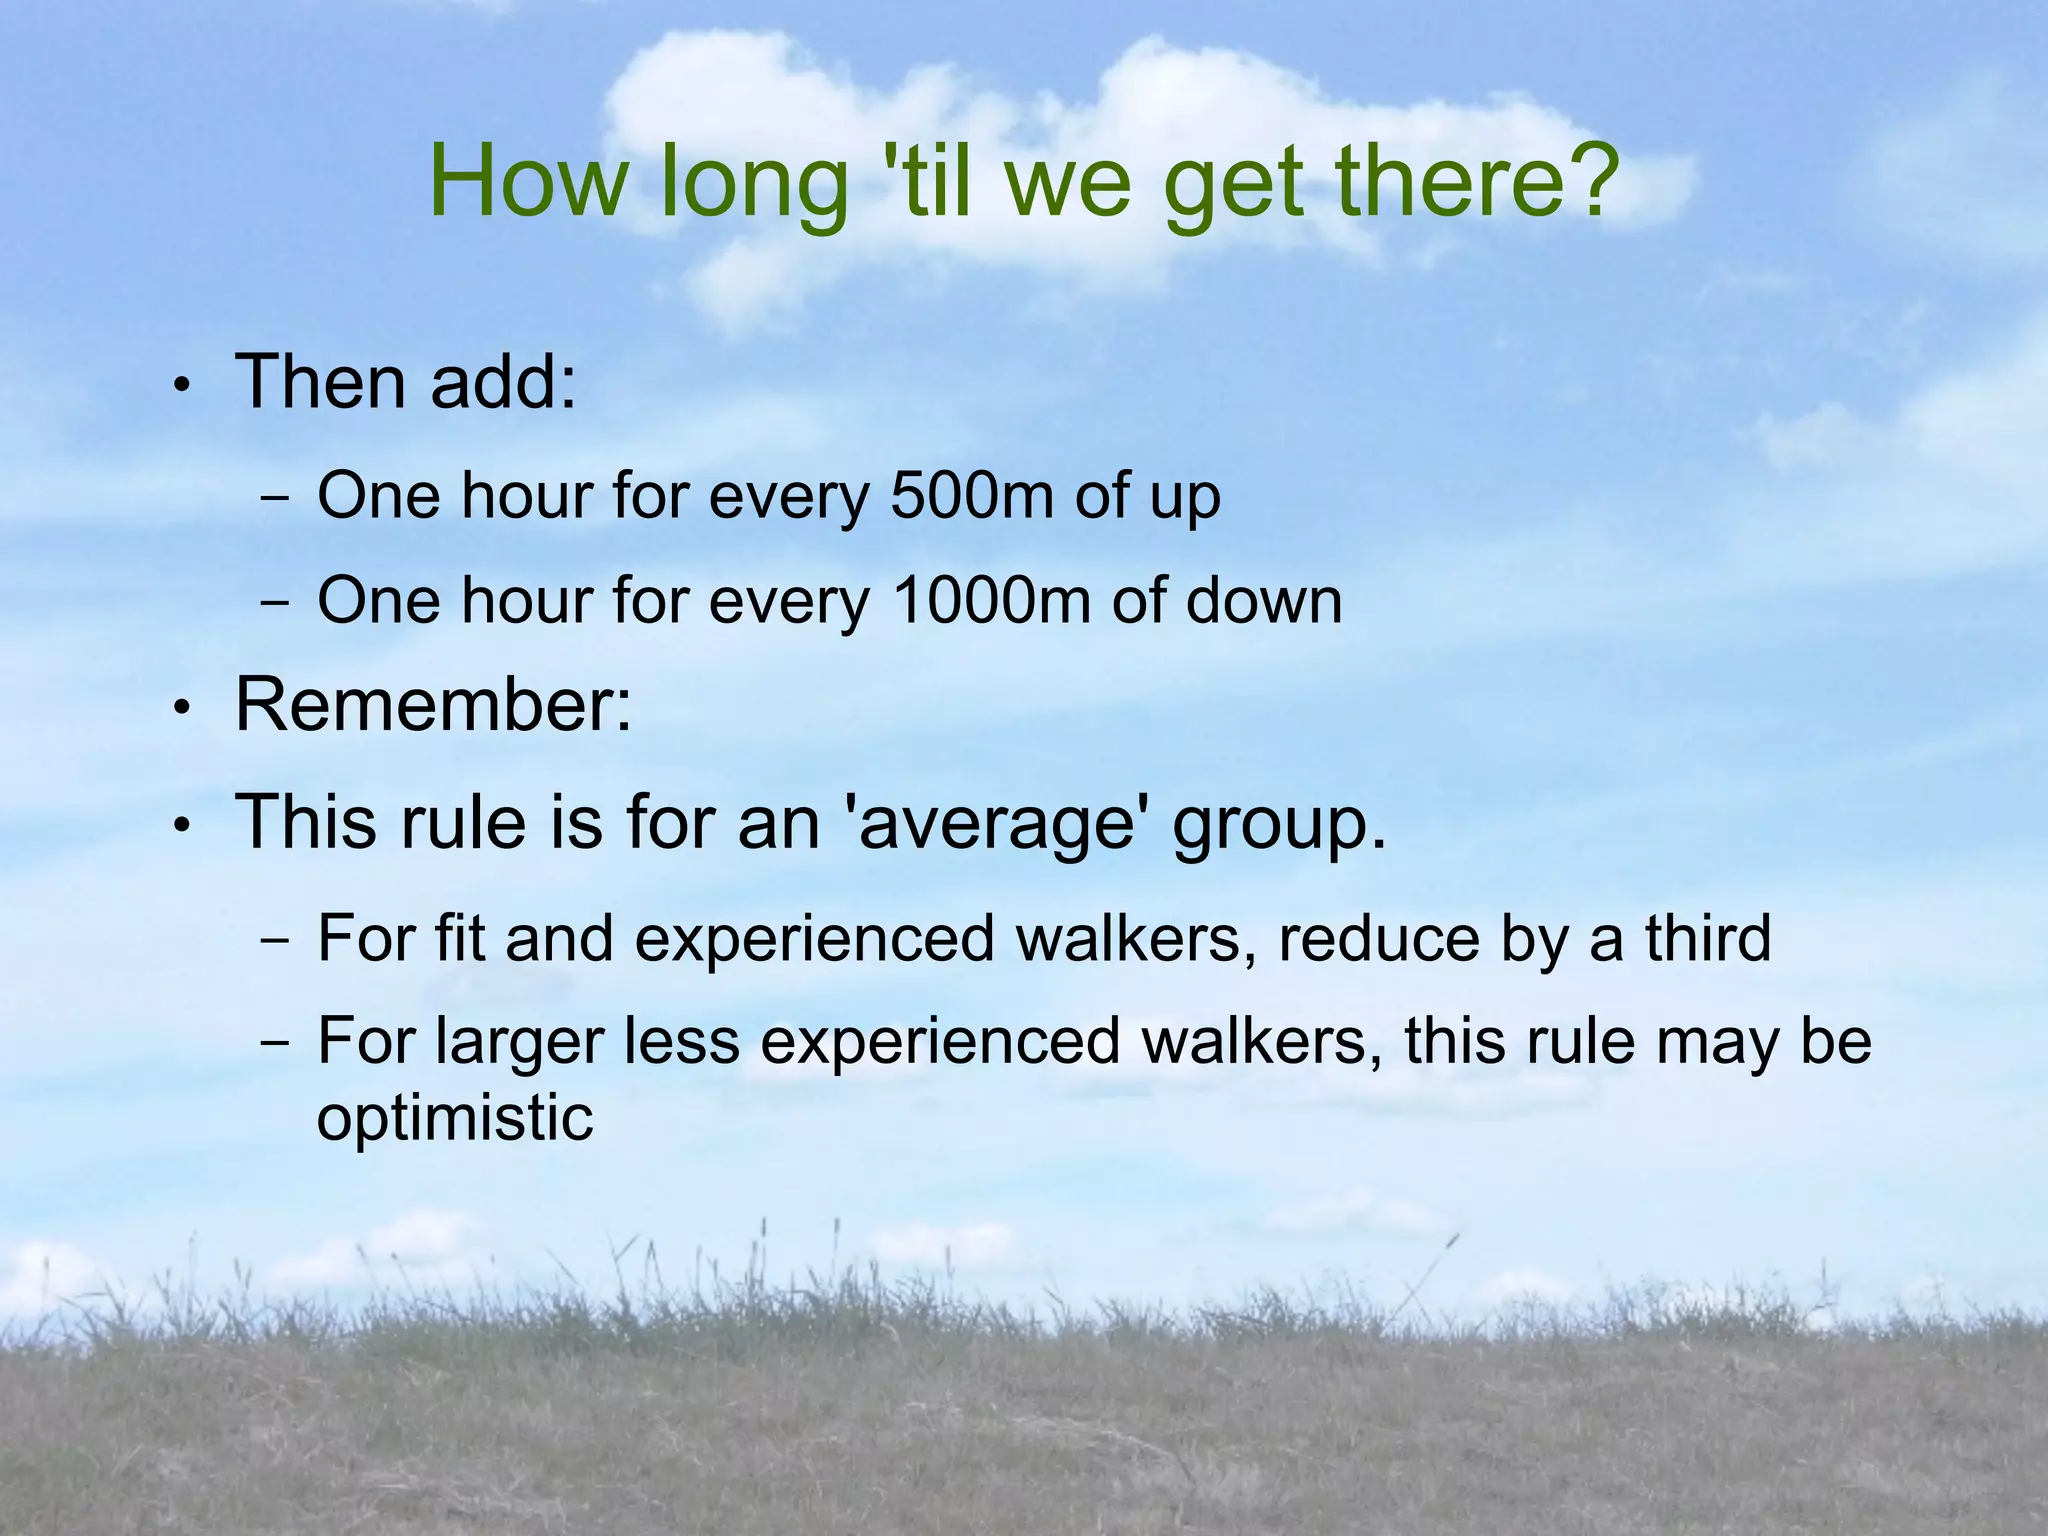
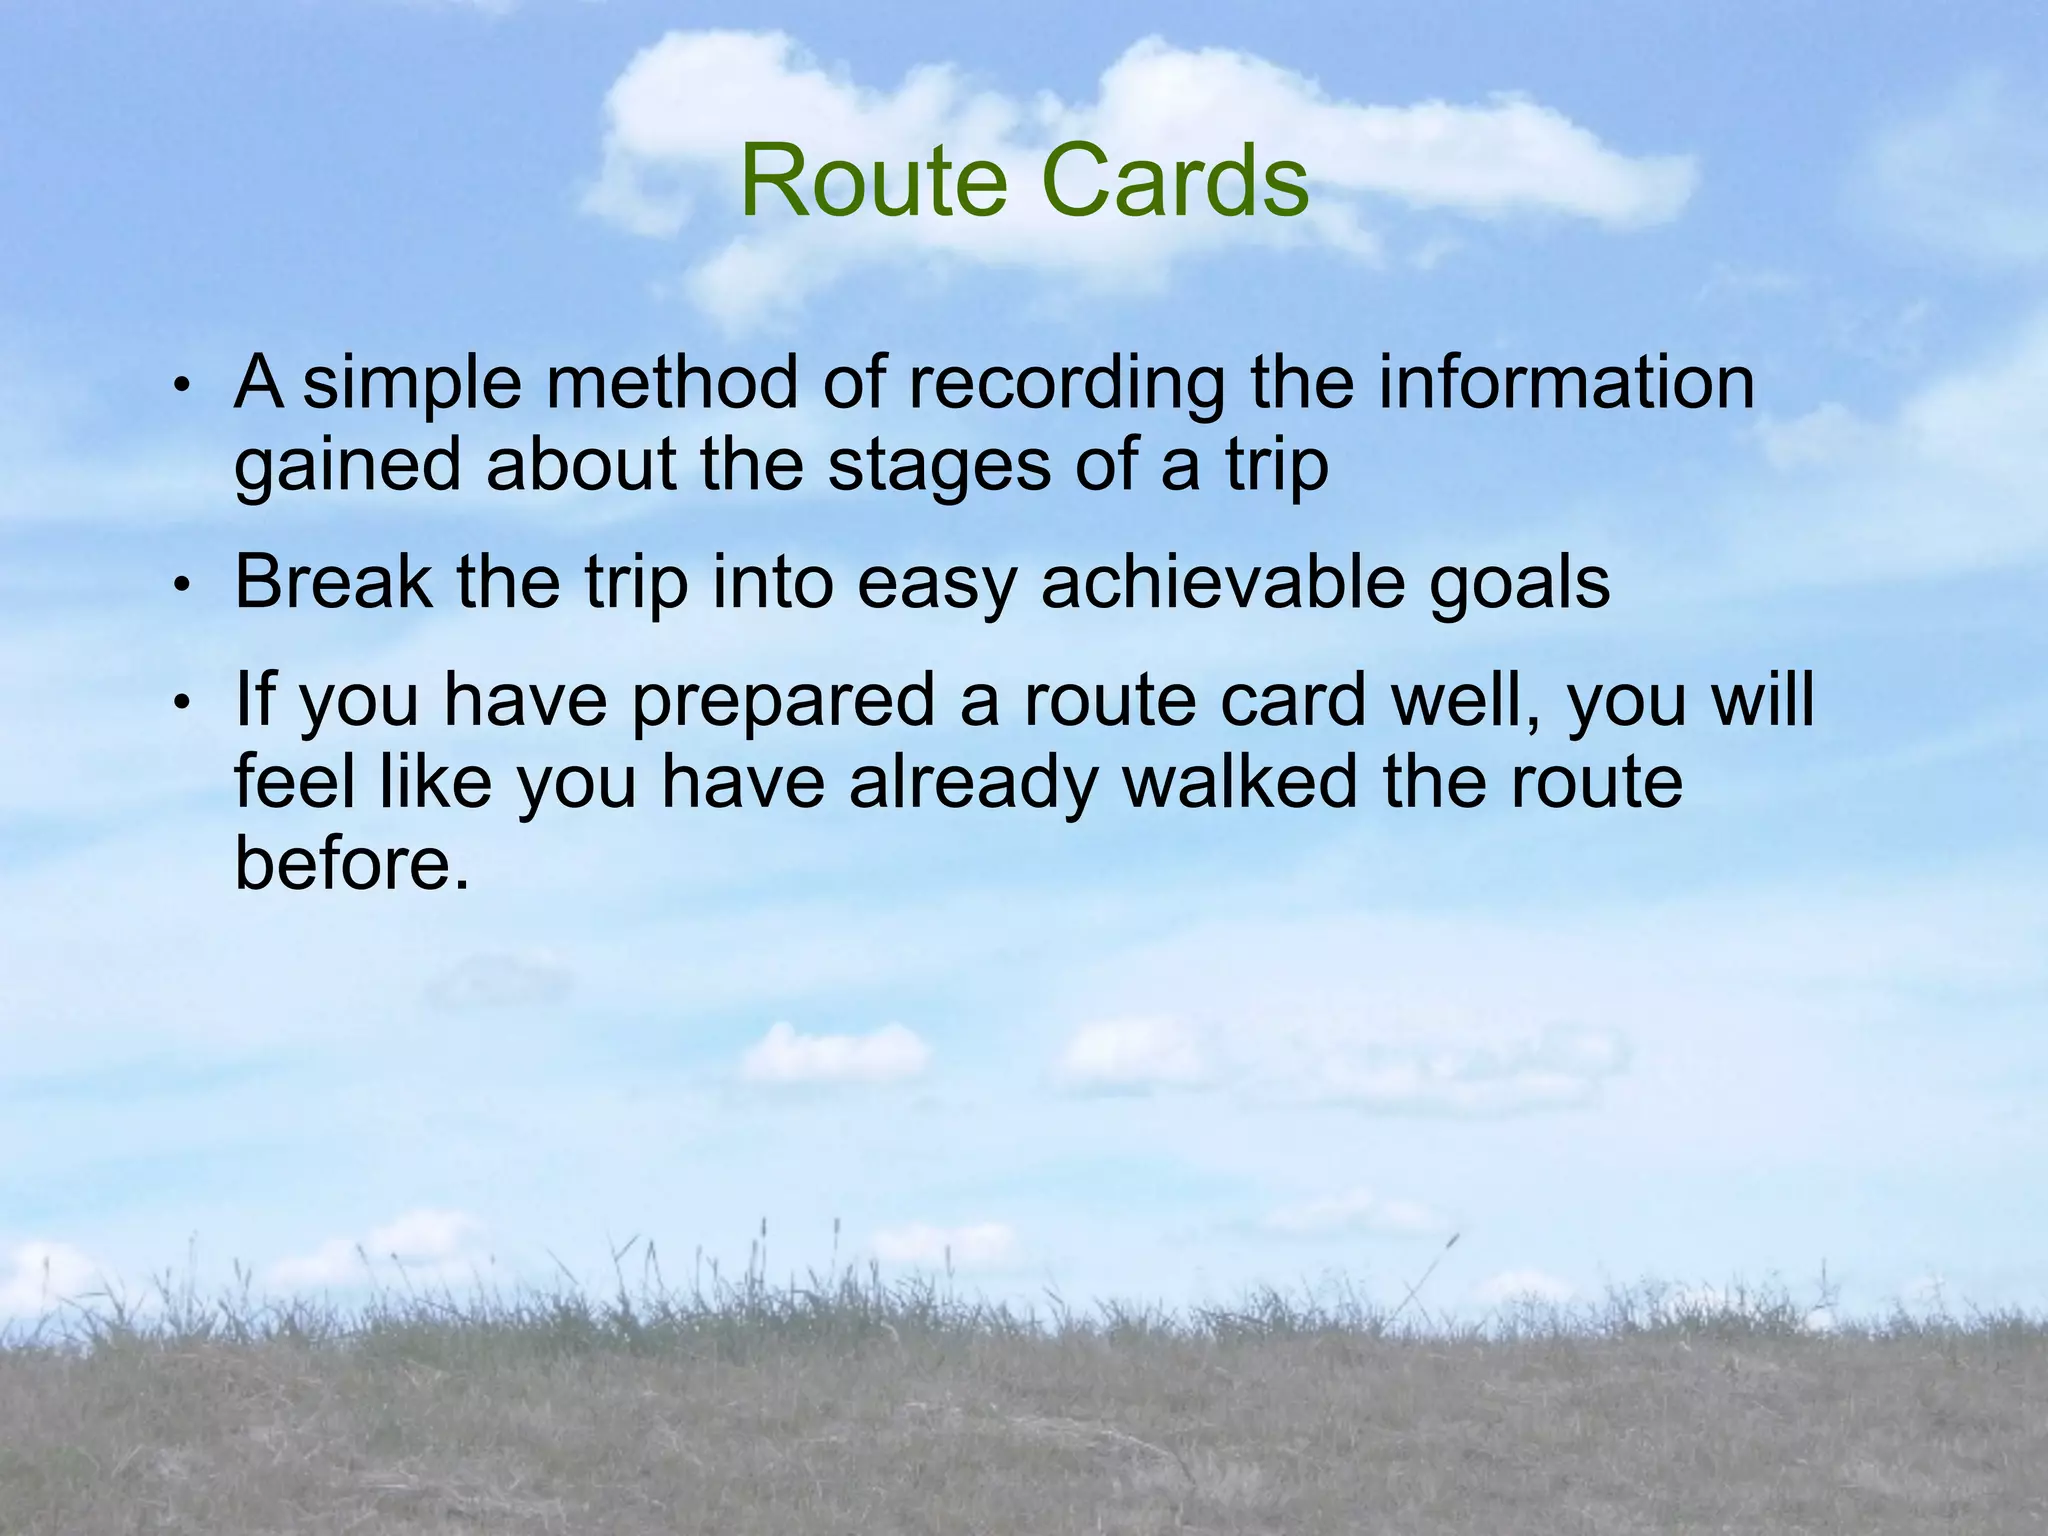
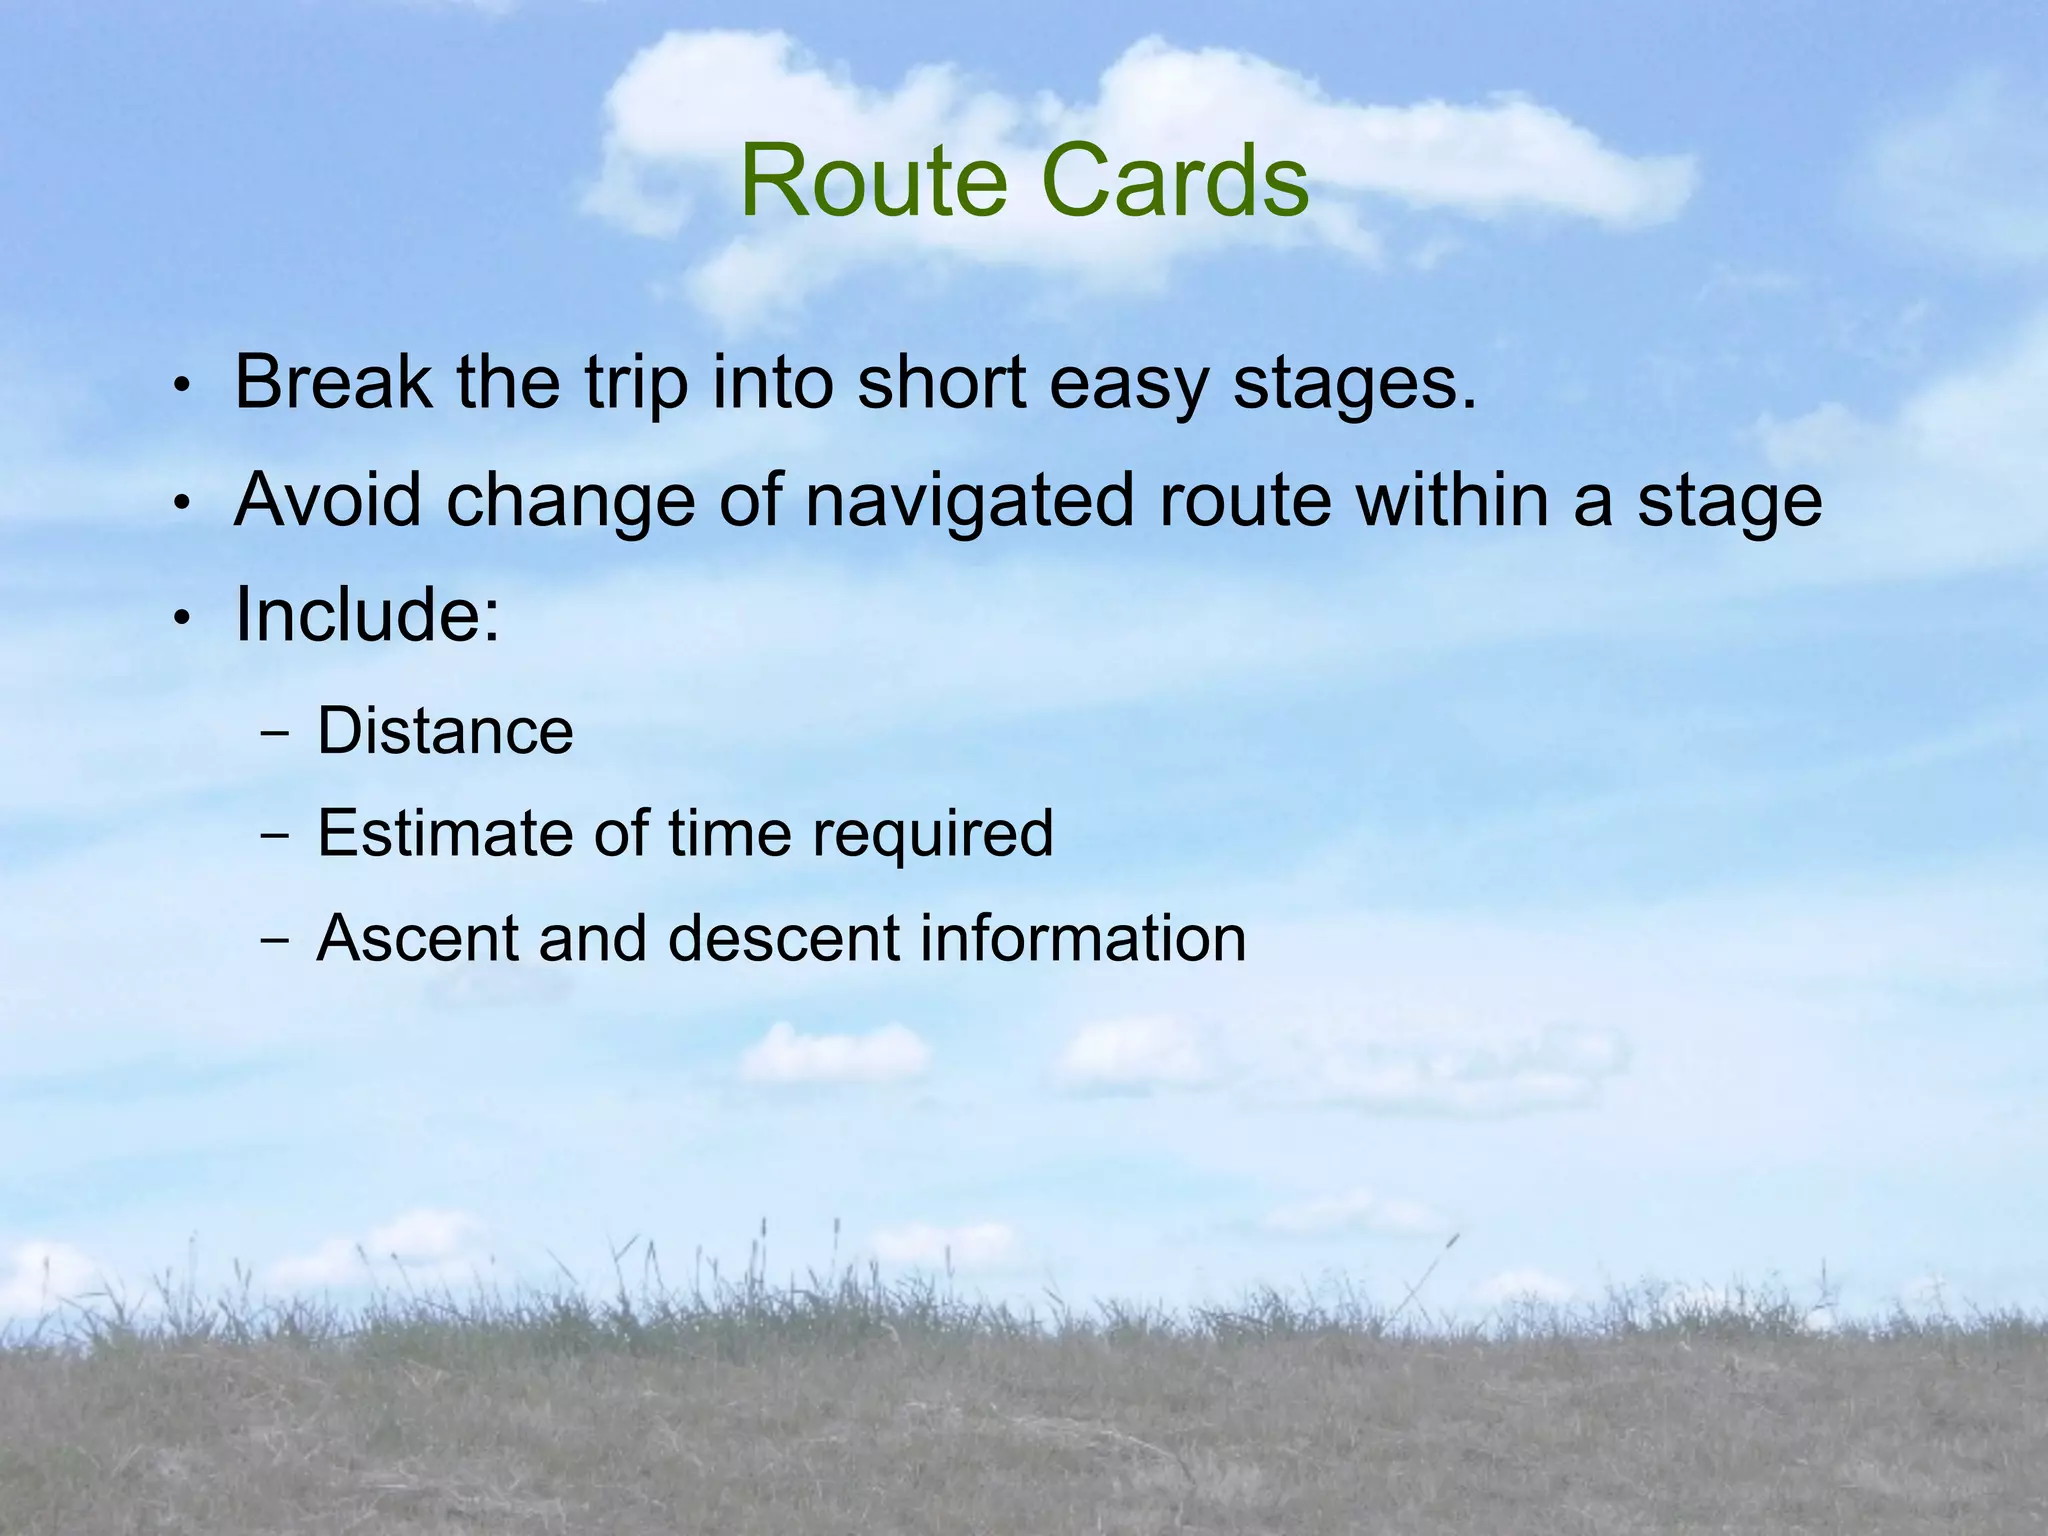

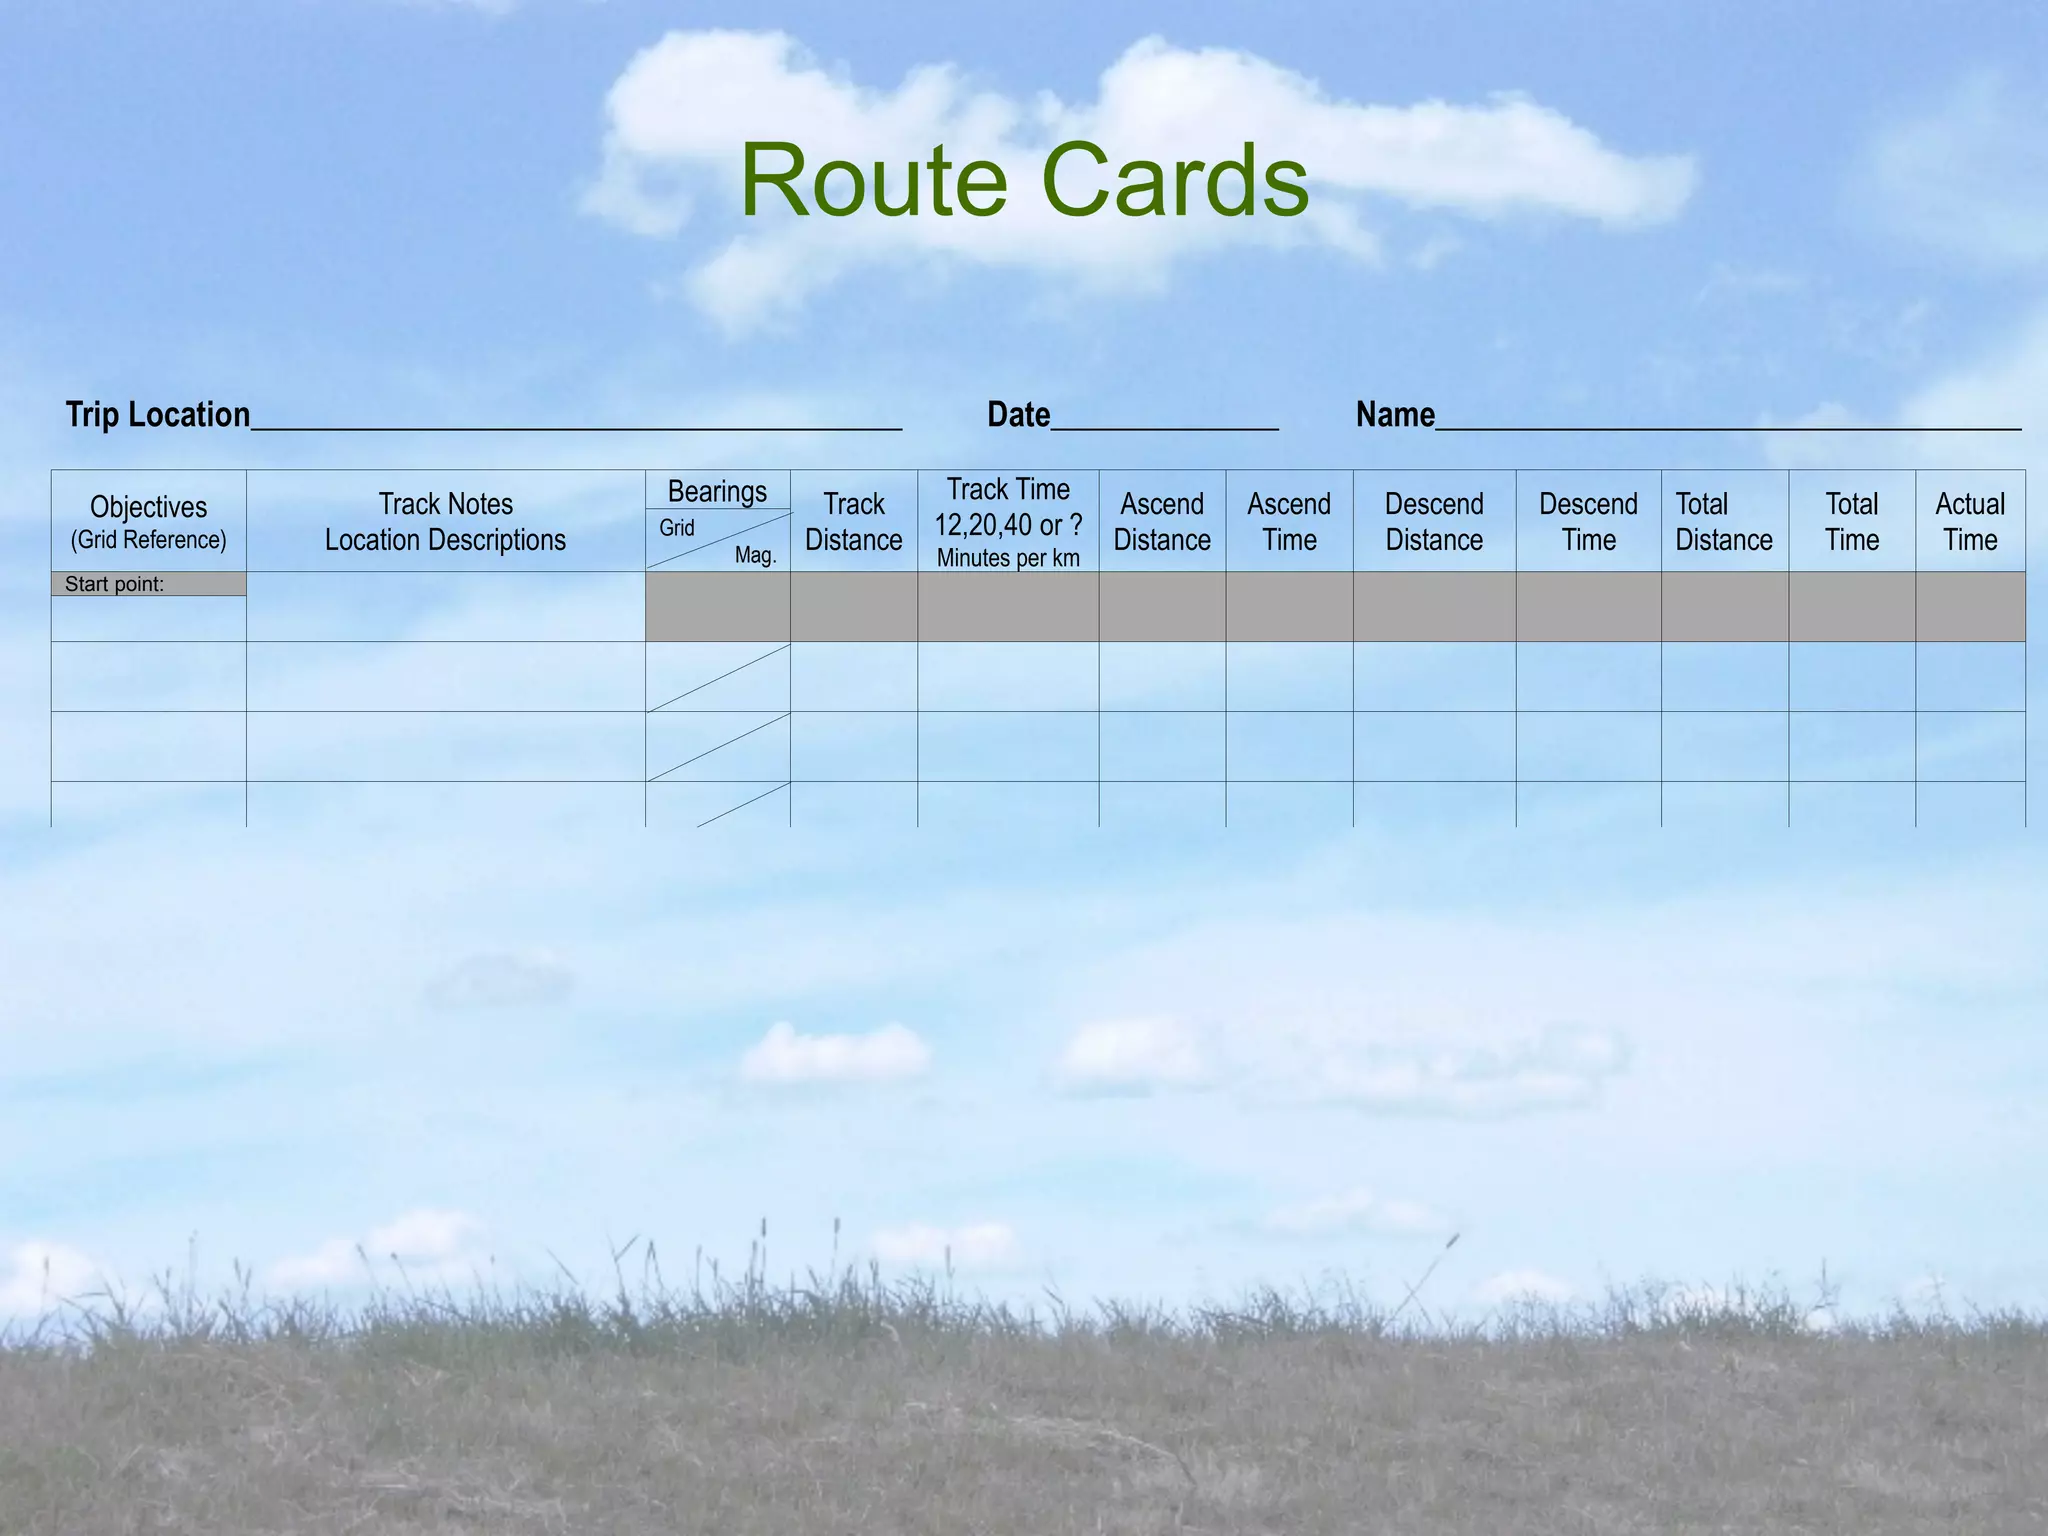

The document provides guidance on various navigation techniques for bushwalking such as using grid references, calculating distances and travel times, planning routes, and creating route cards to help navigate unfamiliar terrain safely and efficiently. It discusses tools like compasses, maps, and strategies for staying oriented while navigating including using landmarks, catching features, aiming off, and thumbing the map. Planning routes involves considering the capabilities of the group as well as terrain, weather, water sources, and environmental impact.


