Download to read offline


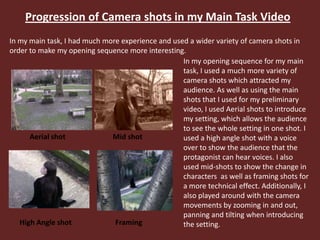
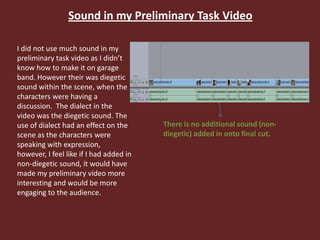
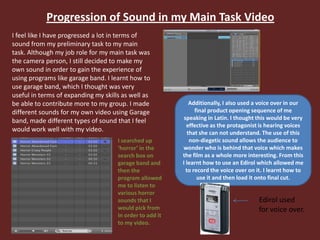
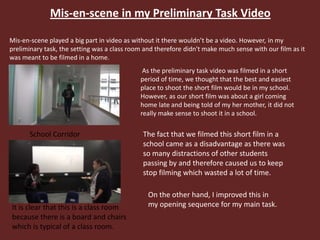
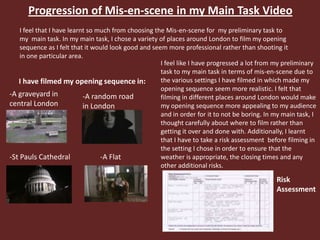
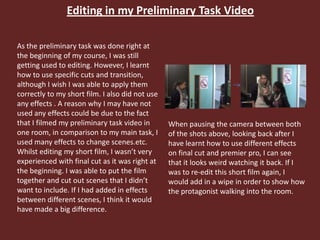
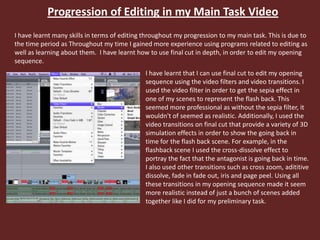
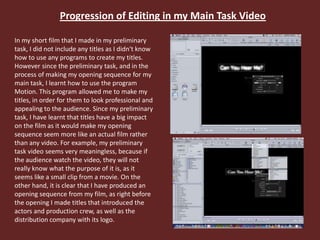

The document discusses the progression of skills from the author's preliminary task video to their main task opening sequence video. For the preliminary task, planning, camera techniques, sound, editing and mis-en-scene were limited due to lack of experience. However, for the main task the author conducted extensive research, created storyboards, improved camera shots, learned to use sound editing software, shot at multiple locations, and applied advanced editing techniques like filters and transitions. This resulted in a much more polished and professional final product compared to the preliminary task.


